

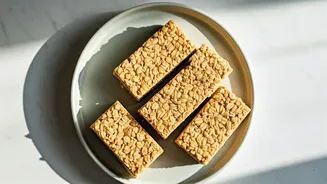


The Perfect Healthy Treat
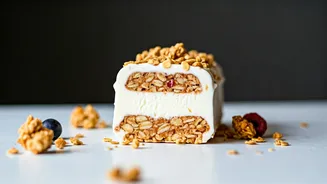
Imagine a breakfast that feels like dessert but is packed with nutrients to start your day right. That's the magic of overnight oats ice cream bars. They combine a chewy, no-bake granola base with a creamy, frozen yogurt topping for a satisfying texture
and taste. These bars are incredibly versatile and perfect for meal-prepping a week of healthy breakfasts or snacks. They are loaded with fiber from the oats, protein from the yogurt and nut butter, and natural sweetness from fruit and maple syrup. Because they’re made ahead of time and stored in the freezer, they offer the ultimate convenience for busy mornings without compromising on health or flavor. They're a substantial, grab-and-go option that feels much more special than a simple bowl of oatmeal.
Gather Your Core Ingredients
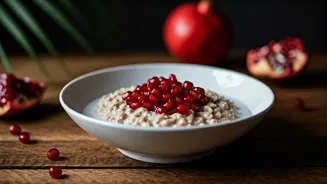
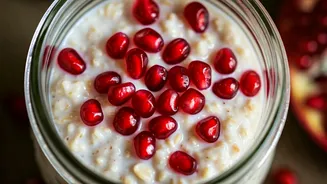
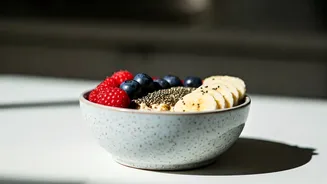
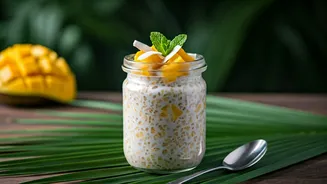
The beauty of this recipe lies in its simplicity and flexibility. For the no-bake oat base, you'll need a few pantry staples. Grab old-fashioned rolled oats, which provide the best chewy texture. You'll also need a creamy nut butter like almond or peanut butter to act as a binder, along with a liquid sweetener such as maple syrup or honey. A dash of cinnamon and a pinch of salt will enhance the flavors. For the creamy "ice cream" layer, plain Greek yogurt is the star, offering a tangy flavor and a protein boost. You can also use a non-dairy yogurt to keep it vegan. Finally, have your favorite fruits on hand, like fresh or frozen berries, for the topping and optional swirls.
A Simple Step-by-Step Guide
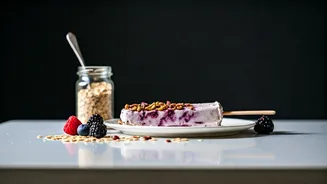
First, prepare your pan by lining an 8x8-inch baking dish with parchment paper, leaving some overhang to easily lift the bars out later. In a large bowl, create the base by mixing together the rolled oats, nut butter, maple syrup, cinnamon, and salt until a sticky, combined dough forms. Press this mixture firmly and evenly into the bottom of your prepared pan. A flat-bottomed glass can help you get a compact layer. Next, spread a thick, even layer of Greek yogurt over the oat base. Now, place the dish in the freezer for at least 2-3 hours, or until the yogurt is completely firm and the bars are set. Once frozen solid, use the parchment paper to lift the block from the pan, let it sit for a few minutes at room temperature, and then slice into bars or squares.
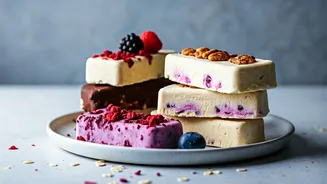
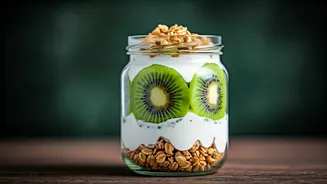
Making Your Bars 'Aesthetic'
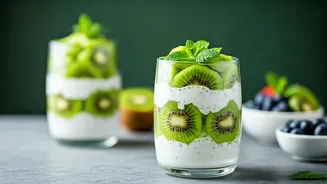
The 'aesthetic' quality comes from the finishing touches. To create beautiful fruit swirls, slightly warm up some frozen berries in the microwave until they become jammy. After you've spread the yogurt layer, spoon small dollops of the berry mixture on top. Then, use a skewer or toothpick to gently drag through the dollops, creating elegant swirls and patterns. Don’t overmix, or you'll lose the distinct colors. You can also get creative with toppings before freezing. Sprinkle on some extra granola, coconut flakes, chopped nuts, seeds, or arrange thinly sliced fresh fruit and edible flowers on top for a visually stunning finish. The contrast of the white yogurt, the rich berry swirls, and the fresh toppings is what makes these bars truly picture-perfect.
Customization and Storage
This recipe is a fantastic canvas for your culinary creativity. For a chocolatey version, add a tablespoon of cocoa powder to the oat base and top with chocolate chips. For a protein boost, mix a scoop of your favorite protein powder into the yogurt layer. You can use different nut butters like cashew or sunflower seed butter for varied flavors or to make it nut-free. To store your bars, keep them in an airtight container in the freezer. They will last for up to a month, though their texture is best within the first couple of weeks. You can place parchment paper between the layers to prevent them from sticking together. Just grab one from the freezer a few minutes before you're ready to eat.