


Gather Your Materials
Before you begin, assembling the right tools will make this project smooth and enjoyable. You will need a clean, empty glass bottle of your choice—wine, spirit, or even a large water jug works well. For the lighting component, the safest and easiest option
is a bottle lamp kit, which can be purchased online or at a hardware store. These kits typically include a cord, socket, and plug. You will also need a drill with a diamond-tipped or glass-specific drill bit to create an exit for the cord. Don't forget safety gear like gloves and goggles. For the lampshade, gather your favourite scrap fabrics—old cotton kurtas, leftover upholstery material, or vibrant silk remnants all work beautifully. Finally, you’ll need strong craft glue or a hot glue gun, and a basic lampshade frame which can be salvaged from an old lamp or bought new.
Prepare the Bottle with Care
This is the most crucial step and requires patience. Start by cleaning your bottle thoroughly and removing any labels. Next, you’ll need to drill a hole near the base for the electrical cord. It's essential to do this safely to avoid cracking the glass. Mark your drilling spot with masking tape to prevent the drill bit from slipping. The key to drilling glass is to keep it wet and cool. You can do this by placing the bottle in a sink with a small stream of running water over the drilling area or by periodically spraying it with water. Set your drill to a low speed and apply gentle, steady pressure. Let the drill bit do the work; it will slowly grind away the glass rather than chipping it. Once the hole is drilled, carefully smooth any sharp edges with sandpaper for a clean, safe finish.
Assembling the Lamp
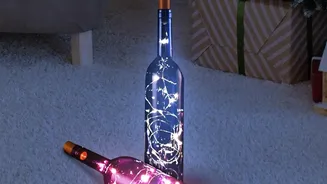
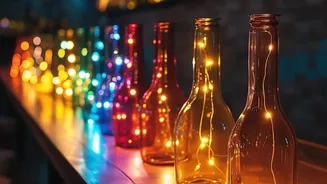
With the bottle prepared, it's time to bring your lamp to life. If you're using a lamp kit, this part is straightforward. Thread the cord through the hole you drilled at the base of the bottle and pull it up through the neck. Follow the kit's instructions to attach the socket at the top. Most kits are designed for simple assembly. Ensure all connections are secure. Some bottle lamp adaptors don't even require drilling, instead fitting directly into the bottle's opening with the cord running out from the top. Once the socket is in place, you can choose to fill the bottle with decorative items like fairy lights, pebbles, or shells for extra flair before adding the shade. Always use a low-wattage, cool-running LED bulb to ensure safety, as they generate much less heat than traditional incandescent bulbs.
Design Your Fabric Lampshade
Now for the most creative part: the lampshade. If you have an old lampshade, you can simply recover it. Create a template by wrapping paper around the shade and tracing its shape. Use this template to cut your fabric, leaving a little extra material around the edges. Apply spray adhesive or fabric glue to the lampshade and carefully smooth your fabric over it, getting rid of any air bubbles. Fold the excess fabric over the top and bottom rims and secure it with glue for a neat finish. Alternatively, you can create a patchwork effect by gluing different fabric scraps directly onto a wireframe. Another no-sew method involves tearing fabric into strips and wrapping them around the frame, securing the ends with hot glue. This is your chance to play with colours and textures to create something that is truly yours.
Find the Perfect Spot
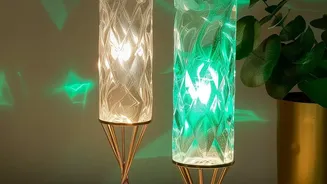
Once assembled, your new handmade lamp is ready to shine. This unique piece can serve as a personalised night lamp on a bedside table, a statement piece in your living room, or a cozy reading light in a quiet corner. The beauty of a DIY project is that it carries a story. It's a testament to sustainability, creativity, and the joy of making something with your own hands. Place it where it can be admired, and let its soft glow remind you of the hidden potential in everyday objects. Your upcycled lamp is more than just a light source; it's a piece of functional art that adds warmth and personality to your home.