





Spotting the Early Danger Signs
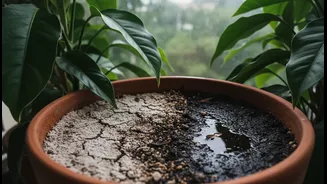
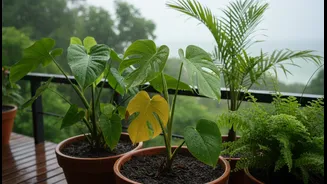
The first clue that something is wrong is often how the plant looks above the soil. A classic early symptom of root rot is a plant that appears wilted or droopy even though the soil is wet. This happens because the decaying roots can no longer absorb
water effectively. You may also notice lower leaves turning yellow and dropping off. Another tell-tale sign is the smell; if the soil has a sour, musty, or foul odour, it's a strong indicator that bacteria and fungi are thriving in the waterlogged conditions. In some cases, growth may slow down or stop completely during what should be a growing season. If you notice these symptoms, it is time to act quickly.
Preparing for Plant Surgery
To give your plant the best chance, you need to perform a small operation. Gather your tools before you begin to make the process smooth and clean. You will need a pair of clean, sharp scissors or pruning shears, a new pot with excellent drainage holes, fresh potting mix, and a space you don't mind getting a little dirty. Sterilising your cutting tools with alcohol is a crucial step to prevent spreading pathogens. Never plan to reuse the old soil, as it is likely contaminated with the fungi or bacteria that caused the rot in the first place. If you must reuse the old pot, wash it thoroughly with soap and hot water to remove any lingering spores before repotting.
The Re-potting Process, Step-by-Step
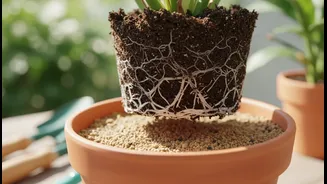
Once you have your station ready, gently slide the plant out of its pot. If it’s stuck, tap the sides of the container to loosen it. Shake off the old, wet soil so you can get a clear look at the root system. Healthy roots are typically firm and white or light tan. Rotted roots will look brown or black, feel soft and mushy, and may even fall apart when you touch them. Using your sterilised scissors, carefully trim away all the affected, mushy roots. Be thorough; leaving even a small amount of rot behind can allow the problem to return. After trimming, you can give the remaining healthy roots a gentle rinse under lukewarm water.
The Ideal Monsoon Potting Mix
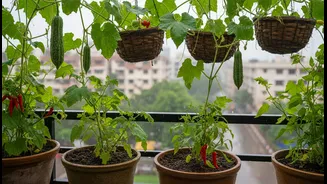
The key to preventing a repeat of root rot is a potting medium that drains exceptionally well. Heavy garden soil holds too much water, especially during the Indian monsoon. The ideal mix is light and airy, allowing excess water to escape quickly while providing oxygen to the roots. A great DIY monsoon mix involves combining your potting medium (like soil or cocopeat) with materials that improve aeration and drainage. Adding perlite, those small white volcanic rocks, is a fantastic way to create air channels in the soil. A good ratio is about one part perlite to two or three parts of your main potting mix. River sand can also be added to improve drainage. This combination ensures that even with heavy rains, your plant's roots won't be left sitting in a swamp.
Post-Operative Plant Care
After its 'surgery,' your plant will be in a delicate state of recovery. Place it in the new pot with the fresh, well-draining soil. Choose a pot that is only slightly larger than the remaining healthy root ball, as too much excess soil will hold unnecessary moisture. It is critical to water sparingly after re-potting. Wait several days, or even up to a week, before giving it a thorough watering. This allows the cut roots to heal and encourages new root growth. Place the plant in a spot with bright, indirect light but away from harsh direct sun, which can add stress. Finally, hold off on fertilising for at least a few months; the plant needs to focus its energy on rebuilding its root system, not on producing new leaves.