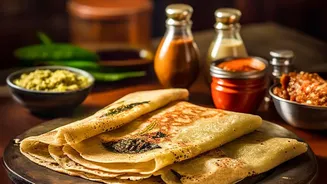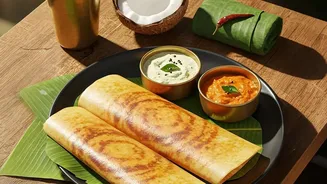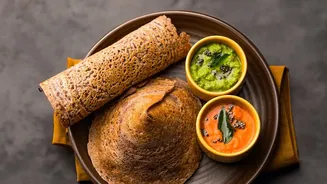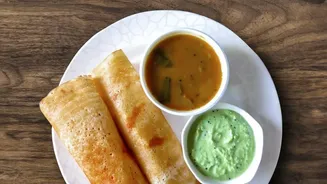



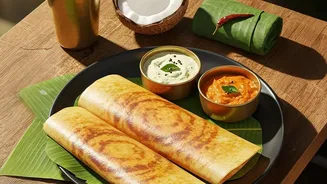
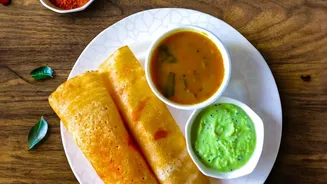
The pursuit of the perfect dosa—paper-thin, golden-brown, and shatteringly crisp—is a familiar quest. While the batter is important, the true secret often lies in the pan and, more specifically, how you control its heat.
The Cast-Iron Advantage
Before we get to heat, let's talk
about the tawa itself. While non-stick pans are convenient, a traditional cast-iron tawa is the gold standard for crisp dosas, and for good reason. Cast iron is prized for its superior heat retention and distribution. Unlike lighter pans that can have hot spots and cool down quickly, a heavy-bottomed cast-iron tawa holds a steady, even temperature across its entire surface. This stability is crucial for ensuring the dosa cooks uniformly, preventing the dreaded combination of burnt edges and a soft, undercooked centre. A well-maintained cast-iron pan also develops a natural non-stick surface over time, making it the ideal tool for this culinary challenge.
Seasoning: The Foundation of a Non-Stick Surface
A cast-iron tawa is only as good as its seasoning. Seasoning is the process of baking thin layers of oil onto the iron, creating a smooth, protective, and naturally non-stick coating called a patina. A new or poorly seasoned tawa is a primary reason dosas stick and tear. To season, apply a very thin layer of a high-smoke-point oil (like sesame or groundnut oil) and heat the tawa on a medium flame until it begins to smoke lightly. Let it cool completely and repeat the process a few times. This builds a robust, slick surface that improves with every dosa you make. Remember, never scrub a seasoned tawa with harsh soap; a simple wipe and a light re-oiling after use is all it needs.
Finding the 'Sweet Spot' Temperature
This is where the magic happens. The temperature of your tawa is the single most critical factor. If it's too cold, the batter won't set properly, leading to a sticky, pale dosa. If it's scorching hot, the batter will seize and cook instantly upon contact, making it impossible to spread thinly. The goal is a temperature between 180–200°C. The easiest way to test this is the classic water–drop test. Preheat your tawa on a medium flame for several minutes. Then, sprinkle a few drops of water onto the surface. If they sizzle, dance, and evaporate within seconds, your tawa is ready. If they disappear instantly with a loud crackle, it’s too hot. If they just sit and bubble slowly, it’s not hot enough.
Managing Heat Between Dosas
Because cast iron retains heat so well, the tawa will likely get hotter with each dosa. To maintain a consistent temperature, you need to cool the surface slightly before pouring the next ladle of batter. A common technique is to sprinkle some water and wipe it off with a cloth. This brings the temperature down just enough to allow the batter to spread without cooking too quickly. Another traditional trick is to rub the hot surface with half an onion dipped in a little oil. This not only cleans the tawa and leaves a microscopic film of oil but also helps regulate the heat for the perfect pour every time.
The Pour, The Spread, and The Cook
Once your tawa is at the right temperature, reduce the flame to medium–low. Pour the batter in the centre and, using the back of the ladle, spread it quickly and lightly in a single, continuous outward spiral. Don't apply too much pressure. Once spread, you can turn the heat back to medium. Drizzle a few drops of oil or ghee around the edges. Now, be patient. A crisp dosa takes time. Wait until the edges begin to turn golden–brown and lift away from the pan on their own. This is your cue that the dosa is cooked through and ready to be folded. Trying to lift it too early will only cause it to tear.