



The Appeal of Homegrown Mint
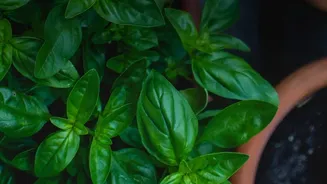
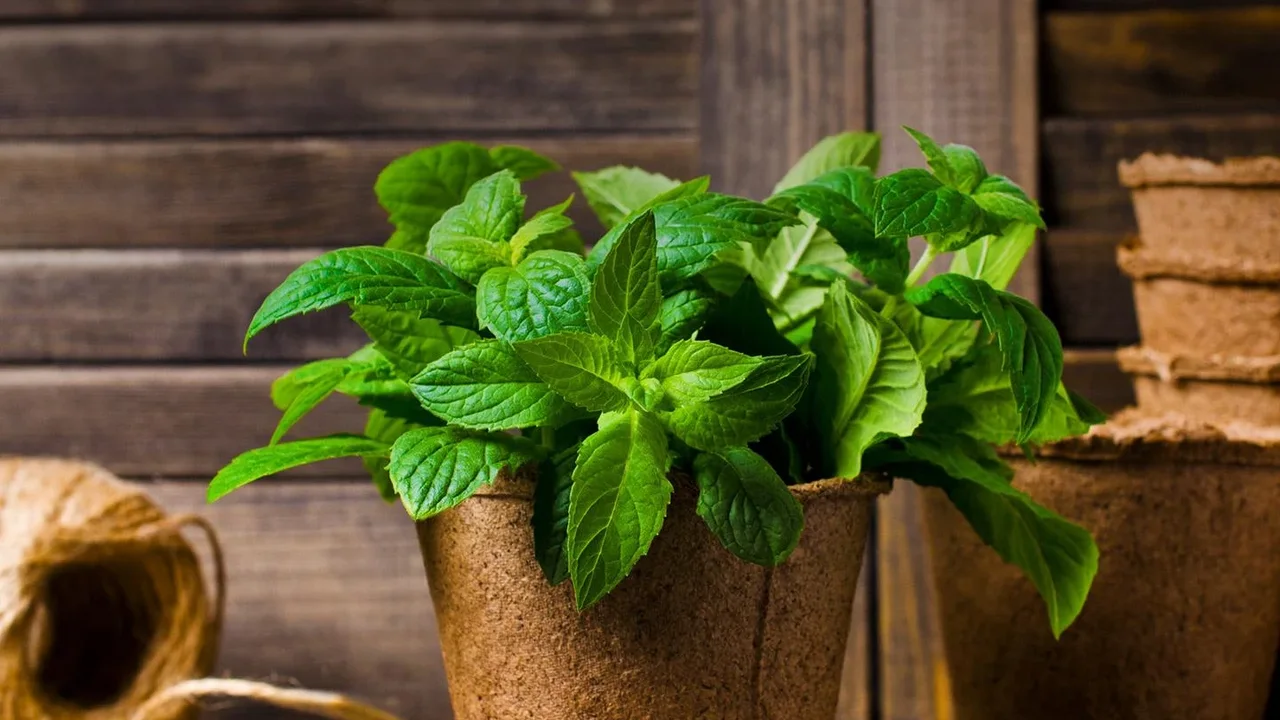
In Indian kitchens, mint, or pudina, is more than just an herb; it's a staple. From the cooling blast in a summer raita to the zesty kick in a monsoon chutney, its presence is essential. Growing it indoors on a windowsill or balcony ensures a constant,
fresh supply, free from pesticides and market trips. Mint is a notoriously vigorous and forgiving plant, making it perfect for beginners. Its aggressive spreading nature, which can be a problem in a garden bed, is perfectly contained within a pot, channeling all that energy into producing lush, fragrant leaves for your culinary experiments.
Why Skip Store-Bought Potting Mix?
While convenient, bags of pre-made potting soil can be surprisingly expensive, with prices for small bags often starting from ₹300 and going up significantly for premium brands. Moreover, the quality can be inconsistent. Some mixes compact easily, suffocating roots, while others drain too quickly or lack the necessary nutrients for a thirsty herb like mint. By making your own mix, you control every ingredient. This ensures your mint gets the perfect balance of moisture retention, drainage, and nutrition, leading to healthier plants and more flavourful leaves—all while saving you a considerable amount of money.
The Building Blocks of a Perfect Mint Mix
Creating a great potting mix is like following a simple recipe. You need three key types of ingredients: a base for structure, an aerator for drainage, and a nutrient source for food. A common and highly effective mix for herbs involves equal parts of these three elements. For Indian gardeners, the most accessible components are cocopeat (as a base), sand or perlite (for aeration), and vermicompost (for nutrients). Cocopeat is excellent for holding moisture without becoming waterlogged. Perlite, a lightweight volcanic rock, creates air pockets for healthy roots. Vermicompost, or worm castings, provides a rich, slow-release source of essential nutrients.
Simple DIY Soil Recipes
You don't need to be a soil scientist to make a fantastic mix for your mint. Here are two easy, effective recipes using readily available materials: 1. The Basic All-Rounder Mix: This is the perfect starting point for any beginner. Simply combine equal parts of cocopeat, vermicompost, and coarse sand or perlite. For example, use one pot of each ingredient, mix them thoroughly in a larger bucket, and your soil is ready. This mix provides a great balance of moisture retention, drainage, and fertility that mint loves. 2. The Moisture-Lover's Mix: If you live in a very hot and dry climate or tend to forget watering, you can adjust the ratio to hold more moisture. Try a mix of two parts cocopeat, one part vermicompost, and one part perlite. The extra cocopeat acts like a sponge, keeping the soil consistently moist, which mint appreciates. You can also add a handful of neem cake powder (neem khali) to any mix; it provides nutrients and helps deter common soil pests.
Potting and Ongoing Care
Once your soil is mixed, choose a pot that is at least 8-12 inches wide to give the mint's roots room to spread. Ensure the pot has drainage holes. Fill it with your DIY mix, plant your mint cutting or starter plant, and water it well until water runs from the bottom. Place the pot where it will receive at least 4-6 hours of sunlight daily; morning sun is ideal, with some afternoon shade in hotter climates to prevent leaf scorch. Keep the soil consistently moist but not waterlogged—water when the top inch feels dry to the touch. Since you've started with a nutrient-rich mix, you won't need to fertilize heavily. A light top-dressing of vermicompost every month or two is sufficient to keep your mint thriving.