


Why Homemade Beats the Store
The main advantage of making your own ice cream is total control over the ingredients. Commercial ice creams often contain preservatives, stabilisers like guar gum, and artificial flavours to extend shelf life and maintain texture. When you make it at home,
you decide what goes in. This means no unpronounceable chemicals and the freedom to use fresh, natural ingredients. You can control the sweetness, avoid allergens, and use high-quality fruit for a flavour that processed products simply can't match. The result is a dessert that's not only fresher and more delicious but often healthier too.
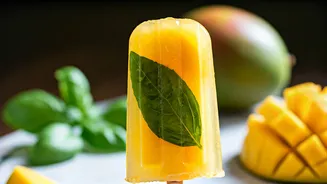
Choosing Your Mango Wisely
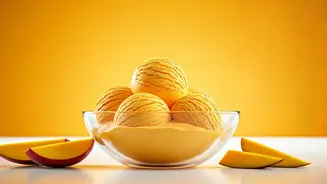
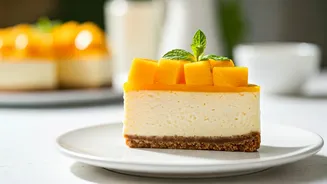
The secret to an unforgettable mango ice cream lies in the mango itself. For the creamiest, most flavourful result, you need a mango variety that is naturally sweet, aromatic, and has smooth, fibre-free flesh. In India, Alphonso (or Hapus) is widely regarded as the king for desserts, prized for its saffron-coloured pulp, buttery texture, and minimal fibre. Other excellent choices include Kesar, known for its intense aroma and colour, and Badami from Karnataka, which offers a balanced sweetness and creamy consistency. A ripe, fragrant mango with deep yellow or orange pulp will give your ice cream a beautiful natural colour and reduce the need for extra sugar.
Your Simple Blender Toolkit
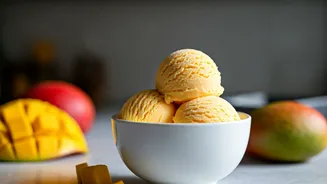
You don't need a fancy, expensive ice cream maker for this recipe. The hero of this operation is your trusty blender or food processor. The basic ingredients are beautifully simple: ripe mangoes, a creamy element, and a sweetener. Most no-churn recipes rely on a combination of heavy whipping cream and sweetened condensed milk. The cream, when whipped, incorporates air to keep the mixture light and prevent ice crystals, while the high sugar content in condensed milk lowers the freezing point, ensuring a soft, scoopable texture. For this recipe, you will need about two to three sweet mangoes, one can of condensed milk, and about 400-500ml of heavy cream.
The Step-by-Step Blending Guide
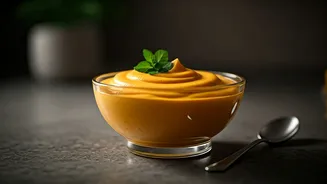
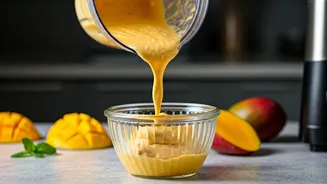
First, prepare your mangoes. Peel and chop the fruit, discarding the seed. For an even more intense flavour, you can use the pulp from three mangoes. Place the chopped mango into your blender and blend until you have a completely smooth puree. In a separate large bowl, use a hand mixer or a stand mixer to whip the cold heavy cream until it forms stiff peaks. This step is crucial for a light, airy texture. Next, gently pour the condensed milk and the mango puree into the whipped cream. Using a spatula, fold the mixtures together until just combined. Be careful not to overmix, as you want to keep the air you whipped into the cream.
Freezing for Perfect Creaminess
Pour the final mixture into a freezer-safe container, like a metal loaf pan. Metal containers help the ice cream freeze faster, which is key to preventing large ice crystals from forming. For extra protection against iciness, press a piece of plastic wrap or parchment paper directly onto the surface of the ice cream before putting on the lid. Freeze for at least 8 hours, or preferably overnight, until firm. Some recipes suggest a double-blending method for ultimate creaminess: freeze for 3-4 hours until partially set, then transfer the mixture back to the blender for a final blitz before freezing completely overnight.
Serving and Customising Your Creation
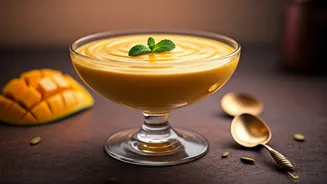
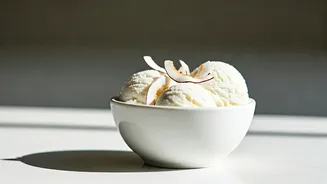
Before serving, let the ice cream sit at room temperature for about 5 to 10 minutes to soften slightly, making it easier to scoop. Serve it plain to savour the pure mango flavour, or get creative with toppings. A sprinkle of chopped pistachios, a few strands of saffron, or even some extra chunks of fresh mango can elevate the experience. For a more traditional Indian twist, consider folding in a pinch of cardamom powder with the mango puree. The beauty of homemade ice cream is the ability to experiment and create your own signature flavour.