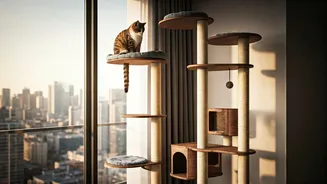


Why Go Vertical?
Cats are natural climbers. In the wild, they seek high vantage points for safety, observation, and asserting their place in the social hierarchy. Confining them to the floor of a compact apartment can lead to boredom, stress, and even destructive behaviour.
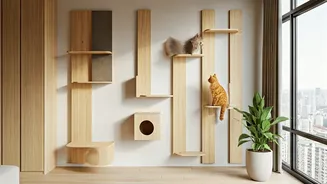
By building upwards, you tap into their innate instincts. Vertical spaces like shelves, perches, and bridges create a 'cat superhighway' that offers exercise, mental stimulation, and a secure territory they can call their own. It’s the single most effective way to enrich an indoor cat's environment, especially in the space-conscious reality of urban India.
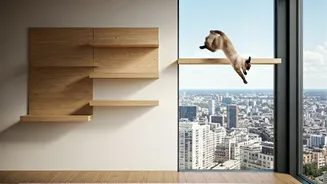
Step 1: Plan Your Path
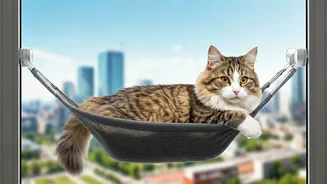
Before you drill a single hole, observe your cat and your space. Does your cat love leaping onto the highest bookshelf, or are they more of a cautious explorer? A bold cat might enjoy a challenging route with gaps to jump, while a senior or timid cat will need a more straightforward path. Next, map out the route on your wall. Identify studs for secure anchoring—this is non-negotiable for safety. A good path often connects existing 'cat-friendly' zones like a window sill, the top of a cabinet, or a favourite armchair. Think of it as creating a circuit, with multiple entry and exit points, so your cat never feels trapped.
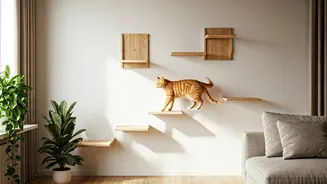
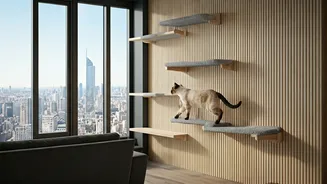
Step 2: Choose Your Components
A great cat wall is made of more than just simple shelves. The star of the show is the cat wall bridge. These rope or wooden slat bridges add an element of exciting instability that confident cats love, challenging their balance and engaging their minds. Complement the bridge with a variety of other elements. Floating shelves act as resting spots, while small, carpeted perches are perfect for leaping between. You can find pre-made kits online, but a DIY approach using sturdy wooden planks from a local hardware store allows for complete customisation. Just ensure any wood is sanded smooth and all materials are non-toxic.
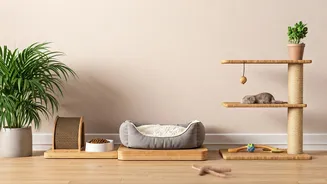
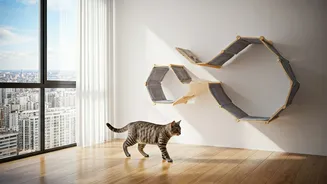
Step 3: Focus on Texture and Grip
Aesthetics matter, but function is paramount. A slippery surface is a recipe for disaster. Ensure all shelves, bridges, and perches offer excellent grip. You can achieve this by wrapping surfaces in sisal rope (which doubles as a scratching surface), attaching remnants of a durable, low-pile carpet, or using non-slip adhesive pads. This simple step provides the security your cat needs to navigate their new vertical world with confidence. It also protects your walls and the furniture itself from wear and tear, a key consideration in a rental property.
Step 4: The Art of Installation
This is the most critical step for safety. Always use a stud finder to locate the solid wooden beams behind your drywall. Anchoring shelves directly into drywall, even with plugs, is not sufficient to hold a cat's weight, especially when they are leaping. Use strong, high-quality L-brackets and screws that are long enough to penetrate deep into the studs. Double-check the weight rating for all your hardware. After installing each piece, give it a firm tug to test its stability before allowing your cat near it. If you’re not confident in your DIY skills, hiring a professional handyman is a wise investment.
Step 5: The Grand Introduction
Don’t expect your cat to start using the highway immediately. Introduction should be gradual and positive. Use high-value treats, a favourite toy, or a laser pointer to lure them onto the first shelf. Place treats along the path to encourage exploration. Make it a game, and never force them. Lavish praise on them for every small step they take. By associating the new space with positive reinforcement, you teach them that this vertical playground is a fun and rewarding place to be. Soon enough, you'll be looking up to find them lounging contentedly on their new favourite perch.