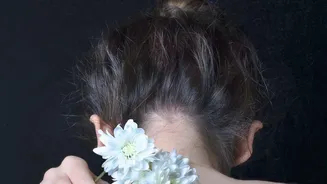

Effortless, chic, and endlessly versatile, the low messy bun is a hairstyle staple. But taking it from a simple, rushed updo to a purposefully polished look is all in the details. Here is your guide to perfecting this timeless style.
Start with Texture
A great messy bun
rarely starts with perfectly clean, silky hair. The secret to that 'artfully undone' look is texture and grip. If your hair is freshly washed, give it some life with a salt spray or texturizing mist. This will add body and prevent the bun from looking too flat or slipping out. For those with second-day hair, you are already one step ahead. A bit of dry shampoo at the roots can absorb excess oil while also providing volume, creating the perfect foundation for a bun that has both hold and fullness. Don't aim for perfectly smooth; a little bit of grit is your friend here.
The Basic Low Bun Technique
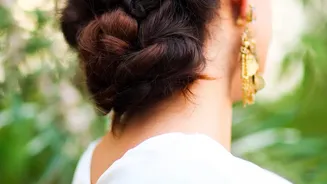
Mastering the basic form is your first step. Start by gathering your hair at the nape of your neck into a loose ponytail. On the last pull-through of your hair tie, don't pull the ponytail all the way. Instead, create a loop, leaving the ends out. This is the quickest way to form the bun's shape. Once the loop is created, you can use the leftover ends. Wrap them around the base of the elastic to conceal it, and secure them with a couple of bobby pins. This simple method is fast and forms the foundation for all the details you’ll add later.
Frame Your Face
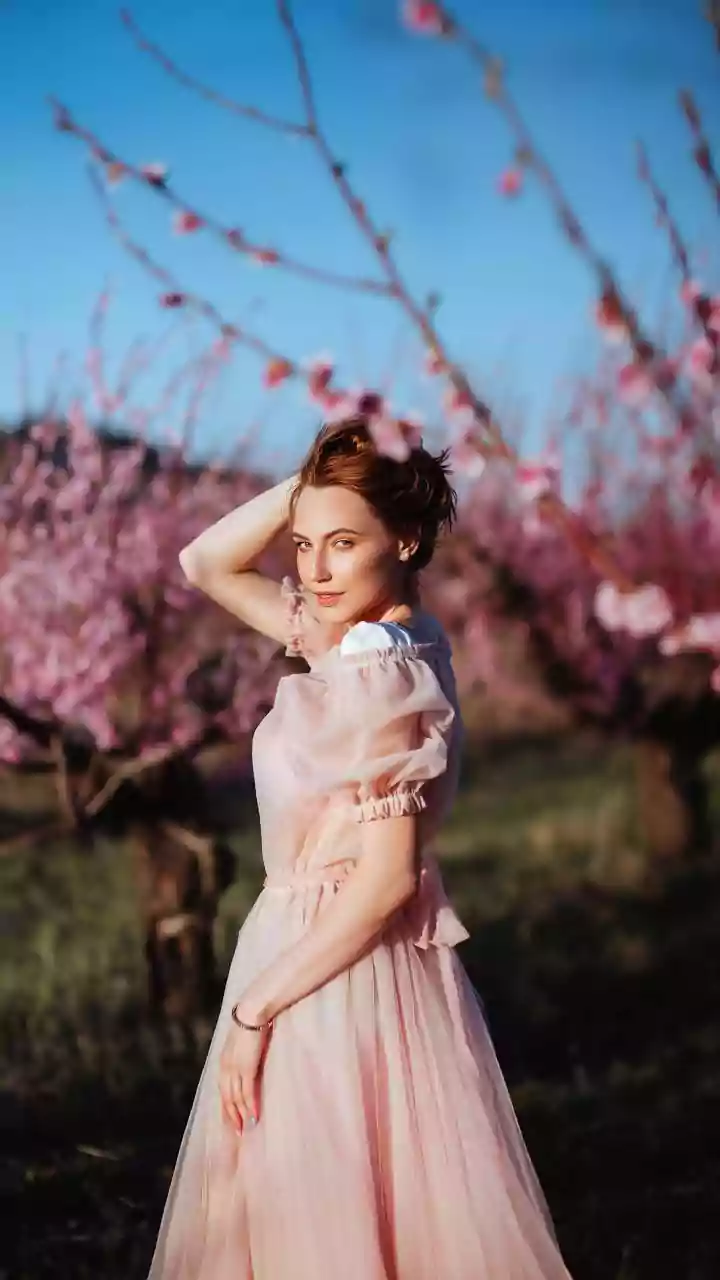
The difference between a truly stylish messy bun and one that just looks messy often lies in the front pieces. Deliberately pulling out a few soft tendrils or face-framing layers can soften the entire look, making it feel more romantic and intentional. You can gently curl these pieces for a more polished occasion or leave them wispy for a casual, everyday vibe. Focus on pulling strands from around the temples and by the ears. This simple touch adds softness and prevents the style from feeling too severe, beautifully complementing your features.
Incorporate Braids and Twists
To add intricate detail without much difficulty, try incorporating a braid. Before you create your bun, you can create a simple braid on one side of your head, starting from your hairline and leading back towards the nape. Then, gather the end of the braid along with the rest of your hair into the bun. Another option is to create the low ponytail first, braid it, and then wrap the braid into a bun. This adds texture and visual interest. Even a simple twist, like a topsy-tail flip above your ponytail before creating the bun, can elevate the look significantly.
Accessorize Thoughtfully
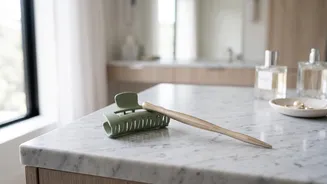
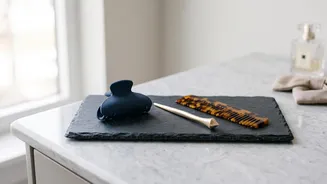
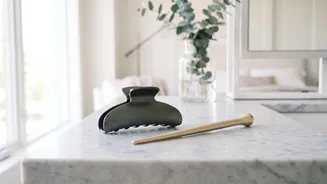
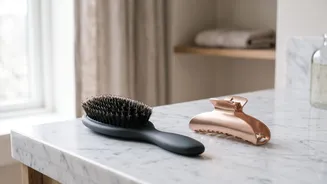
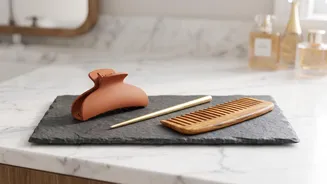
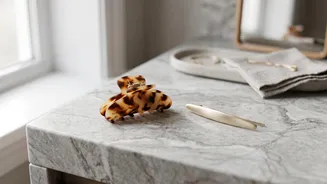
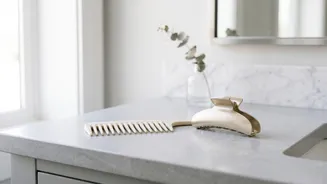
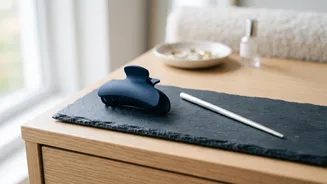
Accessories are the fastest way to add personality and detail. A silk scarf tied around the bun or used as a headband adds a pop of color and sophistication. For a more modern and chic feel, consider adding a metallic claw clip or a few minimalist gold barrettes. Even a simple scrunchie, especially a velvet or silk one, can be a stylish addition that also helps make the bun look fuller. These small additions can transform your bun from a gym-ready style to a look appropriate for a night out.
Customize for Your Hair Type
Not all hair is the same, so adjust your technique accordingly. If you have fine hair, your main goal is creating volume. Use texturizing spray generously and gently tug and pull on the finished bun to make it appear larger and more airy. For those with thick hair, the focus is on control. You may need stronger hair ties and a few extra bobby pins to secure the weight. If you have curly hair, embrace your natural texture. Avoid brushing it out and instead work with your curls to create a bun with beautiful, builtin volume and dimension.