




The Magic of a Master Gravy
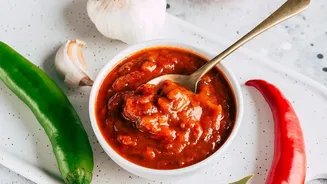
At the heart of countless North Indian dishes lies a foundational sauce, often called 'bhuna masala' or onion-tomato masala. This versatile gravy is made by slowly sautéing onions, tomatoes, ginger, garlic, and aromatic spices until they meld into a rich,
concentrated paste. Having a batch of this on hand is the single biggest time-saver for anyone who loves Indian food. It forms the backbone of everything from Chana Masala to Paneer Butter Masala, allowing you to bypass the most time-consuming part of the cooking process. Think of it as your secret weapon for restaurant-quality curries that taste like they took hours to prepare.
Your One-Hour Ingredient List
The beauty of this base is its simplicity. You don't need exotic ingredients, just a few pantry staples. For a generous batch, you will need about four large onions, five or six ripe tomatoes, a two-inch piece of ginger, and about ten cloves of garlic. For spices, stick to the basics: turmeric powder, red chilli powder, and coriander powder are essential. You'll also need a neutral cooking oil or ghee, which not only helps in the cooking process but also acts as a natural preservative. While some recipes include whole spices or cashew paste for richness, this core list is all you need to create a truly versatile foundation.
The Step-by-Step Method
The process, known as 'bhuna', involves patiently roasting the ingredients to develop deep, complex flavours. Start by heating oil in a heavy-bottomed pan and adding finely chopped or pureed onions. Cook them on a medium flame, stirring frequently, for about 15-20 minutes until they turn a deep golden brown. This caramelization is crucial for the final flavour. Next, add the ginger-garlic paste and sauté for another few minutes until the raw smell disappears. Then, add your pureed tomatoes and powdered spices. Continue to cook, stirring regularly, for another 15-20 minutes. The goal is to cook out all the moisture.
Achieving the Perfect Consistency
How do you know when the masala is perfectly cooked? The most important visual cue is when the oil begins to separate from the paste, glistening at the sides of the pan. This indicates that all the water from the tomatoes has evaporated and the masala is well-roasted. The paste will have darkened in colour and become thick and fragrant. At this point, you can use an immersion blender to smooth it out or leave it slightly chunky, depending on your preference. This final cooked-down state is not just for flavour; it's also key to its preservation, as the reduced moisture content inhibits bacterial growth.
Smart Storage for Zero Spoilage
Proper storage is essential to prevent spoilage and get the most out of your efforts. First, allow the curry base to cool completely to room temperature before storing. Storing it while hot can create condensation, which encourages spoilage. For short-term use, transfer the base to a clean, airtight glass container and refrigerate; it will last for about a week. For longer storage, freezing is the best option. Portion the cooled paste into an ice cube tray. Once frozen solid, transfer the cubes to a zip-lock bag. This method allows you to use only what you need, and the base can last for several months.
Unlocking Its Versatility
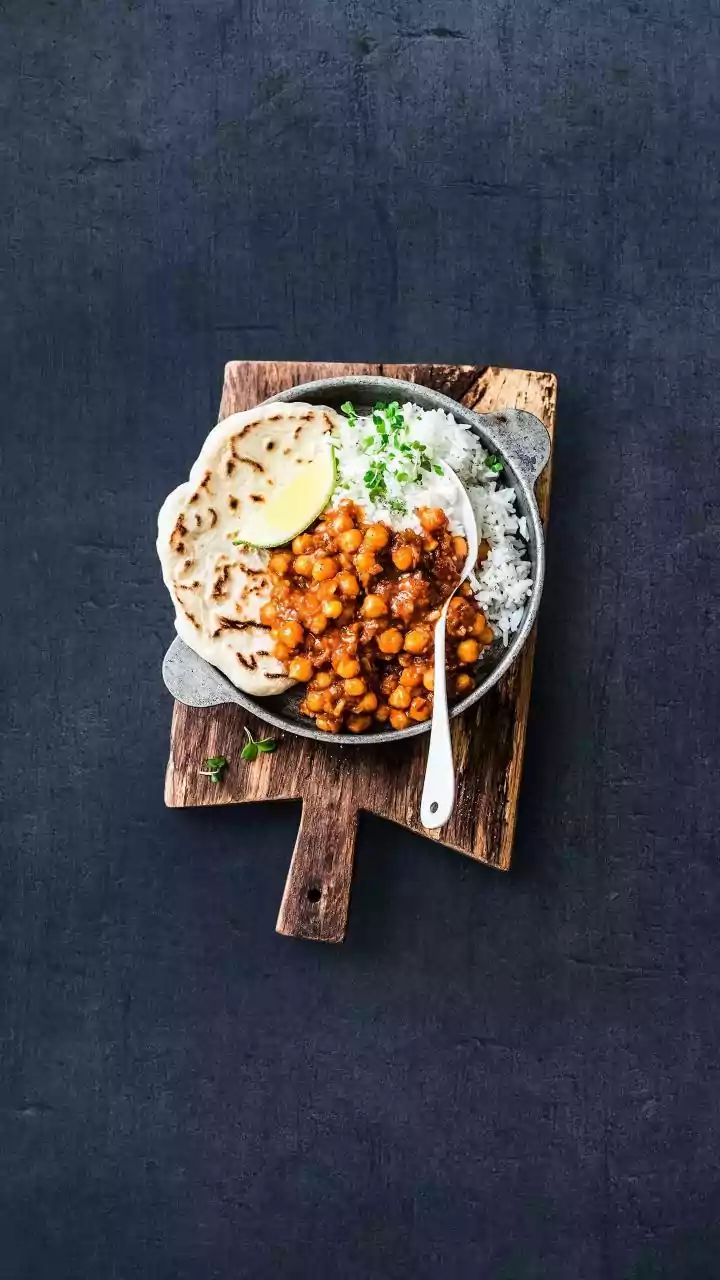
With your curry base ready, making a delicious meal is incredibly fast. To make a quick chickpea curry (Chana Masala), simply heat a few cubes of the base, add boiled chickpeas, a splash of water to reach your desired consistency, and finish with a sprinkle of garam masala. For a simple paneer dish, sauté cubes of paneer, add the base, and perhaps a touch of cream for richness. You can use it as a starter for lentil dishes like dal makhani, vegetable curries, or even chicken and egg curries. Each time, the base does the heavy lifting, and you can customize the finishing touches to create a new dish entirely.