

The Taste of Devotion
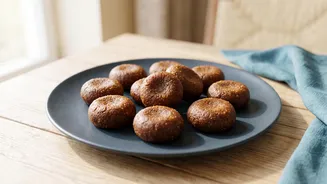
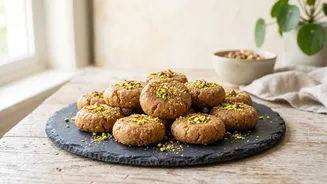
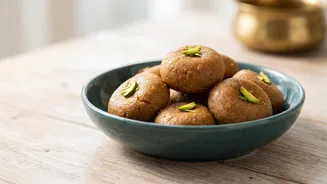
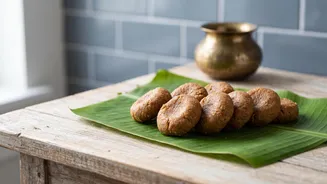
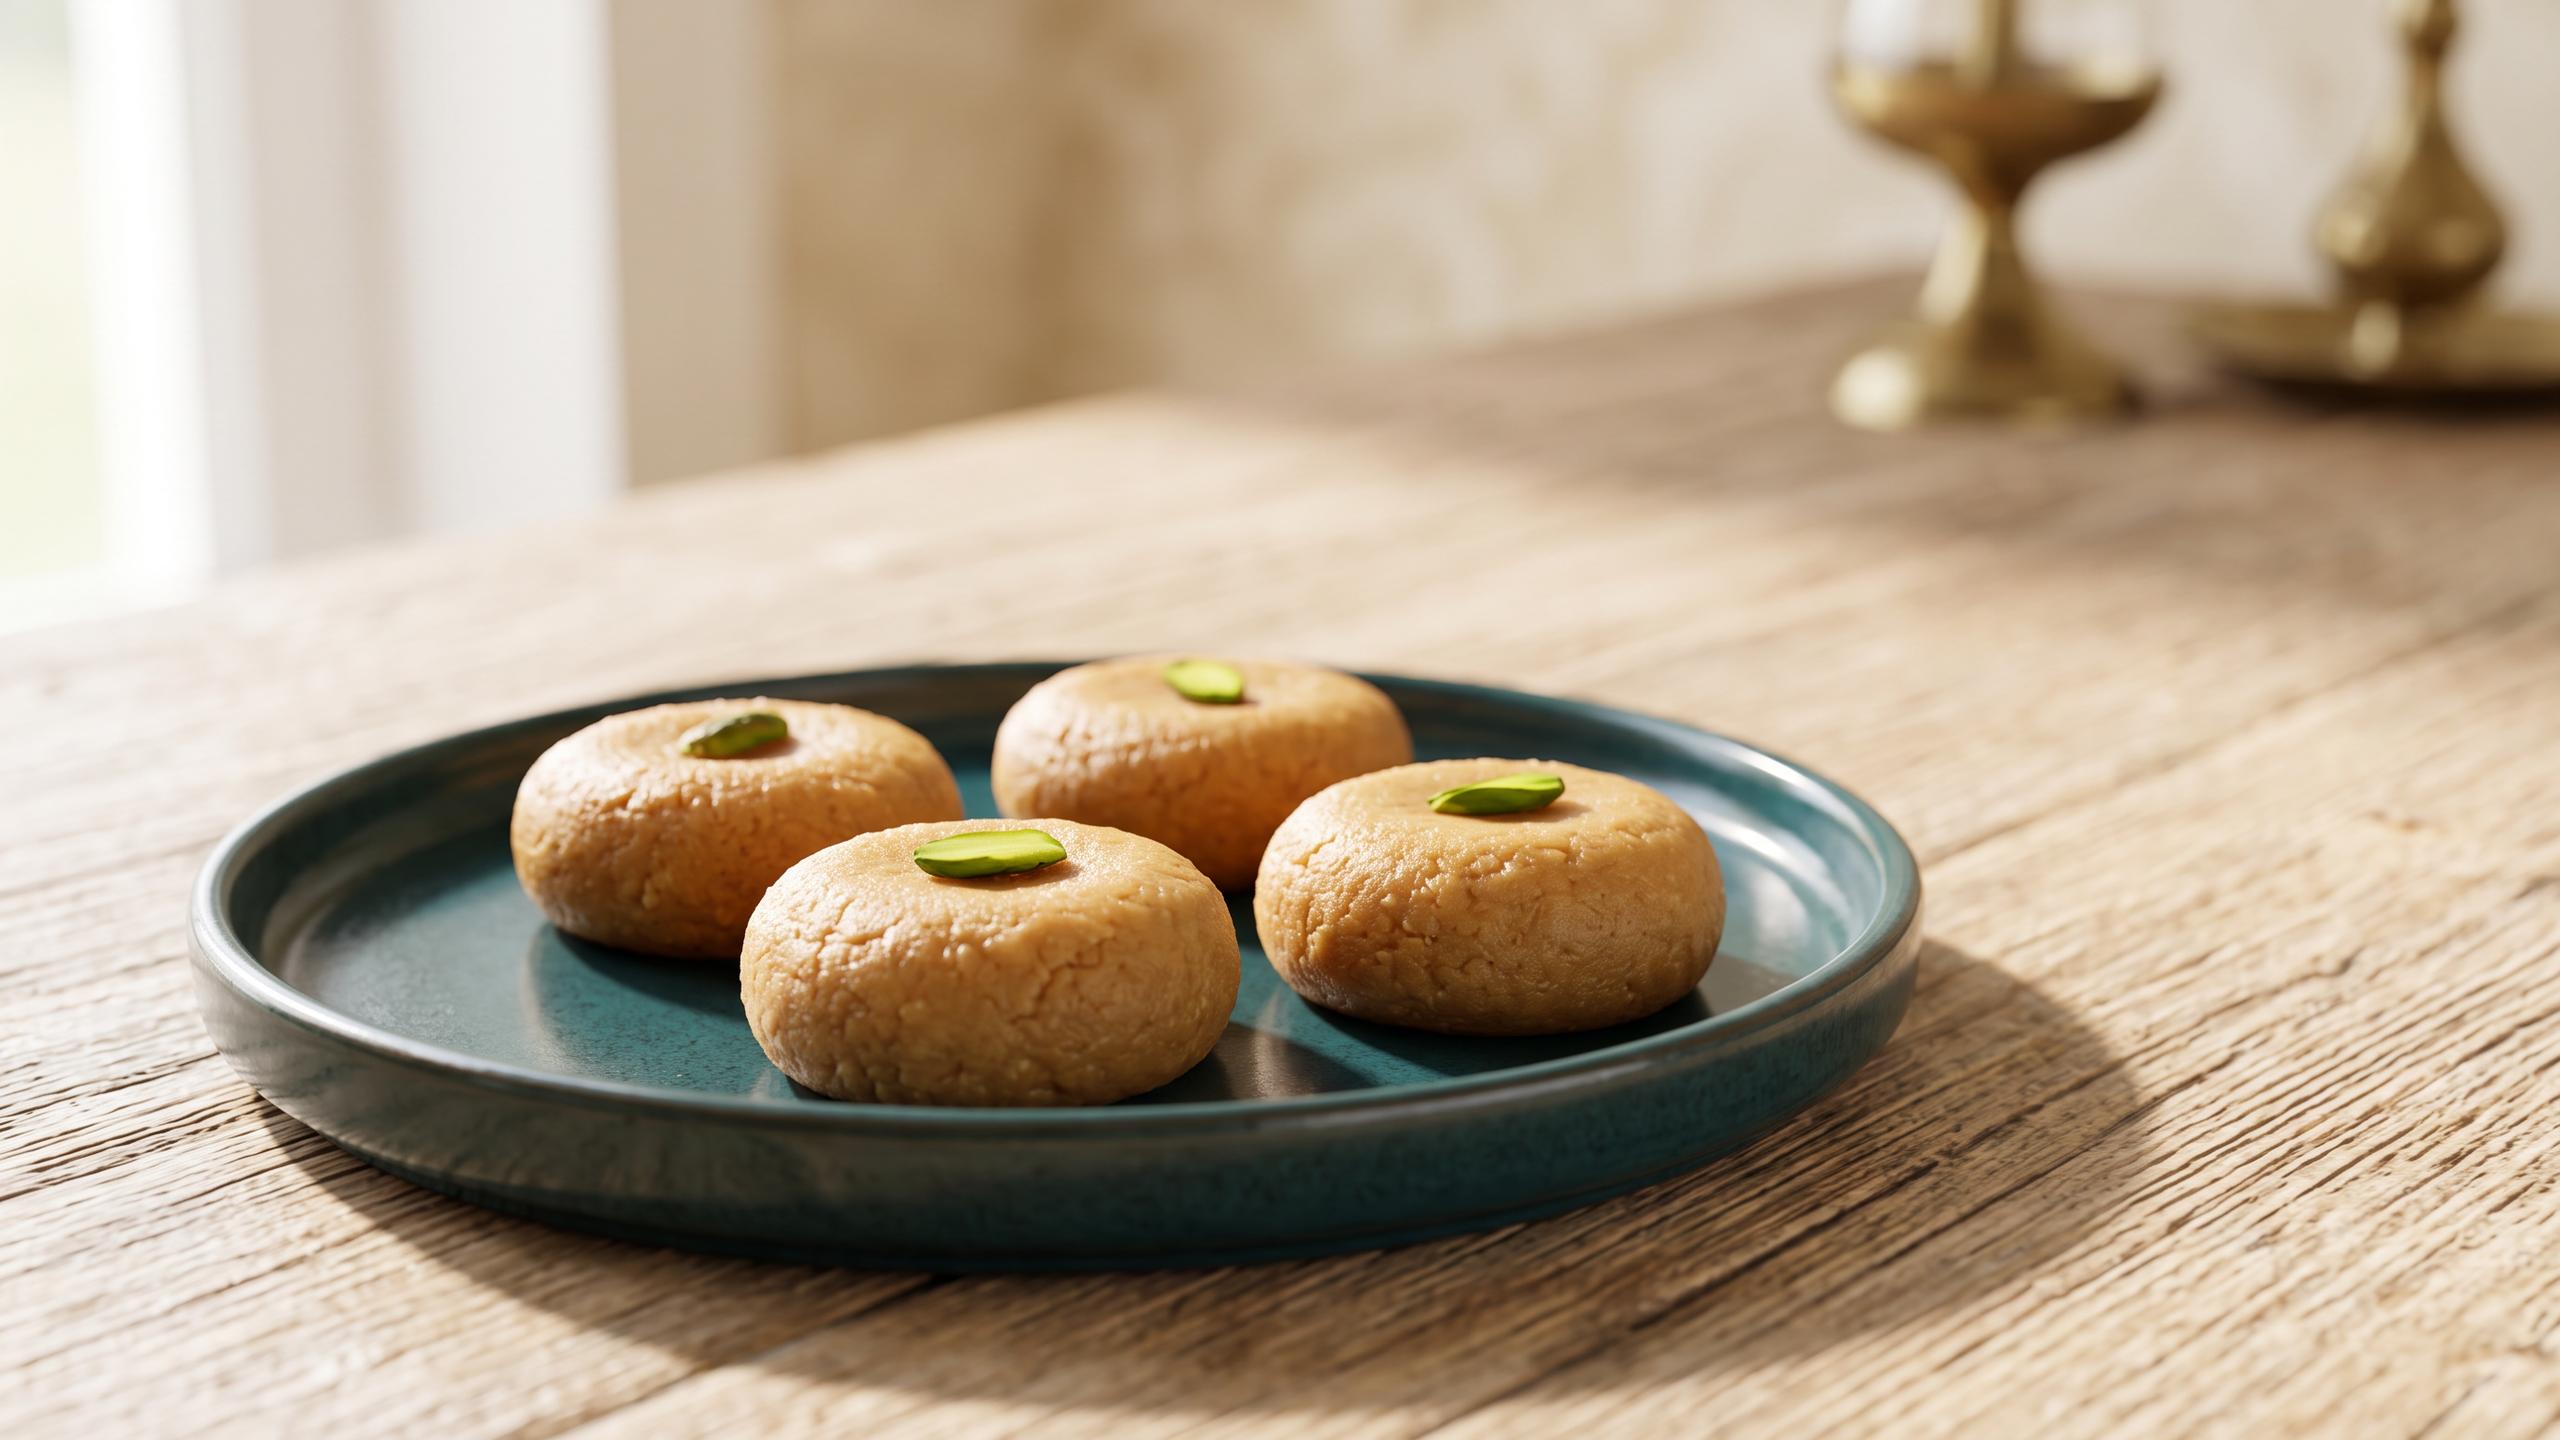
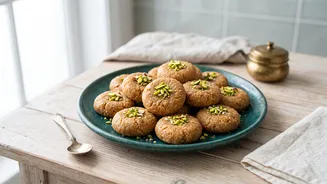
Janmashtami would feel incomplete without the taste of peda, and no peda is more famous than that from Mathura. This iconic sweet, with its unique brownish colour and grainy texture, is more than just a dessert; it's a piece of tradition and a sacred
offering, or 'prasad'. Lord Krishna, whose birth is celebrated on Janmashtami, was born in Mathura and was known for his fondness for milk and milk-based sweets. The Mathura Peda is deeply connected to this legacy, making it the perfect sweet to prepare for the festival. Unlike the more common white or yellow pedas, the Mathura version gets its signature colour and caramelised flavour from the slow-roasting of milk solids (khoya), a process that turns simple ingredients into something truly divine. Making it at home is a way to participate in the festive spirit and offer something made with love and devotion.
Your Essential Ingredients
This recipe relies on a few key ingredients to achieve its authentic taste. Using good quality khoya is essential for the best results. You will need: Khoya (Mawa): 250 grams, unsweetened and grated. This is the heart of the peda. You can find it at most Indian grocery stores. Ghee: 2 to 3 tablespoons. Ghee adds richness and helps in roasting the khoya evenly without it sticking to the pan. Sugar: 1/2 cup of 'tagar' or 'bura' (caramelised or powdered sugar). Powdered sugar also works well. You will also need a little extra for coating the pedas. Milk: 2 to 3 tablespoons, as needed. This helps to adjust the consistency and prevent the mixture from becoming too dry. Cardamom Powder: 1/4 to 1/2 teaspoon, for a fragrant aroma. Nutmeg Powder (Optional): A pinch of nutmeg can add a warm, earthy flavour that complements the roasted khoya beautifully.
The Simple Step-by-Step Method
Patience is the key to perfect Mathura pedas. The slow roasting process is what develops the unique flavour and colour, so do not rush it. Cook on a low to medium flame throughout. 1. Roast the Khoya: Place a heavy-bottomed pan or kadhai on low heat. Add the grated khoya and begin to roast it, stirring continuously. After about 5 minutes, it will start to melt and change colour. 2. Add Ghee and Continue Roasting: Add the ghee to the pan and continue to stir and roast the khoya. The goal is to achieve a dark, golden-brown colour. This can take anywhere from 15 to 25 minutes of constant, patient stirring. The mixture will release a beautiful nutty aroma. 3. Adjust Consistency: If the khoya mixture appears too dry during roasting, add a tablespoon or two of milk. This will help it cook evenly and develop a smooth, yet grainy texture. 4. Cool the Mixture: Once the khoya is a rich brown colour and feels grainy, turn off the heat. Transfer the mixture to a separate plate or bowl and let it cool down until it is just warm enough to touch. Do not let it cool completely. 5. Add Sugar and Flavouring: To the warm khoya mixture, add the powdered sugar, cardamom powder, and nutmeg powder (if using). Mix everything together thoroughly with your hands until it forms a uniform, dough-like consistency. 6. Shape the Pedas: Take small portions of the mixture and roll them into smooth balls between your palms. Gently flatten each ball to create the classic peda shape. 7. Coat and Serve: Roll the finished pedas in some extra powdered sugar for the traditional finish. Let them set for about an hour before serving.
Tips for Perfect Mathura Pedas
Achieving that authentic, rustic texture is what sets Mathura peda apart. Here are a few tips to get it just right: The Right Pan: Always use a heavy-bottomed or non-stick pan to prevent the khoya from burning and sticking. Low and Slow Heat: The browning process must be gradual. High heat will burn the khoya, making it taste bitter instead of nutty and caramelised. Achieving the Grainy Texture: The signature granular texture comes from properly roasting the khoya and sometimes from adding small splashes of milk during the cooking process, which causes the milk solids to react and form grains. Some recipes also suggest a quick pulse in a blender after roasting to get the texture right before adding sugar. Sugar Matters: Using 'tagar' or 'bura' sugar contributes to a more authentic texture. If using regular powdered sugar, ensure the khoya mixture is only slightly warm when you add it, as adding it to a hot mixture can cause it to melt and make the pedas chewy. * Storage: Store the pedas in an airtight container at room temperature for up to a week.