


What Are Cottage Cheese Wraps?
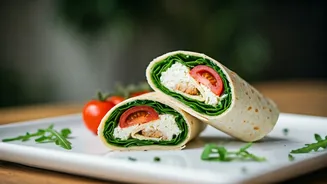
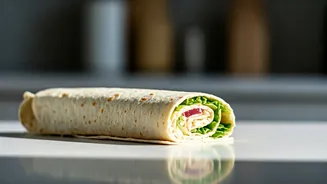
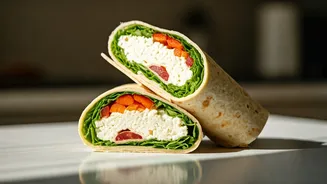
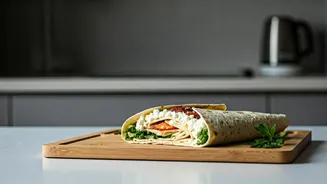
If you've scrolled through social media recently, you've likely seen them: golden-brown, pliable wraps holding an array of delicious fillings. These viral sensations are made by blending cottage cheese and eggs into a smooth batter, spreading it thinly
on a baking sheet, and baking it until firm. The result is a soft, sturdy, and surprisingly neutral-tasting wrap that's perfect for rolling. For those who dislike the texture of cottage cheese, this is a game-changer, as the blending process makes it completely smooth. Their popularity comes from being a naturally gluten-free, low-carb, and high-protein alternative to flour-based tortillas.
A Nutritional Powerhouse
The primary appeal of these wraps lies in their impressive nutritional profile. Each wrap, before fillings, can pack a significant protein punch, often between 18 to 45 grams depending on the recipe. This high protein content, primarily slow-digesting casein from the cottage cheese, helps you feel fuller for longer, making it a great option for weight management. Compared to traditional flour tortillas, cottage cheese wraps contain significantly fewer carbohydrates, making them an excellent choice for those following low-carb or ketogenic diets, as well as for individuals managing blood sugar levels. They are also a great source of calcium and other essential nutrients.
Your Simple, Step-by-Step Recipe
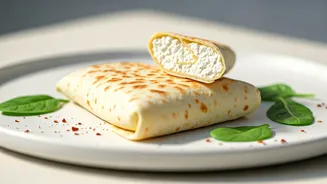
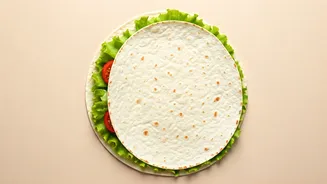
Making these wraps at home is incredibly straightforward. While recipes vary slightly, the core components remain the same. For two wraps, you will need: 1 cup of cottage cheese, 2 large eggs, and seasonings of your choice. Many recipes suggest adding a teaspoon of Italian seasoning, garlic powder, and onion powder for extra flavor. First, preheat your oven to 175-180°C (350°F). Next, combine the cottage cheese, eggs, and seasonings in a blender or food processor. Blend until the mixture is completely smooth, with no lumps remaining. Line a baking sheet with parchment paper and pour the batter onto it, using a spatula to spread it into a thin, even rectangle. Bake for 25-35 minutes, or until the surface is golden brown and firm to the touch. Let it cool on the pan for a few minutes before gently peeling it off the parchment paper and cutting it in half to create two wraps.
Tips for Perfect Wraps
While the recipe is simple, a few tips can ensure success. Always use parchment paper, and some recipes even recommend lightly greasing the paper to prevent any chance of sticking. When spreading the batter, aim for an even thickness; if it's too thin, the edges might burn or the wrap could become brittle and crack. The baking time can vary depending on your oven and the thickness of the batter, so keep an eye on it. The wrap is ready when the top is browned and it's no longer liquid to the touch. Allow the wrap to cool for at least five to ten minutes before handling, as it will become sturdier and less likely to tear as it sets.
Meal Prep and Filling Ideas
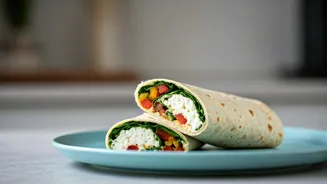
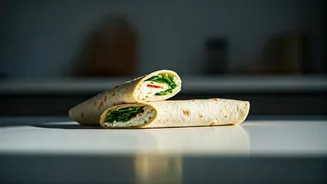
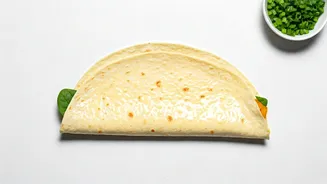
These wraps are ideal for meal prepping. You can bake a large batch at the beginning of the week and store them in an airtight bag or container in the refrigerator. They are incredibly versatile and can be filled with almost anything. For a classic lunch, try a deli-style wrap with turkey, cheese, lettuce, and tomato. They also work wonderfully with chicken salad, tuna salad, or even a vegetarian filling of hummus and roasted vegetables. You can also make a breakfast burrito with scrambled eggs and bacon, or turn the wrap into a base for a personal pizza by adding sauce and toppings and baking for a few more minutes.