


Your Simple Ingredient Checklist
The beauty of this recipe lies in its simplicity. You likely have most, if not all, of these ingredients waiting in your kitchen. This single-serving recipe is designed for a standard 10- or 12-ounce microwave-safe mug or ramekin. Here's what you'll need:
4 tablespoons all-purpose flour 2 tablespoons unsweetened cocoa powder 3 tablespoons granulated sugar ¼ teaspoon baking powder A pinch of salt 4 tablespoons milk 2 tablespoons vegetable oil or melted butter ½ teaspoon vanilla extract * 1-2 squares of good quality dark or semi-sweet chocolate.
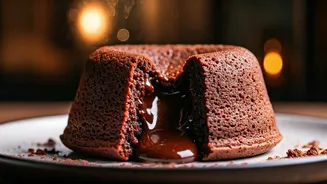
Step-by-Step to Molten Perfection
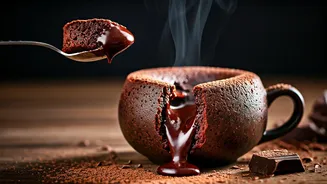
This process is as simple as measure, mix, and microwave. The key is to work quickly and not overmix the batter, which can lead to a tough cake. 1. Combine the Dry Ingredients: In your microwave-safe mug, add the flour, cocoa powder, sugar, baking powder, and salt. Use a fork or a small whisk to mix them together until they are thoroughly combined and free of lumps. 2. Add the Wet Ingredients: Pour the milk, vegetable oil (or melted butter), and vanilla extract directly into the mug with the dry ingredients. Stir everything together until you have a smooth, thick batter. Be careful not to overmix; just stir until there are no dry streaks of flour left. 3. Create the Lava Core: This is the most important step for that signature molten center. Take your one or two squares of chocolate and press them gently into the middle of the batter until they are just submerged. This solid piece of chocolate will melt into a perfect pool of lava as the cake cooks around it.
The 2-Minute Microwave Magic
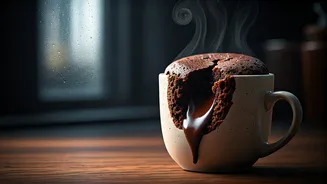
The cooking time is where the “2-minute” promise comes to life, but it requires your full attention. Microwave power varies, so what takes one microwave 90 seconds might take another closer to two minutes. Start with a shorter time and add more if needed. Place your mug in the microwave and cook on high power for 70 to 90 seconds. The cake is done when the edges look set and cooked, but the very center still appears slightly wet and glossy. If you check it and it still seems too liquid, microwave it in additional 10-second bursts until it's just right. Remember, the cake will continue to cook from residual heat after you take it out.
Tips for Foolproof Success
To ensure your lava cake turns out perfectly every time, keep these simple tips in mind: Don't Overcook: This is the number one rule. An overcooked lava cake becomes a regular, (still delicious) chocolate cake, but you'll lose the gooey center. It's better to slightly undercook it than overdo it. Choose the Right Chocolate: While chocolate chips can work in a pinch, a square from a high-quality baking chocolate bar will melt more smoothly and create a better lava effect. Both dark and semi-sweet chocolate work wonderfully. Know Your Mug: Use a standard-sized, microwave-safe ceramic mug. A wider mug may cook faster than a taller, narrower one. Let It Rest: After taking it out of the microwave, let the cake rest for about a minute. This allows the center to set up just enough while staying molten and lets the mug cool down slightly.
Serving and Customizing Your Cake
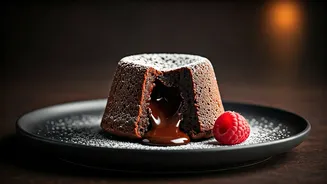
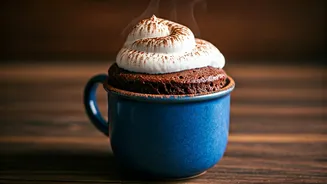
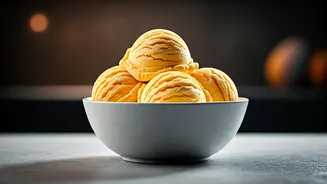
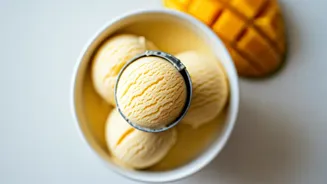
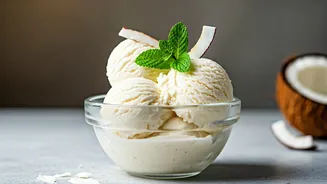
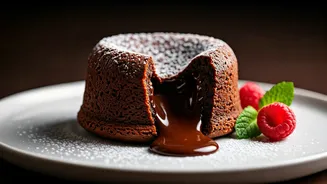
This dessert is fantastic on its own, but a few simple additions can elevate it even further. The most classic pairing is a scoop of vanilla ice cream, which melts beautifully over the warm cake. A dusting of powdered sugar or a dollop of whipped cream also adds a touch of elegance. For a flavor twist, try adding a pinch of espresso powder to the dry ingredients to intensify the chocolate flavor, or serve it with fresh berries like raspberries for a tart contrast.