


Why It's Simpler Now
Starting a garden on your rooftop is no longer a daunting task reserved for experts. The recent boom in urban gardening across India means beginners have access to better resources than ever before. [2, 10] Lightweight containers have replaced heavy concrete
pots, and specialised soilless potting mixes are readily available, taking the strain off your roof and your back. [9, 14] Furthermore, a wealth of information, from online tutorials to gardening apps, provides step-by-step guidance, while smart tools like self-watering planters and automated irrigation systems can handle the daily chores. [7, 21, 25] This combination of modern materials and digital support has fundamentally changed the game.
Step 1: Plan Your Green Space
A little planning goes a long way. First, assess your terrace's conditions. [4] Observe how much sunlight different areas receive throughout the day; most vegetable plants need at least five to six hours of direct sun. [4, 9] Next, ensure you have a convenient water source. [3, 4] The most critical step is to consider the weight. While modern materials are lighter, it's wise to be cautious. For peace of mind, especially if you plan a large garden, consulting a structural engineer is recommended to confirm your terrace's load-bearing capacity. [3, 14] As a general rule, start by placing heavier pots and beds over beams and columns.
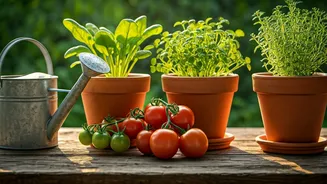
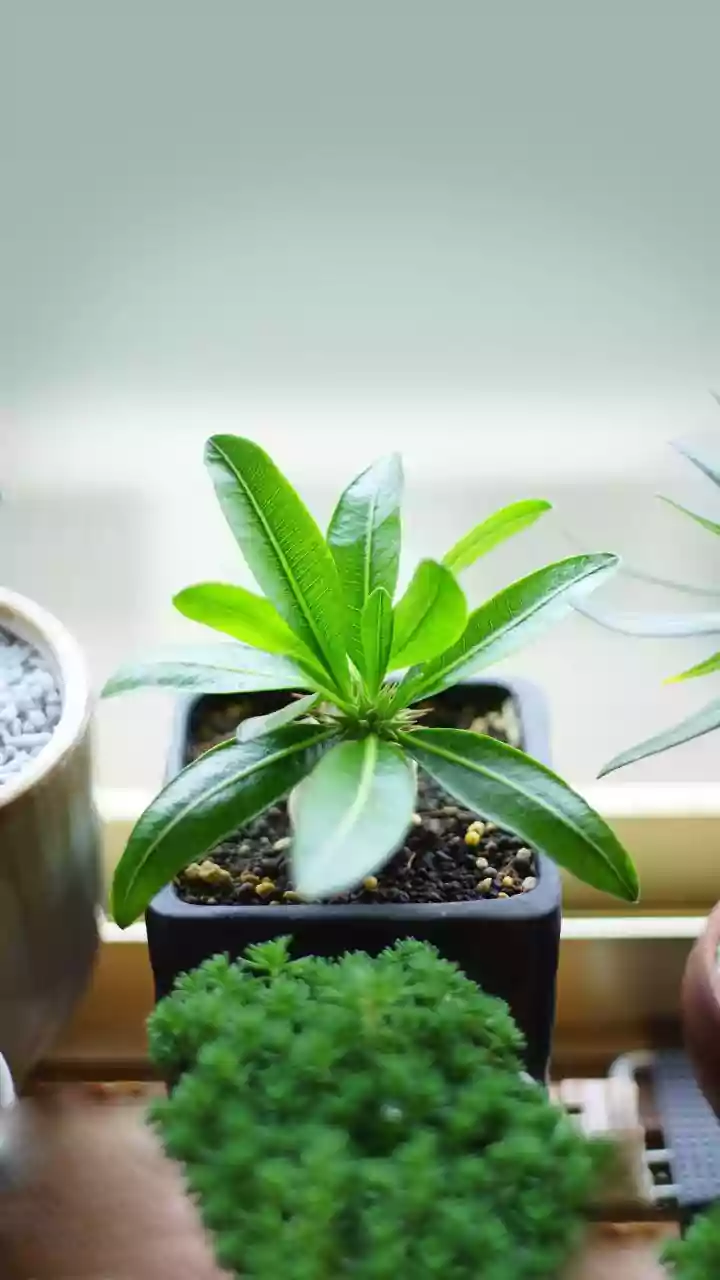
Step 2: The Right Foundation – Containers and Soil
The biggest revolution in terrace gardening is in the materials. Forget heavy, cumbersome pots. Geo-fabric grow bags are the modern choice; they are lightweight, breathable, promote healthier roots through 'air-pruning', and are easy to move. [5, 9] When it comes to soil, never use regular garden soil alone, as it compacts in pots and drains poorly. [3] Instead, opt for a lightweight potting mix. A popular and effective recipe for beginners is a combination of cocopeat (for moisture retention), compost or vermicompost (for nutrients), and perlite (for aeration and drainage). [3, 11] This creates a light, fluffy medium that your plants will love and your roof can easily support. [24]
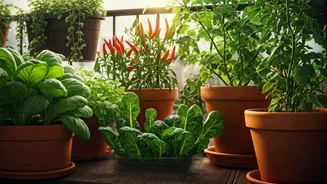
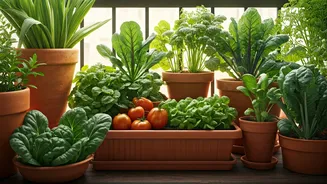
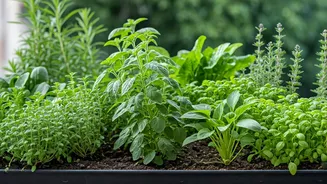
Step 3: Choosing Your First Plants
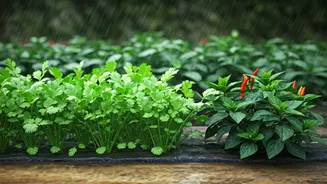
For beginners, it's best to start with plants that are low-maintenance and yield quick results. Herbs are a fantastic starting point. [3] Mint (pudina), coriander (dhania), holy basil (tulsi), and curry leaves grow exceptionally well in Indian climates and can be cultivated in small pots. [16] For vegetables, choose varieties that thrive in containers. Good beginner options include tomatoes, chillies, brinjal, and leafy greens like spinach (palak). [2, 13, 18] These plants are relatively easy to care for and provide the satisfaction of a fresh, home-grown harvest. [2, 10] As your confidence grows, you can graduate to climbers like bottle gourd or even dwarf fruit trees. [4]
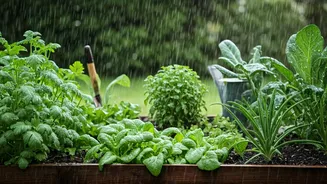
Step 4: Smart Watering and Ongoing Care
Inconsistent watering is a common pitfall for new gardeners. Plants on a terrace, exposed to sun and wind, dry out faster than those in the ground. The key is to check the soil moisture daily—water only when the top inch feels dry. [3] Watering in the early morning or late evening is most effective as it reduces evaporation. [2] To make life easier, consider investing in simple tech. Drip irrigation kits designed for terraces save water and time by delivering moisture directly to the roots. [10, 22] For pest management, start with natural solutions like a neem oil spray, which is effective against common pests and safe for edible plants. [2, 4] Regular pruning and removing dead leaves will keep your plants healthy and encourage new growth. [4]