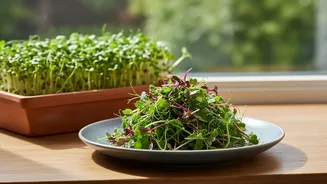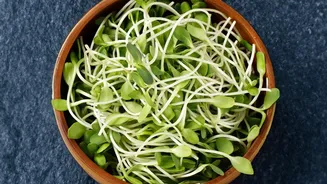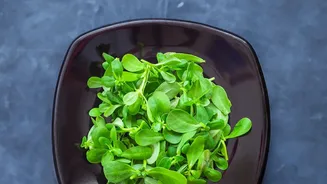


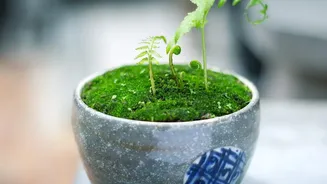

Why Bother With Microgreens?
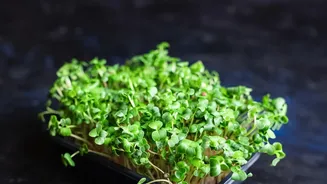
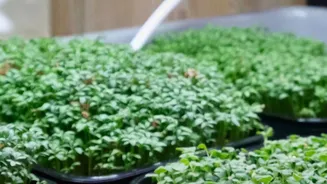
Before you start, it helps to know why these tiny plants are worth your time. Microgreens are young vegetable greens harvested just after the first true leaves have developed. They are packed with flavour and studies have shown they can contain a higher
concentration of nutrients than their mature counterparts. Beyond the health benefits, they are incredibly quick to grow, with many varieties ready to harvest in just one to three weeks. For city dwellers, they offer a rewarding connection to food production without needing a garden, balcony, or any special equipment.
Gathering Your Simple Supplies
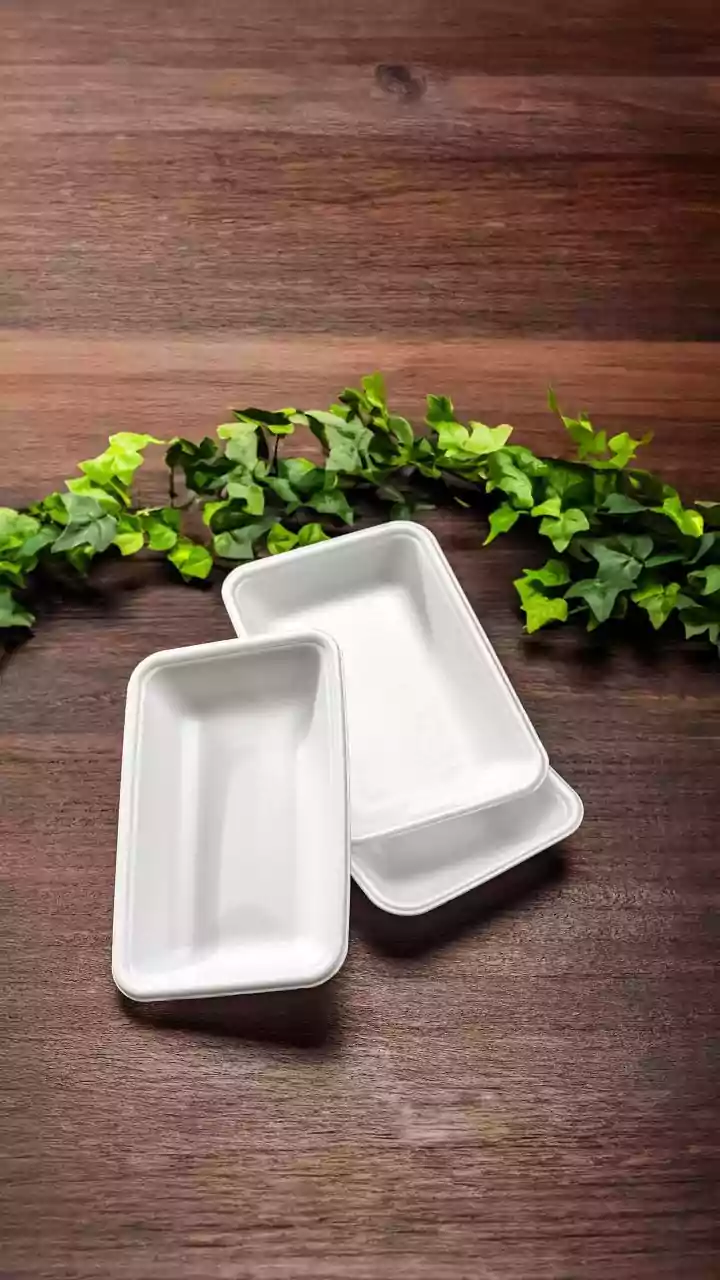
You don’t need a fancy or expensive kit to get started. Most of what you need might already be at home or is easily available. You will need a shallow tray, about one to two inches deep. Re-used food containers, plastic cake boxes, or terracotta saucers work perfectly, as long as they are clean. If your tray doesn't have drainage holes, you can simply use a two-tray system, with one tray inside another. For a growing medium, coco peat (readily available in India) or a standard potting mix is ideal for beginners. You will also need quality seeds and a simple spray bottle for watering.
Choosing the Best Seeds for Beginners
The key to a successful first harvest is choosing easy, fast-growing seeds. Radish, mustard (rai), and fenugreek (methi) are fantastic choices because they germinate quickly and are very forgiving. These are also staples in most Indian kitchens. Other great options for beginners include broccoli and arugula, which are typically ready in 6 to 10 days. It is best to buy seeds specifically labelled for growing microgreens or sprouting to ensure they are untreated with chemicals and safe for consumption.
The Step-by-Step Planting Process
Once your supplies are ready, the planting process is straightforward. First, fill your tray with about an inch of moist coco peat or soil. The medium should be damp like a wrung-out sponge, not soaking wet. Level the surface gently. Next, spread your seeds evenly across the surface. There is no need to bury them; just a dense, single layer will do. Press them gently into the soil. Mist the seeds with your spray bottle, and then cover the tray with a lid or another tray to create a dark, humid environment for germination. This 'blackout' period usually lasts for two to four days.
Creating the Ideal Low-Maintenance Environment
The 'low-maintenance' part comes from setting things up correctly. Place your covered tray in a spot away from direct sunlight. Check it once a day to see if the seeds have sprouted. Once the seedlings are about an inch tall, you can remove the cover and move the tray to a bright windowsill that gets about four to six hours of indirect sunlight. An east-facing window is often perfect as it gets gentle morning sun. To ensure the greens grow evenly, rotate the tray every couple of days so they don’t lean too much in one direction.
Watering and Harvesting Your Greens
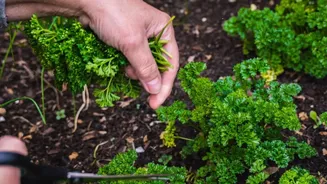
The biggest mistake beginners make is overwatering. Once your microgreens have sprouted, avoid spraying them from the top, as this can encourage mould. The best low-maintenance method is to water from the bottom. If you're using a two-tray system, simply pour a small amount of water into the bottom tray and let the growing medium absorb it from the drainage holes. Your greens are ready to harvest when they are two to three inches tall and have developed their first set of 'true leaves'. This typically takes between 7 and 14 days. To harvest, use a clean pair of scissors and snip the greens just above the soil level.