




The aroma of fresh thyme can elevate any kitchen, and growing it indoors is surprisingly simple. While this hardy Mediterranean herb is forgiving, success hinges on getting one crucial element right: an abundance of bright, direct sunlight.
Sunlight: The Most Crucial Ingredient
Thyme is native
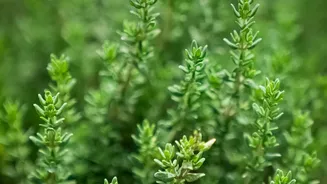
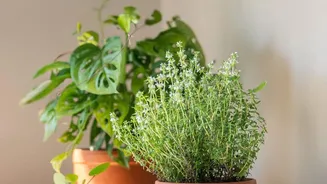
to the sunny, arid hillsides of the Mediterranean. To thrive indoors, it needs to replicate these conditions as closely as possible. This means providing at least six to eight hours of direct sunlight each day. A south-facing window is the ideal location in your home. If you notice your thyme plant becoming 'leggy'—with long, stretched-out stems and sparse leaves—it's a clear sign it isn't getting enough light. While thyme can tolerate less-than-perfect light, its growth will be weaker, and its essential oils, which create its signature flavour and aroma, will be less concentrated. If you lack a sunny window, a grow light can be an effective substitute to ensure your plant gets the energy it needs.
The Right Pot and Soil
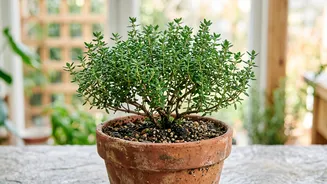
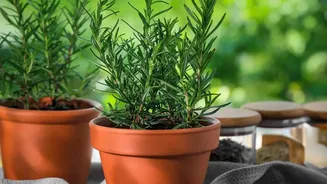
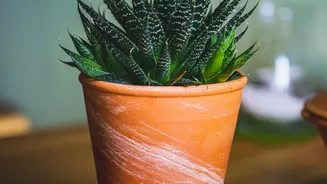
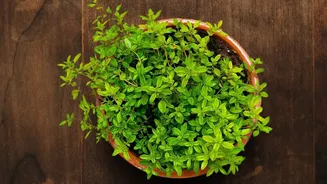
After light, the most common reason indoor thyme fails is due to improper drainage, which leads to root rot. Thyme's roots are susceptible to rotting if they sit in soggy soil. To prevent this, choose a container with ample drainage holes. Terracotta or clay pots are an excellent choice because the porous material helps wick moisture away from the soil, allowing it to dry out faster. When it comes to size, wider is better than deeper. Thyme has shallow roots that spread outwards, so a pot that is six to eight inches wide is a great starting point for a single plant. For the soil itself, a standard potting mix is often too dense and retains too much moisture. Opt for a fast-draining mix designed for cacti or succulents. You can also create your own by amending a regular potting mix with coarse sand, perlite, or fine grit to improve aeration and drainage.
Watering: When Less Is More
More indoor thyme plants are killed by overwatering than underwatering. This herb is drought-tolerant and prefers its soil to dry out completely between waterings. A good rule of thumb is to water your thyme only when the top inch or two of soil feels dry to the touch. When you do water, do so thoroughly until you see water escape from the drainage holes. Then, discard any excess water from the saucer and wait for the soil to dry out again before the next watering, which might be every 10 to 15 days, depending on your home's humidity. Unlike herbs like basil that wilt dramatically when thirsty, thyme doesn't give many visual cues, so checking the soil's dryness or the pot's weight is a more reliable method.
Harvesting for Flavour and Growth
Regularly harvesting your thyme will encourage the plant to become bushier and more productive. You can start trimming your plant once it's established and has plenty of foliage. Use scissors to snip off the top two to three inches of the tender, green stems, avoiding the tougher, woody parts at the base. The best time to harvest is in the morning, just after the dew has dried, as this is when the essential oils are most concentrated. Try to harvest just before the plant begins to flower for the most potent flavour. Never remove more than one third of the plant at a single time, which ensures it has enough foliage left to continue growing vigorously.
Choosing Your Thyme
While Common Thyme (Thymus vulgaris) is the classic choice for cooking, many other varieties are well-suited for container life. Lemon Thyme (Thymus citriodorus) offers a wonderful citrusy scent and flavour that is perfect for fish and chicken dishes. Creeping varieties like Red Creeping Thyme or Woolly Thyme can create a beautiful, cascading effect over the side of a pot, though they may not be as convenient for culinary use. For a classic, upright herb, English or German thyme varieties are robust and flavourful choices for any indoor garden.