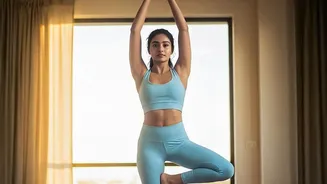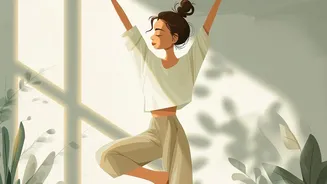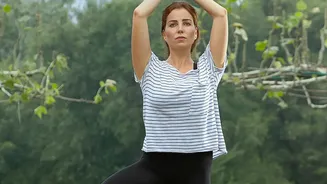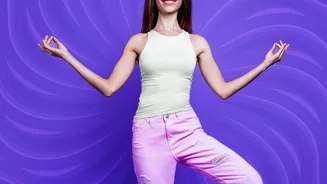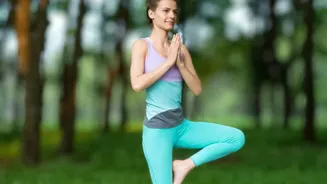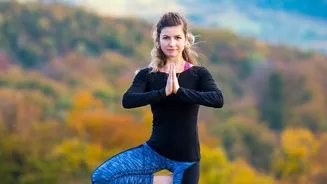



Tree Pose, or Vrksasana, is a cornerstone of yoga, designed to cultivate stability and focus. But if you wobble or strain, you're not alone. The key is finding the right variation for your body, building strength and poise without pressure.
The Foundation: What Is Tree Pose?
At its heart,
Tree Pose is a standing balance posture that strengthens the legs, opens the hips, and calms the mind. It teaches you to root down through one leg while the other is bent, mimicking the grounded, reaching form of a tree. The benefits go beyond the physical; the intense focus required helps still the mind, reducing stress and improving concentration. The three essential elements for success in any balancing pose are alignment, strength, and attention. Before you lift a foot, start in Mountain Pose (Tadasana), standing tall with your weight evenly distributed, and find a fixed point in front of you to gaze at—your 'drishti'—to help maintain balance.
Beginner Tip: The Kickstand Variation
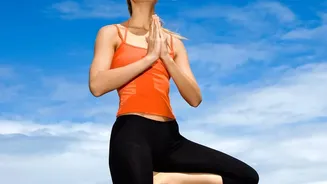
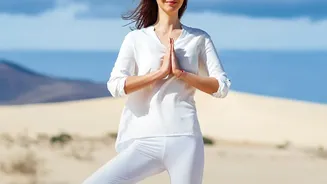
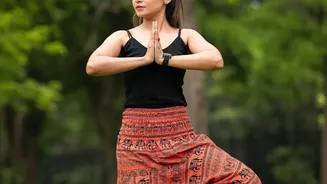
If you're new to balancing or feeling unsteady, this is the perfect place to start. From Mountain Pose, shift your weight onto one leg. Then, turn the other knee out to the side, placing the ball of that foot on the floor and resting the heel against your standing ankle. This 'kickstand' gives you a point of contact with the ground, providing stability while you get used to the alignment. Focus on keeping both hips level and facing forward, engaging your core, and pressing down firmly through the standing foot. Your hands can be at your heart in a prayer position (Anjali Mudra). This variation allows you to build foundational strength and confidence.
Next Step: Foot on the Calf
When you feel steady in the kickstand, you're ready to lift your foot higher. The next level involves placing the sole of your bent-leg foot onto the inner calf of your standing leg. This is a significant step because it removes the kickstand's support, forcing the standing leg and core to work harder to maintain balance. The most crucial rule here is to always avoid placing your foot directly on your knee. The knee joint is not designed to handle sideways pressure, and doing so can risk injury over time. Keep the foot either below the knee on the calf or, when you're ready, above the knee on the thigh.
The Classic Pose: Foot to Inner Thigh
This is the full expression of Vrksasana for many practitioners. To get here, engage your standing leg and use your hand to help guide your other foot to your inner thigh. Actively press your foot into your thigh and your thigh back into your foot. This creates a stable connection and helps keep the foot from sliding down. A common mistake is letting the hip of the bent leg lift up; focus on keeping your pelvis level. If your hips tilt, it's a sign to lower the foot to a more accessible position, like the calf. Your hips should remain square to the front of your mat.
Grow Your Branches: Arm Variations
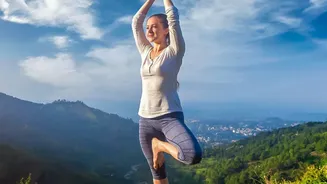
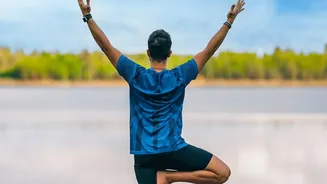
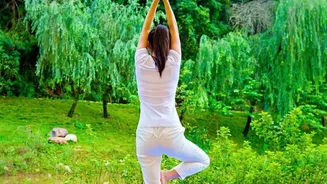
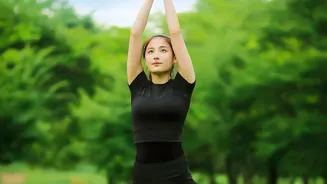
Once your foundation is stable, you can play with your arm position to change the pose's focus and challenge. Keeping hands at the heart center is the most stable. Extending your arms overhead like branches, either in a 'V' shape or with palms touching, introduces a new balance challenge by raising your center of gravity. For a dynamic test, you can try a 'windy tree' by gently swaying your arms while keeping your legs and torso steady. If you have high blood pressure, it's recommended to keep your hands at your heart rather than raising them overhead.
Advanced Option: Half_Lotus Tree
For those with very open hips, the Half_Lotus variation (Ardha Padmasana in Vrksasana) offers a deeper stretch. In this version, the foot of the bent leg is placed on the opposite hip crease or high on the thigh, with the sole of its foot facing upward. This requires significant external hip rotation and should never be forced. If you feel any pain in your knee, it's a clear signal to back off. Protecting your joints is paramount. In this variation, ensure its ankle of its lifted foot is straight and its foot is flexed to protect its ankle ligaments from strain.
Troubleshooting: Using a Wall for Support
There is no shame in using a prop for support ; in fact , it 's a smart way to practice . Standing with your back against a wall or with one side near a wall allows you to find your alignment without fear of falling . You can rest a hand on its wall or simply know it 's there for confidence . A chair can also offer same support . This allows you to hold its pose for longer , breathe more deeply , and focus on subtle muscular engagements that create true stability over time .