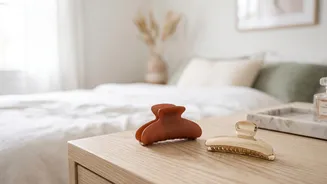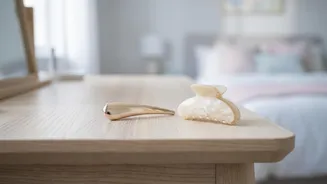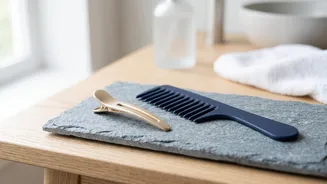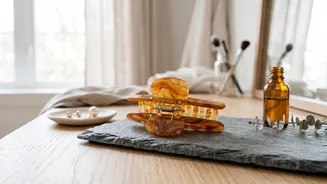





Gather Your Essential Tools
The secret to a successful bun often lies in having the right tools on hand before you start. While a simple hair tie can get you started, the right pins are what provide structure and hold. For a low bun, you'll want a mix of bobby pins and U-shaped
pins. Bobby pins, especially those with a strong grip and a color that matches your hair, are perfect for locking the bun to the base of your hair. U-pins, on the other hand, are fantastic for shaping the bun and tucking in ends without adding tension. Consider spiral or 'spin' pins for an incredibly secure hold with minimal effort; often, just two can do the work of a dozen bobby pins. You’ll also want a good brush for smoothing, a hair elastic, and perhaps some hairspray or texturizing spray for grip and finish.
Prepare Your Hair's Foundation
Whether you should start with freshly washed or day-old hair is a common question. The answer is that slightly 'dirty' or second-day hair often holds styles better because it has more natural grit. If your hair is freshly washed and slippery, you can mimic that texture by using a bit of dry shampoo or a texturizing spray at the roots. This adds traction and helps prevent the pins from sliding out. For a sleeker, more polished bun, applying a small amount of smoothing cream or a light gel before you brush your hair back can make a world of difference. This tames flyaways and creates a clean, intentional foundation for your updo.
The Simple Step-by-Step Method
First, brush your hair to remove any tangles and gather it into a low ponytail at the nape of your neck, securing it with an elastic. Next, twist the ponytail tightly from the base to the ends. Once twisted, begin wrapping the 'rope' of hair around the elastic base to form the bun shape. Hold the bun in place with one hand as you wrap. Tuck the ends of the ponytail underneath the bun to keep them hidden. Now it’s time for the most critical part: securing it. Don't just stick pins in randomly; use them with intention.
The Art of Strategic Pinning
The difference between a bun that holds and one that droops by noon is all in the pinning. For bobby pins, the wavy side should face your scalp for maximum grip. To truly anchor the bun, insert a bobby pin into the edge of the bun, then catch a small amount of the scalp hair at the base before pushing the pin back into the bun. This 'locking' technique creates incredible stability. Crossing two bobby pins in an 'X' shape provides even more reinforcement. Use U-pins to refine the shape. You can slide them along the edges to tuck in loose sections or to make the bun appear fuller without pulling it tight. Remember, the pin should feel secure but not cause pain or pulling.
From Messy to Sleek: Customize Your Look
The low bun is not a one-size-fits-all style. For a relaxed, messy bun, gently pull on a few sections after it's secured to create volume and texture. Leaving a few face-framing tendrils out also softens the look. For a sleek, formal chignon, ensure your initial ponytail is smooth and tight. Use a finishing cream to tame any stray hairs and aim for a perfectly coiled shape. You can even incorporate a braid by plaiting your ponytail before twisting it into a bun for added dimension.
Elevate Your Bun with Accessories
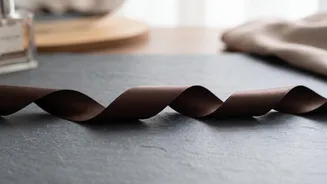
A simple low bun can easily be transformed into a statement look. Decorative pins, such as those with pearls or metallic finishes, can be strategically placed to add a touch of glamour. For a softer, more romantic feel, try wrapping a silk scarf around the base of the bun or tying it into a bow. This not only adds a pop of color and personality but can also help conceal the hair elastic. This simple addition can take your quick morning updo and make it appropriate for an evening event or special occasion.