



Why Proper Drying Is Essential
Jumping straight from a fresh coconut to a planter is a common mistake. A raw, undried coconut shell is organic matter that's still full of moisture. Introducing soil and water to this environment creates a perfect breeding ground for mold, fungus, and bacteria.
This can lead to unpleasant smells and, more importantly, root rot that can kill your plant. An improperly prepared shell will also begin to decompose and soften quickly, losing its structural integrity and potentially cracking or falling apart. Taking the time to dry the shell thoroughly ensures it becomes a durable, long-lasting home for your plants, not a temporary, moldy mess.
Step 1: Cleaning and Preparation
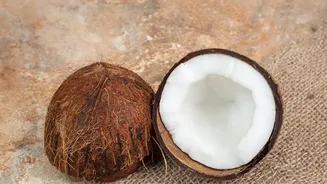
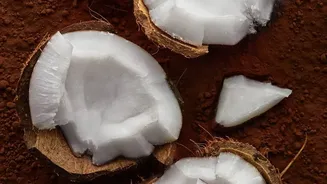
Before you can even think about drying, you need a clean shell. After cracking the coconut and removing the white meat, your work begins. Scrape the inside of the shell with a spoon or a sturdy knife to remove any lingering flesh. Even small remnants of the coconut meat can rot and cause problems later. Once the inside is clear, turn your attention to the exterior. Most coconuts have a rough, fibrous husk. Use a wire brush or coarse sandpaper to scrub this outer layer off until you have a relatively smooth surface. Sanding the inside and outside lightly will also create a more polished look. Finally, rinse the shell thoroughly with water and scrub it clean. Some guides even suggest a brief soak in diluted salt water to ensure it's completely clean before the drying process begins.
Step 2: The Art of Drying
Patience is key in the drying stage. There are three primary methods, each with its own advantages. Sun drying is the most natural and energy-efficient option. Simply place the cleaned shell in a sunny, well-ventilated spot. This method is slow, potentially taking several days or even weeks depending on the humidity and sunlight, but it's gentle on the shell. Air drying indoors is another option, though it will take even longer. For a much faster method, you can use an oven. Place the shell in an oven set to a very low temperature, around 100-120°C. Heat it for 20-30 minutes at a time, letting it cool completely in between sessions to prevent cracking from rapid temperature changes. The goal is to slowly draw the moisture out, not to cook it. A shell is fully dry when it feels lightweight, hard, and makes a distinct, hollow click when tapped. It should show no signs of dampness or softness.
Step 3: Finishing Touches for Longevity
Once your coconut shell is perfectly dry, a few final steps will turn it into an ideal planter. First, drill drainage holes in the bottom. This is non-negotiable for most plants, as it allows excess water to escape and prevents the soil from becoming waterlogged, which is a primary cause of root rot. You can use a standard power drill with a small bit for this. Next, decide if you want to seal the shell. Applying a coat of food-safe oil like linseed or mineral oil to the outside can enhance its colour and provide an extra layer of moisture protection, though it's an optional step. Avoid varnishes or sealants on the inside, as the chemicals could leach into the soil and harm your plant.
Planting and Care
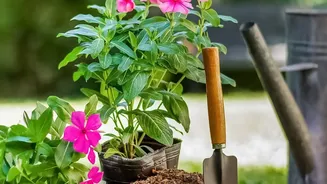
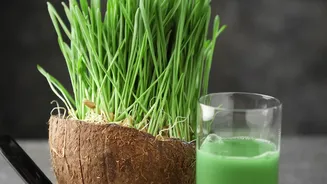
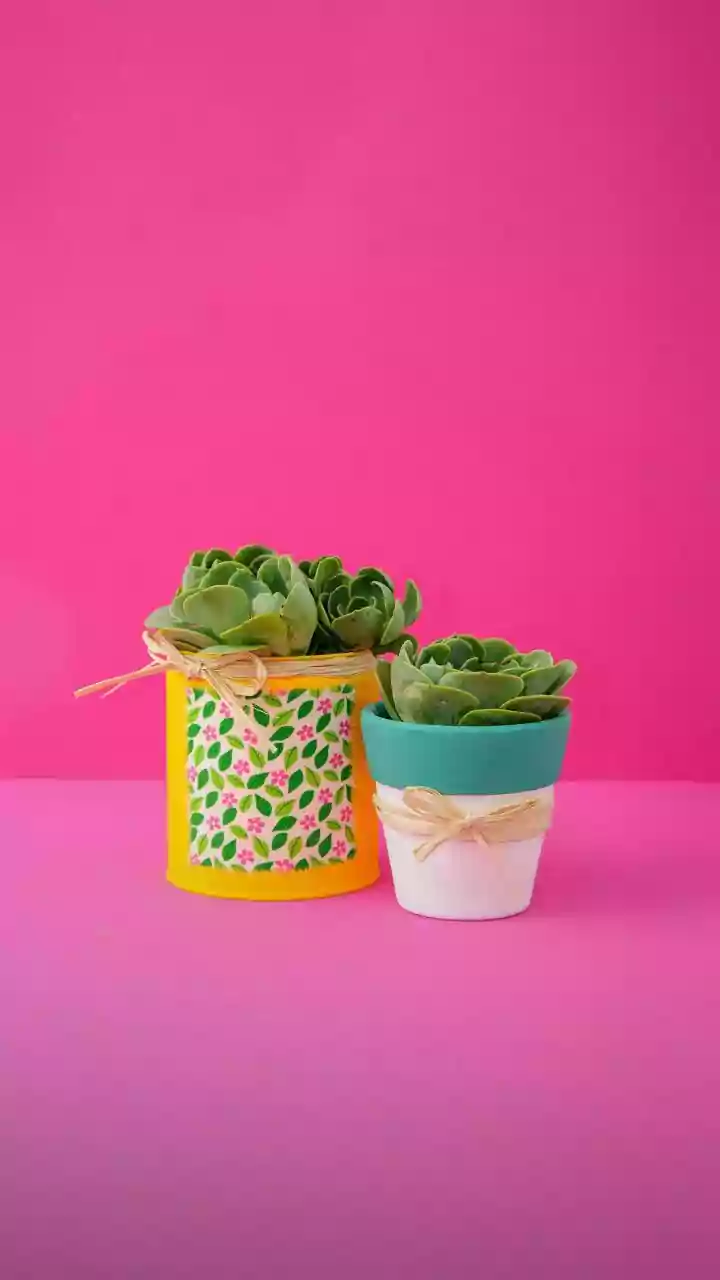
Coconut shell planters are relatively small, making them perfect for plants that don't require a deep root system. Succulents and cacti are excellent choices because they are compact, low-maintenance, and thrive in well-draining soil. Small herbs like mint or chives, and trailing plants like string of pearls or certain varieties of pothos, also work beautifully, spilling over the sides to create a lovely effect. Because of their small size, these planters can dry out faster than larger pots, so be sure to check the soil moisture regularly, especially in hot or windy weather.