


Understanding Your Starter
A sourdough starter is a live culture of wild yeast and beneficial bacteria, cultivated from just flour and water. These microorganisms are all around us, and by creating a friendly environment, we can harness them to leaven bread naturally, no commercial
yeast required. Think of it as a low-maintenance pet that lives in a jar on your counter and helps you bake incredible bread. The process takes patience, usually about a week, but the hands-on experience is a relaxing and fulfilling journey in itself.
Gathering Your Supplies
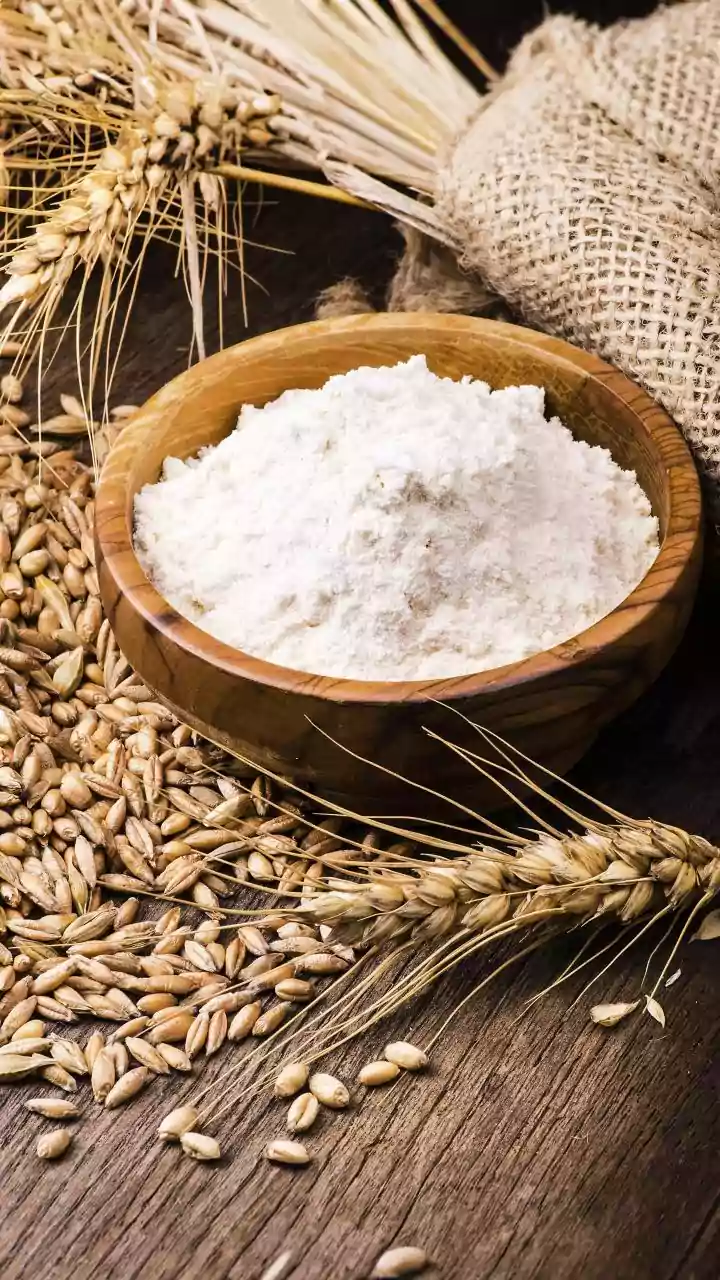
You don't need fancy equipment to begin. You’ll need a clear glass jar (at least 1-litre capacity), a kitchen scale for accuracy, and your two key ingredients: flour and water. For flour, a combination often works best for a new starter; many bakers recommend a 50/50 mix of whole wheat or rye flour with unbleached all-purpose or bread flour. The whole grain flours provide extra nutrients to get the yeast party started, while the white flour provides the food for ongoing maintenance.
Day 1-2: The Initial Mix
Let’s create life. In your clean jar, combine 60 grams of whole wheat flour with 60 grams of lukewarm water (around 24°C is ideal). Mix thoroughly until you have a thick, smooth paste with no dry spots. Scrape down the sides of the jar, cover it loosely with the lid or a cloth, and let it sit in a warm spot in your kitchen for 24 hours. A consistently warm environment, around 24-29°C, will encourage faster yeast activity. You may not see much action in the first couple of days, and that's perfectly normal.
Day 3-7: Daily Feedings
From day three onwards, you'll begin a routine of discarding and feeding. This is crucial for strengthening the culture. Each day, discard all but about two tablespoons (roughly 30 grams) of the starter. To the remainder, add 60 grams of your flour blend and 60 grams of lukewarm water. Mix well, cover, and return it to its warm spot. You should start to see bubbles, notice a tangy aroma, and see the starter rise and fall. If your starter seems sluggish, try feeding it twice a day, every 12 hours, to give it an extra boost.
Is It Ready to Bake With?
After about a week, your starter should be active and predictable. The key sign of readiness is that it reliably doubles or even triples in volume within a few hours of feeding. It will look bubbly and airy, and smell pleasantly tangy and yeasty. A popular method to check for readiness is the 'float test'. Drop a small spoonful of your active, unstirred starter into a glass of water. If it floats, it's holding enough gas to be ready for baking. While not foolproof, it's a good indicator for beginners.
Maintenance and Troubleshooting
Once established, you don't need to feed your starter daily unless you bake frequently. For less frequent baking, store your starter in the refrigerator and feed it once a week to keep it healthy. If you see a dark liquid on top, don't panic—it's just 'hooch', a sign your starter is hungry. Simply stir it in or pour it off and feed as usual. However, if you see any pink, orange, or fuzzy green/black spots, this indicates mold or harmful bacteria, and the starter must be discarded.