


Signs Your Plant Needs a New Pot
Plants give clear signals when they're feeling cramped. The most obvious sign is roots peeking out of the drainage holes at the bottom of the pot. You might also see roots circling the top of the soil. Another key indicator is how quickly the soil dries
out; if you're having to water far more frequently than you used to, it likely means the roots have filled the pot, leaving little soil to hold moisture. Stunted growth, yellowing leaves, or a plant that looks top-heavy and unstable are also signs that it's time for an upgrade. As a general rule, many common houseplants benefit from being repotted every 12 to 24 months.
Gather Your Repotting Toolkit
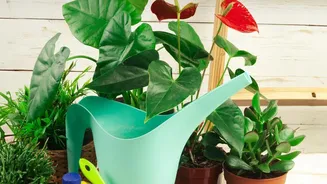
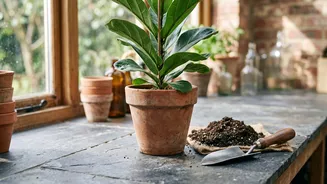
Before you begin, get all your supplies ready to make the process smooth and stress-free for your plant. You will need a new pot, fresh potting mix, and a pair of gloves. Having a small trowel or even an old butter knife can be helpful for loosening the plant from its old pot. A pair of clean scissors or pruning shears is useful for trimming any dead or damaged roots. It's also a good idea to lay down some newspaper or a plastic tarp to contain the mess, especially if you're working indoors. Finally, have a watering can ready for when you're finished.
Choosing the Right Pot and Soil
The new pot should only be about one to two inches larger in diameter than the current one. Choosing a pot that is too large can lead to the soil staying wet for too long, which increases the risk of root rot. Ensure your new pot has drainage holes at the bottom; this is non-negotiable for plant health. When it comes to soil, avoid using regular garden soil, which becomes too compact in pots and suffocates roots. A quality potting mix designed for indoor plants is essential. For most Indian homes, a good mix contains cocopeat for moisture retention, perlite for drainage and aeration, and compost for nutrients. A balanced formula could be 40% cocopeat, 30% compost, 20% garden soil, and 10% perlite.
Step 1: Gently Remove the Plant
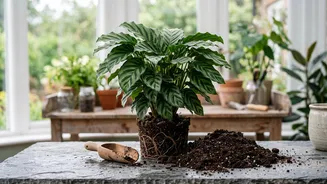
Watering your plant a day or two before repotting can make it easier to remove. To get the plant out, turn the pot on its side and gently tap the edges to loosen the soil. Hold the base of the plant and carefully slide it out. If it's stuck, you can run a knife around the inside edge of the pot to help release it. Try not to pull the plant by its stems, as this can cause damage. Once it's out, gently shake off about one-third of the old soil and inspect the roots.
Step 2: Inspect and Prune the Roots
With the root ball exposed, take a moment to check its health. Healthy roots are typically firm and white or light-coloured. If you see any mushy, black, or smelly roots, this is a sign of root rot, and they should be trimmed off with clean scissors. If the roots are tightly wound in a circle (a condition known as being 'root-bound'), gently tease them apart with your fingers. This encourages them to grow outwards into the new soil rather than continuing to circle. Don't worry about breaking a few small roots; this is normal and can stimulate new growth.
Step 3: Settle It Into the New Pot
Place a layer of fresh potting mix at the bottom of the new pot. Position your plant in the center, ensuring the top of the root ball sits about an inch below the rim of the new pot. Planting it too deep can lead to stem rot. Once you're happy with the position, begin filling the space around the root ball with new soil. Gently press the soil down to eliminate large air pockets, but avoid compacting it too tightly, as roots need air to breathe. Fill until the soil level is consistent with the top of the root ball.
Step 4: Aftercare and Recovery
After repotting, give your plant a light watering. Avoid soaking the soil, as the roots need time to adjust and can be prone to rot if overwatered. Place the plant in a spot with bright, indirect light, avoiding direct sun for a week or two, as its roots are in a delicate recovery phase. It's normal for a plant to show minor signs of stress, like slight wilting, for a few days—this is called transplant shock. Hold off on fertilizing for at least a month to avoid burning the sensitive, newly disturbed roots. Once you see new growth, you can resume your regular care routine.