

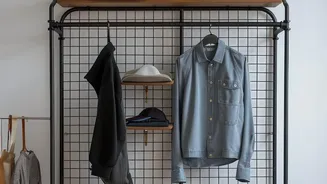
Step 1: Designate Your Drying Zone
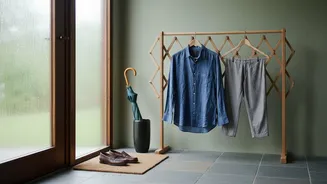
The first step is to choose a strategic location for your drying headquarters. This shouldn't be a high-traffic area like the living room centre, but rather a transitional space. An ideal spot is a covered balcony, a utility area, or a corner near the main
entrance. The key criteria are good ventilation and a floor that's easy to clean. If space is tight, even a small, dedicated section of a hallway or a less-used bathroom can work. The goal is to contain the drips and moisture in one manageable area, preventing them from spreading throughout your home. Having one designated spot means everyone in the family knows exactly where to leave their wet things, turning chaos into an organised system.
Step 2: Assemble Your Drying Toolkit
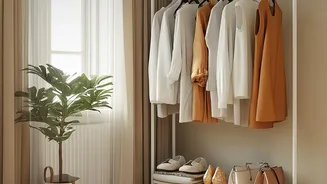
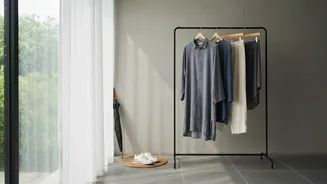
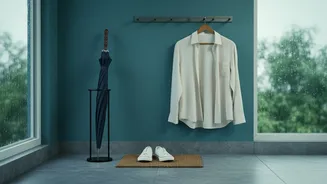
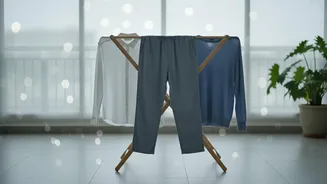
Once you have your zone, you need the right tools. Think beyond a simple doormat. Invest in a highly absorbent mat to catch initial drips. A foldable clothes drying stand is a non-negotiable for apartment living; multi-tiered or vertical models offer maximum drying capacity with a small footprint. Other essentials include an umbrella stand (or a tall bucket) to contain puddles, and a set of S-hooks or a wall-mounted rack for hanging raincoats and bags. For smaller items, a round peg hanger is excellent. Many of these solutions, like wall-mounted or ceiling-pulley racks, are designed to save floor space, making them perfect for compact homes.
Step 3: The Shoe-Drying Station
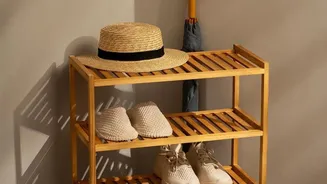
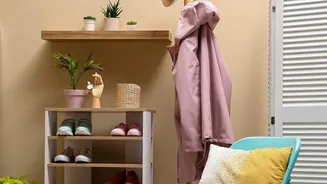
Wet shoes are the primary culprits behind musty monsoon odours. Simply leaving them in a corner allows bacteria and fungi to thrive. Create a specific shoe-drying process. First, wipe off any mud and surface water. If possible, remove the insoles and loosen the laces to improve air circulation. The age-old trick of stuffing shoes with crumpled newspaper is effective because it absorbs moisture from the inside while helping the shoe retain its shape. Replace the newspaper every few hours for very wet shoes. For delicate materials like leather or suede, avoid direct heat from hairdryers, which can cause cracking and damage. Instead, place them in front of a fan for gentle, effective drying. Rotating between at least two pairs of daily-wear shoes ensures each pair has 24 hours to dry completely.
Step 4: Managing Umbrellas and Raincoats
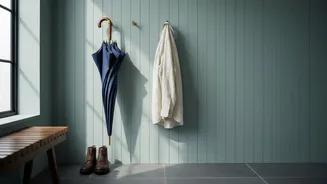
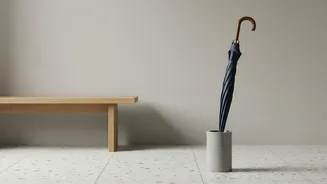
An open umbrella can take up a surprising amount of floor space. Instead of leaving it open to dry, give it a good shake outside before bringing it in. Partially close it and place it in a dedicated umbrella stand or a bucket to catch any remaining water. For raincoats, avoid just throwing them over a chair. This traps moisture and can lead to mildew. Hang them on a sturdy hanger, preferably plastic, and place them on your drying rack or a hook in your designated zone. This allows air to circulate around the entire garment, ensuring it dries evenly and is ready for your next venture into the rain. Most modern raincoats should be air-dried, as high heat from a dryer can damage their waterproof coating.
Step 5: Combatting Humidity and Odour
Drying wet items indoors inevitably increases the humidity level in your home, which can lead to a damp, musty smell and even mould growth. Ventilation is your best defence. Whenever the rain stops, open windows to allow fresh air to circulate. Running a fan in the drying zone can also speed up the process significantly. To absorb excess moisture and odours, place bowls of rock salt or charcoal briquettes in the corner of the room. Don't throw away those little silica gel packets that come with new shoes or electronics; tuck them inside drying shoes or place them in closets. Once shoes are dry, a sprinkle of baking soda left overnight can neutralize any lingering smells.