


Why Cats Crave the High Ground
Before you dismiss it as just another elaborate pet project, it's worth understanding the feline psychology behind the trend. In the wild, cats are both predators and prey. Being up high gives them a strategic advantage, allowing them to survey their
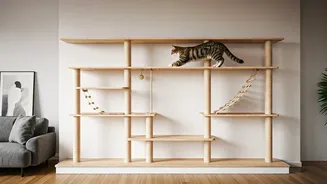
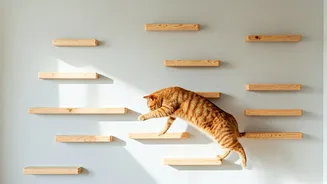
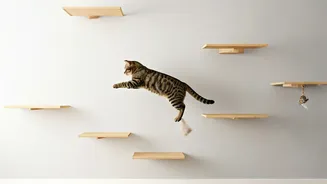
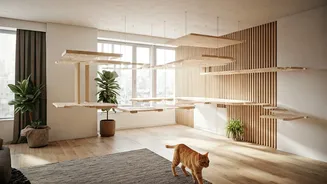
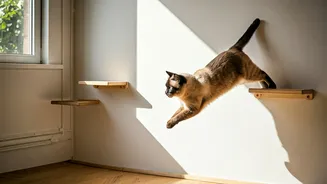
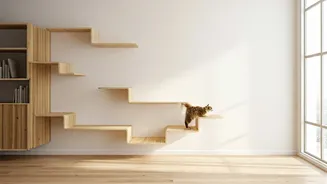
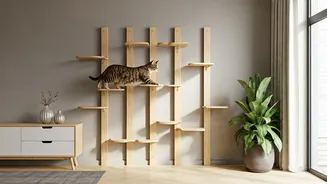
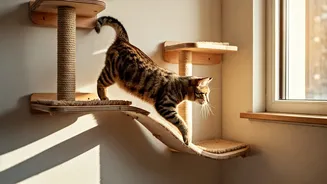
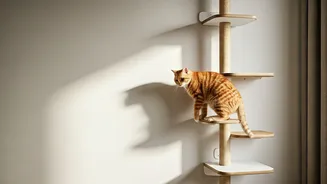
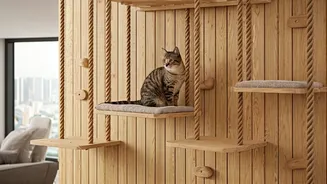
territory and feel safe from perceived threats on the ground (even if that threat is just the vacuum cleaner). A cat wall bridge, often part of a larger network of shelves and perches known as a 'cat superhighway', provides essential environmental enrichment. It encourages exercise, stimulates their minds, and offers a secure retreat, which is especially important in multi-pet households where cats need their own space to reduce conflict and anxiety.
Planning Your Feline Freeway
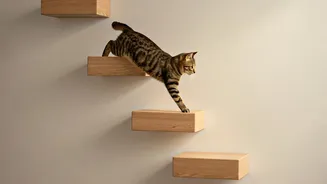
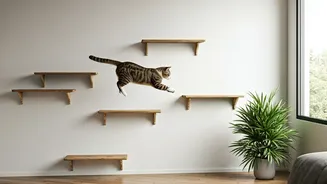
A successful project starts with a good plan, not just a pile of wood. Begin by observing your cat. Are they a bold acrobat or a cautious climber? A young, agile cat might enjoy a wobbly rope bridge, while a senior cat would benefit more from a wider, more stable walkway with less space between slats. Measure your wall space carefully, noting the location of studs—this is non-negotiable for ensuring the structure can support your cat's weight. Sketch out your design. Will the bridge connect two existing perches? Will it lead to a window seat? Think about the entire path from your cat's perspective. The goal is to create an intuitive and appealing route for them to explore.
Choosing the Right Materials
The beauty of DIY is customization, but some materials are better than others for safety and durability. For the wooden slats of the bridge, solid pine is a popular and affordable choice. Avoid particleboard or MDF, as they can't hold screws securely and may sag over time. For the 'ropes' holding the bridge, many guides recommend sturdy paracord or natural fibre ropes. The most critical component is the mounting hardware. Use heavy-duty shelf brackets that are rated for well over your cat's weight, and secure them directly into wall studs with long screws. For grip, many builders wrap the wooden slats or the entire bridge in sisal rope—the same material used for cat scratching posts—to provide excellent traction for tiny paws.
Safety First: The Cardinal Rule of Cat DIY
This cannot be stressed enough: safety is paramount. After assembly, but before you let your cat near it, test the bridge's strength yourself by pulling down on it firmly. Check every screw and knot. Make sure all wooden surfaces are sanded smooth to prevent splinters. If you decide to paint or stain the wood, you must use products that are certified non-toxic and pet-safe once cured. Many zero-VOC (volatile organic compound) paints are suitable. Also, consider the spacing of the slats; they should be close enough together that a leg can't slip through and get trapped. A good rule of thumb is to space them no more than an inch apart.
Putting It All Together
While specific DIY manuals on social media and YouTube will provide detailed steps, the general process is consistent. First, you'll cut your wood planks to the desired size. Next, you'll drill holes on either end of each plank for the rope to pass through. After sanding everything smooth, you'll thread the rope through the planks, using knots to secure the spacing between them. The final, and most crucial, step is mounting the support brackets to the wall. Use a stud finder to locate the studs, mark your drilling points, and ensure the brackets are perfectly level. Once the brackets are securely in the wall, you can attach your newly assembled bridge and perform your final weight and stability tests.