


Start with the Best Possible Scan
Before any AI magic can happen, you need a digital copy of your print. The quality of this initial scan is crucial. For loose photos, a flatbed scanner is your best option. Clean the scanner glass and gently wipe dust off the photo before scanning. Experts
recommend scanning small prints at a resolution of at least 600 DPI (dots per inch) to capture as much detail as possible. If a photo has notes on the back, scan that, too. For photos in fragile albums that can't be laid flat, using a high-quality smartphone camera is a good alternative. Place the album in a well-lit area, avoid glare, and hold your phone parallel to the image to prevent distortion. The goal is to create the best possible digital file to serve as your foundation.
Understanding AI Upscalers and Restorers
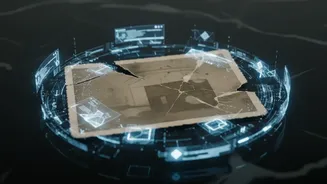
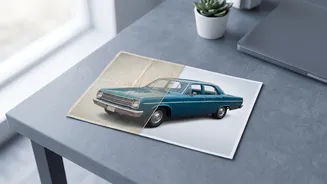
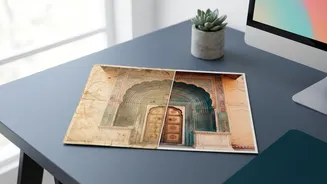
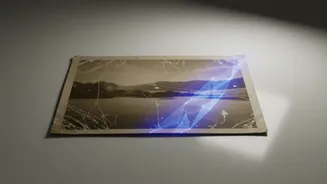
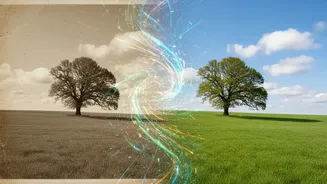
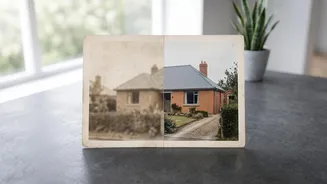
AI image tools work by analyzing millions of pictures to learn what things like faces, textures, and edges should look like. When you upload your low-resolution photo, the AI doesn't just stretch the pixels—it intelligently adds new, realistic detail based on its training. This process is called upscaling or super-resolution. Many tools also offer restoration features, which use AI to remove scratches, reduce digital 'noise', and correct color fading automatically. The result is an image that is not only larger but also clearer and more vibrant than the original print.
Choosing the Right AI Tools
The market for AI photo editors is growing, with options for every budget and skill level. For those seeking maximum control, Adobe Photoshop's Neural Filters are a powerful choice, offering tools for photo restoration, colorization, and scratch reduction. Standalone desktop applications like Topaz Photo AI are highly regarded for their ability to dramatically increase resolution and reduce noise, making them a favorite for serious projects. There are also many accessible web-based and mobile apps, including Remini, MyHeritage, and Fotor, which offer user-friendly interfaces for quick enhancements. Some platforms like Upscale.media and Adobe Firefly even offer free upscaling, which is perfect for trying out the technology.
A Simple Restoration Workflow
Once you've chosen your tool, the process is generally straightforward. Start by uploading your scanned photo. Most AI tools have an 'auto' or 'autopilot' function that will analyze the image and suggest corrections. This is a great starting point. You'll typically see options to enhance resolution by 2x, 4x, or even more. Next, look for sliders or toggles related to noise reduction, sharpening, and color correction. Many tools also have a specific 'Face Recovery' or 'Enhance Faces' feature, which dedicates extra processing power to improving the clarity of people in the photo. This can make a dramatic difference in old group shots where faces are small and indistinct. Experiment with these settings until you are happy with the preview.
Fine-Tuning and Final Touches
While AI is powerful, it isn't always perfect. Sometimes an enhancement might look slightly unnatural, or the color correction might not match your memory of the original scene. Don't be afraid to make manual adjustments after the AI has done its work. Most applications allow you to dial back the intensity of the AI effects or make further edits using traditional tools. For example, after an AI removes major scratches, you might use a 'spot healing' or 'clone' tool to clean up any remaining minor blemishes. If a black-and-white photo has been colorized, you can often adjust the color balance to achieve a more authentic, vintage feel. The best results often come from a combination of automated AI enhancements and your own personal touch.