


The Power of Two Ingredients
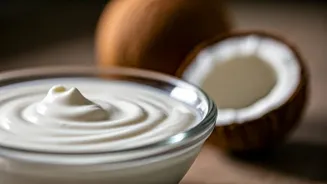
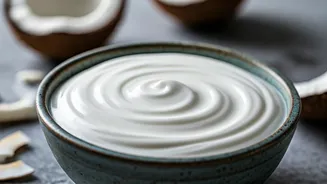
The magic of this recipe lies in its beautiful simplicity. All you truly need are two components: full-fat canned coconut milk and a probiotic starter. [2, 4, 5] For the richest, creamiest texture that rivals Greek yogurt, it is essential to use full-fat coconut milk or even
pure coconut cream. [1] Light or beverage-style coconut milks from a carton simply won't have enough fat to create that thick, satisfying consistency. [8] The second key is the probiotic. You can use the powder from a few high-quality probiotic capsules or, if you already have some, a few tablespoons of a live-culture coconut yogurt to act as a starter. [6, 19] The probiotics are the live cultures that will ferment the coconut milk, giving it that characteristic tangy flavour and transforming it into yogurt. [9, 18]
A Simple Step-by-Step Guide
First, ensure your equipment is clean. Sterilise a glass jar by rinsing it with boiling water and letting it cool. [3] Next, prepare the coconut milk. For an extra thick yogurt, you can chill the can of coconut milk overnight, which causes the thick cream to separate and rise to the top. [1, 4] You can then scoop this cream out, leaving the coconut water for smoothies. [4] Place the coconut cream or entire contents of a well-shaken can into your sterilised jar. [7] Now, add your starter. If using capsules, open them and empty the powder directly into the milk. [1, 2] Using a wooden or plastic spoon (metal can sometimes react with the probiotics), stir gently until the powder is fully dissolved and the mixture is smooth. [7] Cover the jar with a breathable cloth, like cheesecloth or a thin tea towel, and secure it with a rubber band. [5, 7]
The Art of Fermentation
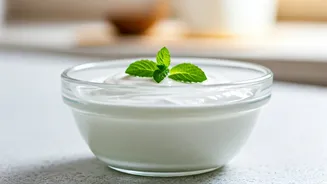
Now for the hands-off part: fermentation. Your yogurt needs a warm, stable environment to culture properly. A great spot is an oven with just the light on (do not turn the oven on), as this provides a gentle, consistent warmth. [3, 7] Let the yogurt ferment for anywhere between 12 to 48 hours. [2, 7] The longer you leave it, the tangier the flavour will become. [2] In warmer climates, fermentation might happen more quickly on a countertop. After 24 hours, you can do a taste test. Once it has reached your desired level of tang, give it a stir, put a proper lid on the jar, and transfer it to the refrigerator. [14] Chilling is a crucial final step, as it will stop the fermentation process and significantly thicken the yogurt. [3] Let it chill for at least 6 hours before enjoying. [3]
Troubleshooting and Tips for Success
If your first batch isn't as thick as you’d like, don’t worry. The consistency of homemade coconut yogurt can vary. One common reason for runny yogurt is the fermentation temperature being too high, which can harm the probiotics, or too low, which won't activate them. [8, 16] If you want a guaranteed thicker result, you can introduce a natural thickener. A teaspoon of agar-agar or a couple of teaspoons of tapioca starch whisked into the coconut milk before fermenting can create a more reliable, spoonable texture. [3, 9] If you find the yogurt has separated into a thick cream layer and a watery layer after chilling, you can either pour off the liquid for a super-thick product or simply stir it all back together for a smoother consistency. [3, 15]
Customise Your Creation
One of the best parts of making your own yogurt is controlling the flavour and sweetness. The plain, tangy yogurt is a perfect blank canvas. Once it's chilled and set, you can stir in anything you like. For a touch of sweetness, a drizzle of maple syrup works wonderfully. [5, 14] You can also blend in fruit purees like mango, add a dash of vanilla extract, or top it with fresh berries, granola, and seeds before serving. [5, 20] By making it yourself, you avoid the added sugars and stabilisers often found in commercial dairy-free yogurts, giving you a healthier and more delicious final product. [1, 19]