


Get Your Pots Off the Ground
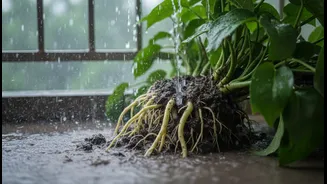
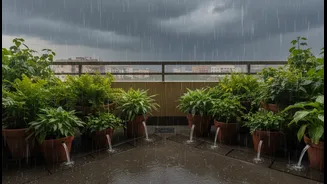
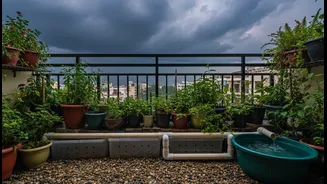
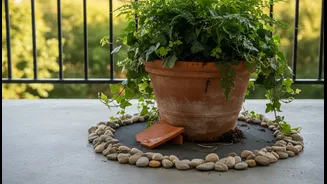
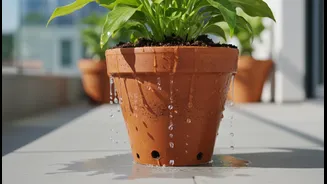
One of the simplest yet most effective fixes is to elevate your pots. When a container sits flat on the balcony floor, its drainage holes can get blocked or water can pool underneath, keeping the soil constantly saturated. Lifting the pot, even by a centimetre,
allows air to circulate and excess water to escape freely. You can buy stylish terracotta or cast stone 'pot feet', but DIY options work just as well. Use bricks, flat stones, spare tiles, or even plastic bottle caps placed under the pot to create the necessary gap. This tiny change makes a huge difference in preventing the dreaded root rot.
Ensure Adequate Drainage Holes
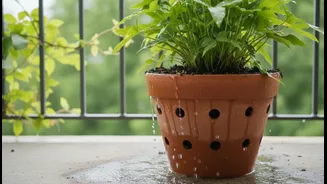
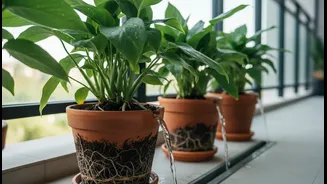
This might seem obvious, but it's a common oversight. Not all store-bought pots come with sufficient drainage. Plastic and decorative ceramic pots, in particular, may have only one small hole or none at all. If your plants are struggling after rain, check the bottom of their containers. If the holes are blocked, clear them with a stick. If there are not enough, you can carefully drill a few more. For a standard 12-inch pot, aim for at least three to four holes. This ensures that no matter how heavy the downpour, water has multiple exits and won't get trapped.
Choose the Right Soil Mix
The soil you use is your first line of defence against waterlogging. Heavy, dense garden soil holds onto water for too long, which is a problem in containers. Opt for a high-quality potting mix, which is specifically designed to be lighter and more porous. To further improve it for the monsoon, create your own blend by mixing in materials like perlite, coarse sand, or cocopeat. These amendments create air pockets in the soil, allowing water to pass through more quickly while still retaining enough moisture for the plant's needs. A good rule of thumb is to add one part perlite or sand to three parts of your regular potting mix.
Use the 'Pot in a Pot' Method
This technique is perfect for those beautiful decorative pots that have no drainage holes. Instead of planting directly into the decorative pot (the cachepot), keep your plant in a slightly smaller, plain plastic nursery pot that has plenty of drainage holes. Place a layer of gravel or a few stones at the bottom of the larger cachepot, then simply sit the nursery pot inside. After heavy rain, you can easily lift the inner pot out, tip away any collected water from the cachepot, and then put it back. This gives you the best of both worlds: a stylish container and a healthy, well-drained plant.
Create a Drainage Layer (the Right Way)
For decades, gardeners have been told to put a layer of gravel or broken pot shards (crocks) at the bottom of containers. While the intention is good, it can sometimes create a false water table if not done correctly. A better approach for large, deep planters is to use lightweight fillers that improve drainage and also make the pot easier to move. Consider adding a layer of polystyrene foam packing peanuts (in a mesh bag so they don't mix with soil) or a few empty, capped plastic bottles at the bottom before adding your potting mix. This reduces the total volume of soil that can become waterlogged, ensuring the root zone stays healthier.
Tilt and Empty After a Downpour
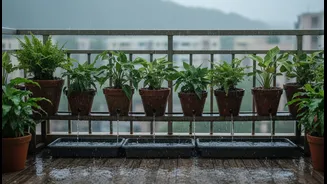
Sometimes, despite your best efforts, a pot can become saturated after a prolonged storm. For very large, heavy containers that are difficult to move, a simple tilt can help. Gently tip the pot at a 45-degree angle for a few hours to help the excess water run out from the drainage holes. For smaller pots, always check the saucers or trays underneath them after it rains. Never let a pot sit in a saucer full of water. Promptly empty any collected water to prevent the soil from reabsorbing it and becoming waterlogged again.