




Rule 1: Master Food Safety Timelines
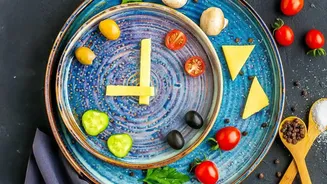
Before you pack a single snack, understand the golden rule of food safety: the two-hour rule. Perishable foods like meats, dairy, cooked casseroles, and cut fruits should not be left at room temperature for more than two hours. This window includes all
prep time and travel time. If the ambient temperature is high (above 32°C), this window shrinks to just one hour. Bacteria multiply rapidly in the 'danger zone' between 4°C and 60°C. For long journeys, this means any perishable items must be kept cold in a well-packed cooler. Non-perishable items like biscuits, nuts, and whole fruits are your safest bet for longer durations without refrigeration.
Choose Your Travel-Friendly Champions
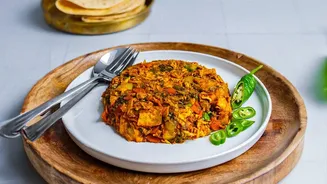
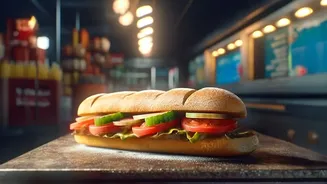
The best travel foods are filling, nutritious, and require minimal effort. For meals, think dry or semi-dry options that hold up well. Stuffed parathas, theplas, sandwiches on bagels (which hold up better than bread), and vegetable pulao are excellent choices. For snacks, focus on items that provide lasting energy. Trail mixes, roasted chana, nuts, seeds, and protein bars are fantastic non-perishable options. Hard fruits like apples and pears are better than soft fruits that bruise easily. For those with a cooler, boiled eggs, cheese sticks, and yogurt cups are great protein-packed additions.
Embrace Low-Mess, Smart Portions
The car or train carriage is not the place for messy curries or foods that require complicated assembly. Think 'grab-and-go'. Pre-portion everything before you leave. Use small, airtight containers for snacks like nuts or chopped vegetables. This prevents spills and makes it easy for everyone, including children, to help themselves without creating chaos. Choose foods that are naturally low-mess: bananas, string cheese, and sandwiches wrapped tightly in foil are good examples. Avoid anything crumbly, greasy, or sticky. Individually wrapped items like granola bars or certain Indian snacks like khakhra are also incredibly convenient.
Pack Your Cooler Like a Pro
A well-packed cooler is your best friend for perishable items. For maximum efficiency, pre-chill the cooler itself by filling it with ice for a few hours before you pack it. Use a mix of block ice or frozen water bottles on the bottom, as they melt slower than cubes. Pack items in reverse order of use, with the first day's food on top. Ensure all containers are leak-proof to avoid cross-contamination and sogginess. Placing raw meat at the very bottom in a sealed container is crucial. Finally, pack the cooler tightly; empty air space makes ice melt faster. Fill gaps with extra ice cubes or smaller snacks.
Your Ultimate Pre-Journey Checklist
A few days before your trip, run through this final checklist. Plan Your Meals: Decide what you’ll eat for each meal and snack. This prevents overpacking and impulse buys. Create a Shopping List: Buy all non-perishable items and ingredients needed. Prep Your Gear: Wash all containers, water bottles, and your cooler. Freeze your ice packs and any water bottles you'll use for cooling. The Day Before: Do as much food prep as possible. Chop vegetables, make sandwiches, and cook any meals. Let all cooked food cool completely before packing. Refrigerate everything you plan to pack in the cooler so it starts cold. Departure Day: Pack the cooler using the layering method. Place dry snacks and essentials like napkins and sanitisers in a separate, easily accessible bag. Do a final check, and you're ready to hit the road.