
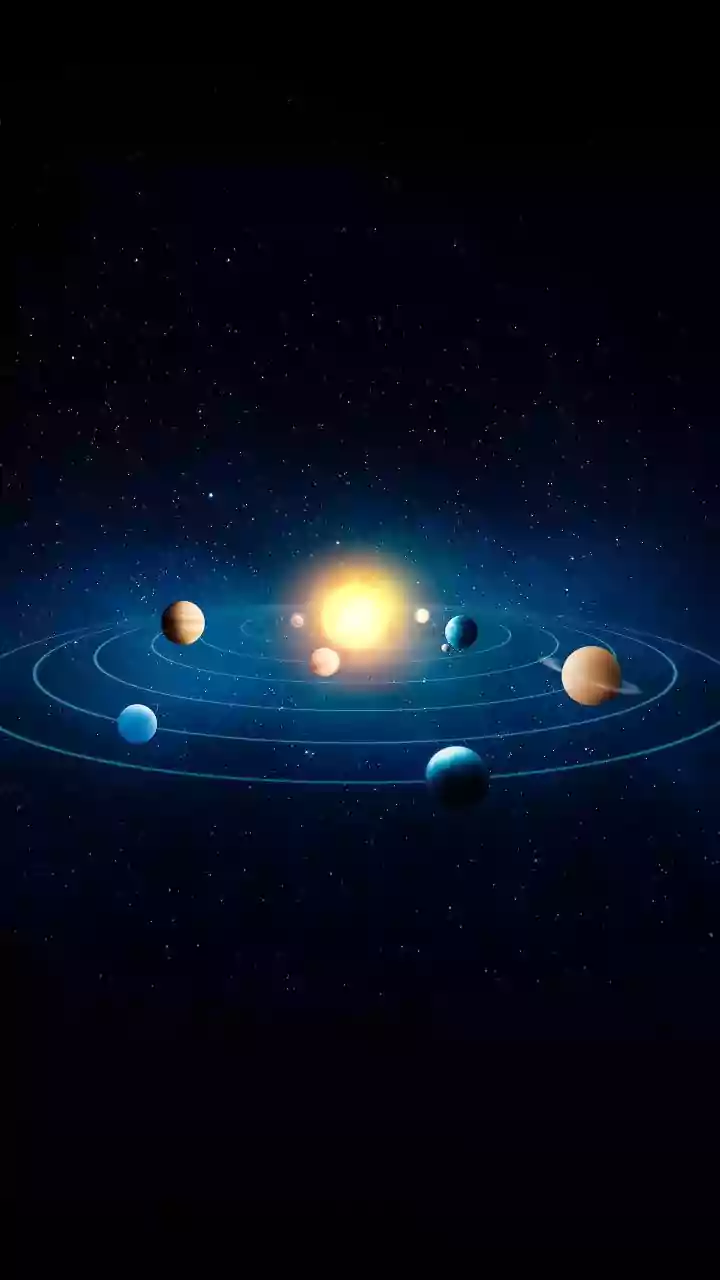


Understanding the Celestial Dance
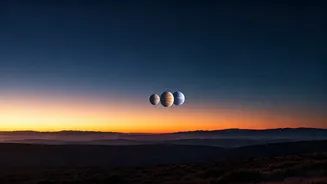
A “three-planet intersect,” more commonly known among astronomers as a planetary conjunction or alignment, occurs when several planets appear close to one another in the sky from our vantage point on Earth. They aren't actually close in space—they are millions
of kilometres apart—but their orbits align to create a striking visual illusion. These events are relatively rare and create a fantastic opportunity for stargazers and photographers. Often, these alignments happen low on the horizon just after sunset or before sunrise, making the window for viewing and photography short but incredibly rewarding. The key is knowing exactly when and where to look, as the planets will be visible for a limited time before they dip below the horizon or are washed out by the rising sun.
When and Where to Look in India
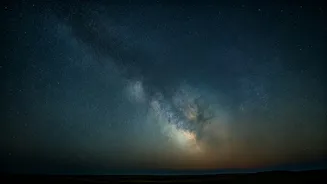
Timing is everything. For alignments occurring in the evening, start looking toward the western horizon about 30 to 45 minutes after sunset. This is the 'blue hour,' when the sky is dark enough to see the planets but still has a beautiful deep blue or orange glow. Conversely, for a morning alignment, you'll want to be looking toward the eastern horizon about 45 minutes before sunrise. To get the best view, escape city lights. Even a short drive out of town to a location with less light pollution will make a dramatic difference. Find a spot with an unobstructed view of the horizon, like a hilltop, an open field, or a beach. Use a stargazing app like Stellarium or SkyView on your phone to pinpoint the exact location of the planets before you head out.
The Gear You'll Need
You don't need professional equipment to get a great shot. Your gear can range from a simple smartphone to a more advanced camera. **Smartphone:** Most modern phones have impressive 'Night Mode' capabilities. The most crucial accessory is a small, stable tripod. Even the slightest handshake will blur your shot during a long exposure, so a tripod is non-negotiable for sharp images. **DSLR or Mirrorless Camera:** If you have one, this is the time to use it. A standard kit lens (like an 18-55mm) is perfectly fine. A slightly wider lens (e.g., 10-20mm) can help you capture the planets along with some of the surrounding landscape. Like with a smartphone, a sturdy tripod is absolutely essential.
Settings for Your Smartphone Camera
Taking great night sky photos with your phone is easier than you think. First, mount your phone securely on a tripod. Open your camera app and switch to 'Night Mode' if it's available; it will automatically take a longer exposure. If you have a 'Pro' or 'Manual' mode, use it for more control. Set the ISO (light sensitivity) to a moderate value like 400 or 800 to avoid too much graininess. Set your shutter speed to between 2 and 10 seconds—experiment to see what works best. The most important step is focus. Tap on the brightest planet or a distant light on the horizon to set your focus. Finally, use the camera's self-timer (2 or 5 seconds) to trigger the shot. This prevents the camera shake that happens when you tap the shutter button.
Guide to DSLR/Mirrorless Settings
For those with a dedicated camera, here are some starting-point settings. Set your camera to Manual (M) mode. Mount it on a tripod. Start with an aperture of f/4 or f/5.6. This provides a good balance of light-gathering and sharpness. Set your ISO to 800 or 1600. For shutter speed, begin with an exposure of 2 to 8 seconds. If the shot is too dark, increase the shutter speed or ISO slightly. If it's too bright, decrease them. The biggest challenge is focus. Turn off autofocus and switch to manual focus. Use your camera's 'Live View' screen and digitally zoom in on the brightest planet. Carefully turn the focus ring until the planet is a sharp, tiny pinprick of light. Shoot in RAW format if you can, as it gives you much more flexibility to edit the photo later.
Compose for a Memorable Image
A great photo tells a story. Don't just point your camera at the planets. Think about composition. Try to include an interesting foreground element to give your photo a sense of scale and place. The silhouette of a tree, a temple, a distant mountain range, or the city skyline can frame the planets beautifully and make your image far more compelling. This technique, called landscape astrophotography, connects the grand scale of the cosmos with our world. Position the planets according to the 'rule of thirds'—placing them off-centre rather than directly in the middle—for a more balanced and visually pleasing composition. The goal is to capture not just the planets, but the feeling of standing under the vast night sky.