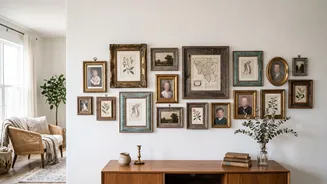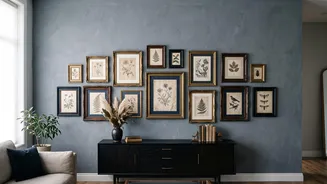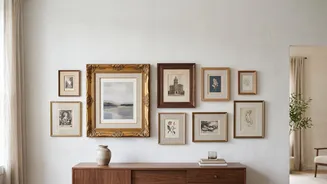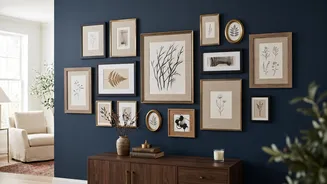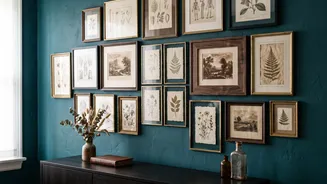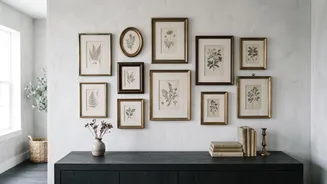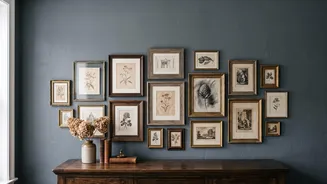

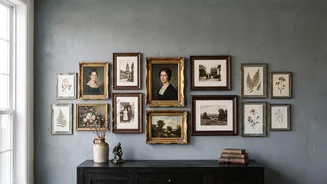
A vintage gallery wall does more than fill a blank space; it tells a story. By combining old frames, cherished photographs, and unique art, you can create a deeply personal and stylish focal point that makes any house feel more like a home.
Start by Sourcing Your Treasures
The hunt is
part of the fun. Begin by shopping your own home for unused frames or forgotten photos. After that, explore local thrift stores, antique shops, and estate sales. When sourcing, look for frames with interesting details, ornate carvings, or a beautiful patina. Don't worry about the art inside or the colour of the frame itself; focus on the shape and character. You can always paint frames or replace the art. Look for a mix of sizes, materials, and shapes—from simple wood to ornate gold—to add visual interest. Buying a few more pieces than you think you'll need will give you more options when it comes time to arrange your wall.
Choose a Theme or Tell a Story
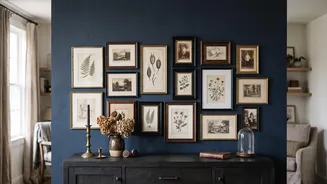
A cohesive gallery wall often has a common thread. This doesn't mean everything has to match perfectly. Instead, think about a unifying element. Your theme could be a colour palette, like warm earth tones, sepia, and cream. It could be a subject matter, such as botanical prints, landscapes, or family portraits. Another powerful approach is to tell a personal story, displaying mementos from your travels, old family photos, or gifts from friends. This transforms your wall from a simple decoration into a visual diary. Mixing eras and styles within your chosen theme is what gives the wall a rich, collected-over-time feeling.
Mix and Match Different Media
The most captivating gallery walls often include more than just framed prints. Incorporating a variety of textures and objects adds depth and personality. Mix black-and-white or sepia-toned photographs with art prints and paintings. Don't be afraid to think outside the frame. Small, decorative mirrors can add light and dimension, while objects like antique plates, small textiles, or even a vintage hat can serve as unexpected focal points. The key is to create a conversation between flat and dimensional pieces, making the entire arrangement more dynamic.
Master the Art of the Layout
Before you hammer a single nail, plan your arrangement. The most common professional trick is to trace each frame onto paper, cut out the templates, and tape them to the wall with painter's tape. This allows you to experiment with placement without creating unnecessary holes. Start by placing your largest or most important piece—your 'anchor'—slightly off-centre at eye level, which is typically 57 to 60 inches from the floor. Then, build the rest of your collection around it. Strive for visual balance, not perfect symmetry. A large frame on one side can be balanced by a cluster of two or three smaller frames on the other. Maintain a consistent gap of about 2 to 3 inches between each frame to create a unified, intentional look.
Unify with Frames and Finishes
Even with an eclectic mix of art, frames can provide cohesion. One strategy is to stick to a limited palette of frame finishes, such as warm woods, antique gold, and black. This helps unify pieces from different eras. For example, placing a modern abstract print inside an ornate vintage frame can create a striking contrast, while putting an old etching in a simple, clean frame can make it feel fresh. You can also unify mismatched frames by painting them in complementary colours or a single neutral shade like white or black. Another tip for a polished look is to avoid using bright white mats, which can detract from the vintage feel unless they are an aged, off-white colour.