

Find Your Anchor Piece
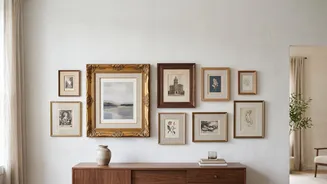
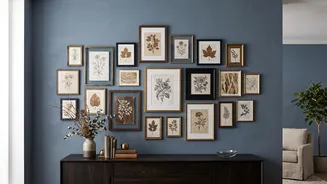
Every successful gallery wall begins with a single focal point. Before you think about the entire collection, identify your anchor piece. This is typically your largest, most visually dominant, or most personally significant frame. This piece will serve
as the centre of gravity for your entire arrangement, giving your eye a natural starting point. Place it in a prominent, slightly off-centre position, and prepare to build the rest of your gallery around it. This approach gives the layout a clear structure and prevents the chaotic feeling of too many frames competing for attention.
Map It Out on the Floor
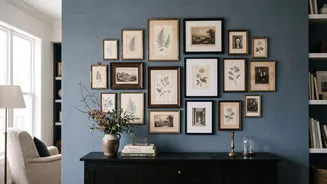
Before a single nail touches the wall, your floor is your best friend. Lay out all your frames on the ground to experiment with different arrangements. This is the easiest way to test the balance and flow of the composition. Mix and shuffle the pieces, placing larger frames and then filling the gaps with medium and smaller ones. Try to distribute visual weight—a large, dark frame on one side can be balanced by a cluster of two or three smaller frames on the other. Once you find a layout you love, take a photo of it. A picture can often reveal imbalances that are harder to spot in person.
Create a Common Thread
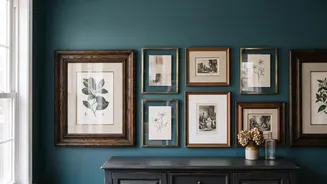
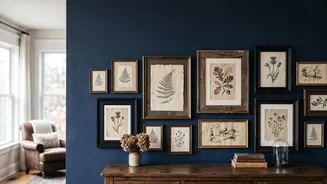
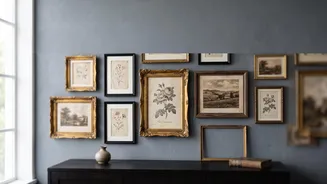
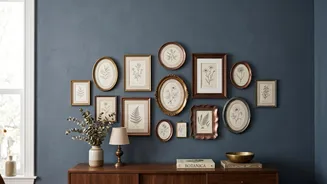
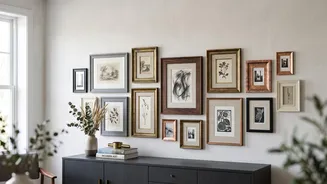
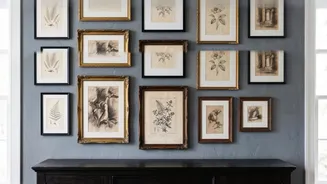
The 'vintage' aspect of your gallery wall implies an eclectic mix, but eclectic doesn't have to mean chaotic. To create a cohesive look, you need a unifying element that ties all the disparate pieces together. This common thread can be a consistent colour palette (like black-and-white photos with sepia tones), a repeated frame finish (mixing wood with a few touches of antique gold), or a shared subject matter (such as botanical prints or landscapes). Repeating one or two finishes or colours is often enough to make the collection feel intentional and curated rather than random.
Master the Art of Spacing
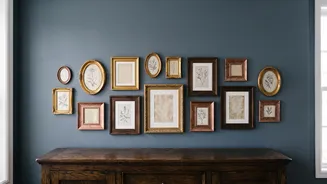
Consistent spacing is the invisible glue that holds a gallery wall together. Even with a wide variety of frame sizes and styles, maintaining a uniform gap between each piece creates a polished, professional look. A good rule of thumb is to keep a distance of 2 to 4 inches between each frame. Any closer, and the art can feel crowded; any further apart, and the pieces may look disconnected from one another. Use a piece of cardboard cut to your desired width as a spacer tool to ensure every gap is the same as you hang the frames.
From Blueprint to Wall
Once you have your final layout, it's time to transfer it to the wall. The most foolproof method is to create paper templates. Trace each frame onto craft paper, cut it out, and label it. Then, use painter's tape to stick the paper templates onto the wall, replicating your floor arrangement. This allows you to live with the layout for a day or two and make final adjustments without creating unnecessary nail holes. The center of the entire grouping should be at eye level, which is roughly 57-60 inches from the floor. This museum-standard height ensures the collection is perfectly positioned for viewing.