


What Is Emmer and Why Use It?
Emmer, known in India as 'khapli' wheat, is one of the oldest cultivated grains in human history. It’s an ‘ancient grain’, meaning it has remained largely unchanged by modern breeding and agriculture. Unlike the high-yield modern wheat found in most commercial
breads, emmer has a different protein structure. While it is not gluten-free, its gluten is weaker and structured differently, which many people find easier to digest. Beyond digestibility, emmer brings a wonderful complexity to your bread. It has a rich, nutty, and slightly sweet flavour that modern wheat often lacks. It’s also a nutritional powerhouse, typically containing higher levels of fibre, protein, magnesium, and zinc than its modern counterparts. By choosing emmer, you’re not just baking bread; you’re connecting with a more rustic, flavourful, and nutritious tradition.
The Magic of Sourdough Fermentation
The term 'gut-friendly' isn't just a marketing buzzword when it comes to true sourdough. The magic lies in the long, slow fermentation process driven by a 'starter'—a living culture of wild yeast and beneficial bacteria. As this culture works on the dough, it performs several key functions. First, it begins to break down the carbohydrates and gluten in the flour, essentially pre-digesting the bread for you. This is a major reason why many individuals who are sensitive to commercial bread can tolerate and enjoy naturally leavened sourdough.
Furthermore, the fermentation process neutralises phytic acid, an anti-nutrient found in whole grains that can block the absorption of minerals. By breaking it down, sourdough unlocks more of the inherent nutrition in the emmer wheat, making minerals like zinc and magnesium more bioavailable for your body to use.
Getting Your Sourdough Starter Ready
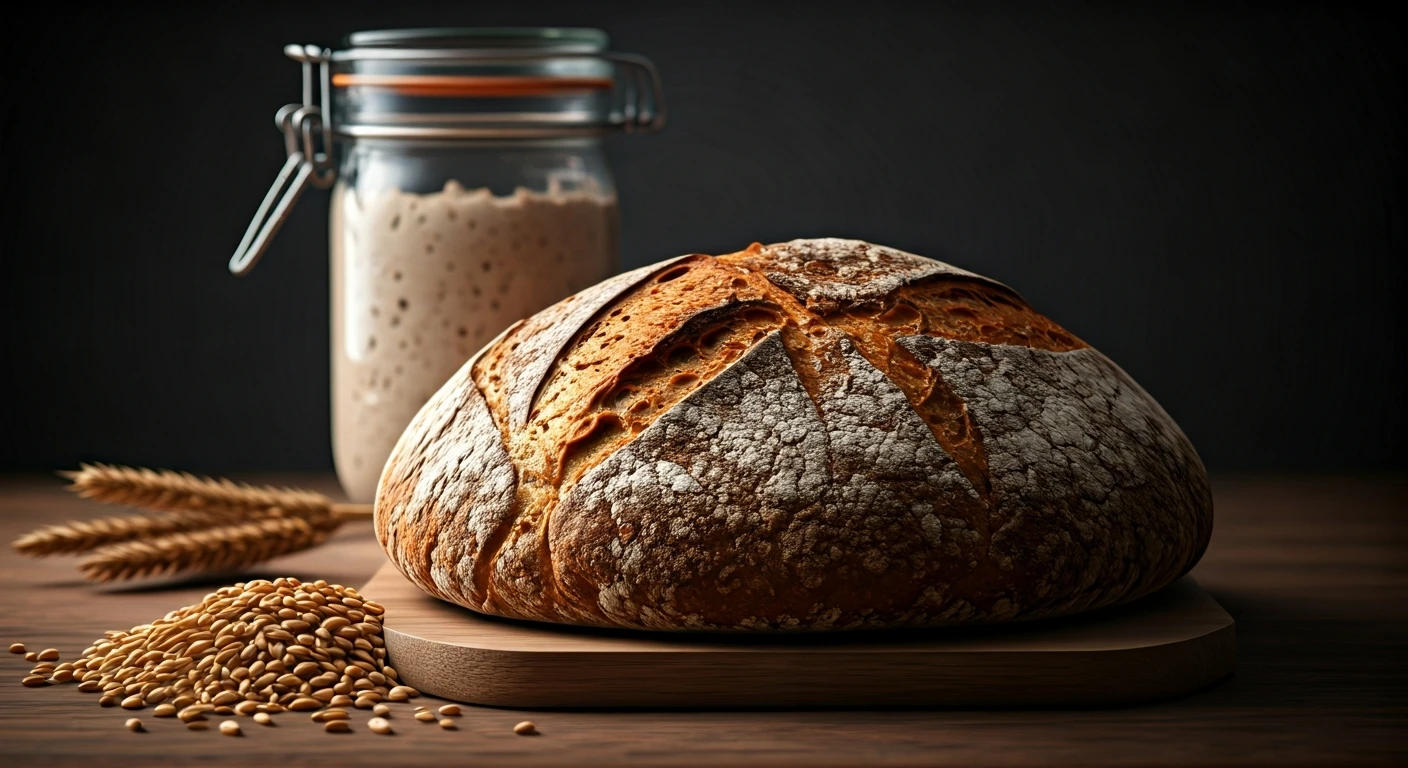
Before you can bake, your sourdough starter needs to be active and bubbly. If you have a mature starter, feed it 4 to 8 hours before you plan to mix your dough. A typical feeding ratio is 1:2:2 (starter:flour:water by weight). For example, combine 25g of starter with 50g of flour and 50g of water. For an emmer loaf, you can use emmer flour for this feeding to acclimate your starter. It will look ready when it has doubled in size, is full of bubbles, and smells pleasantly tangy. A small spoonful dropped in a glass of water should float—this is a classic sign that it’s ready for baking.
Mixing and Handling Emmer Dough
Working with emmer flour is different from using standard bread flour. Its lower gluten content means the dough will feel stickier and less elastic. Don’t be tempted to add too much extra flour; embrace the texture.
A sample recipe would be:
- 450g Emmer Flour
- 50g Whole Wheat or Bread Flour (for structure)
- 375g Water
- 100g Active Sourdough Starter
- 10g Salt
First, mix the flours and water until just combined and let it rest for 30-60 minutes. This step, called an 'autolyse', hydrates the flour and makes the dough easier to work with. After the rest, add your active starter and salt. Use wet hands to squish and fold the dough in the bowl for a few minutes until everything is incorporated. The dough will feel shaggy and sticky—this is normal.
Bulk Fermentation and Shaping
Since emmer dough is delicate, avoid traditional vigorous kneading. Instead, we build strength with a series of 'stretch and folds'. Over a period of 3-4 hours (the 'bulk ferment'), perform a set of folds every 30-45 minutes. To do this, wet your hands, reach under one side of the dough, stretch it up, and fold it over the top. Rotate the bowl and repeat this three more times. After a few sets, you’ll notice the dough becoming smoother and stronger.
Once the dough feels airy and has risen by about 30-50%, it's time to shape it. Gently tip the dough onto a lightly floured surface. Fold it into your desired shape (a round 'boule' or an oblong 'bâtard'), creating surface tension without deflating it too much. Place it seam-side up in a floured proofing basket or a bowl lined with a tea towel.
The Final Proof and Bake
You can now let the shaped loaf proof. For maximum flavour development and easier digestion, a long, cold proof is best. Cover the basket and place it in the refrigerator for 12 to 24 hours. This slow fermentation really develops the sourdough's character.
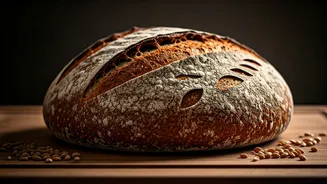
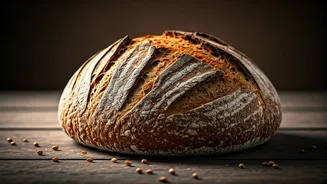
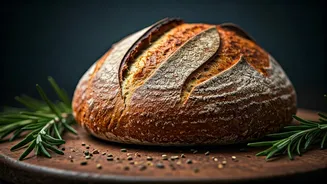
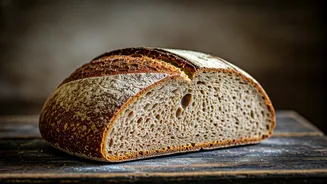
When you're ready to bake, preheat your oven to 230°C (450°F) with a Dutch oven inside for at least 45 minutes. Carefully remove the hot Dutch oven, turn your cold dough out onto parchment paper, and score the top with a sharp blade or razor. This allows steam to escape and controls how the bread expands. Lower the dough into the Dutch oven, cover it, and bake for 20 minutes. Then, remove the lid and bake for another 20-25 minutes, until the crust is deep golden brown. Let it cool completely on a wire rack before slicing to ensure the internal structure sets properly.