






Preparation Is Everything
Before you even think about snapping in a weft, the proper prep work is essential for a secure and seamless application. Start with clean, dry hair. If your hair is freshly washed and slippery, it can cause the clips to slide. Creating a bit of texture
is key. Using a rat-tail comb, part your hair horizontally where you plan to place the first weft. For extra grip, lightly tease the hair at the roots of this section or apply a light mist of hairspray or dry shampoo. This creates a small, textured cushion for the clips to hold onto, ensuring they stay put all day without pulling or causing discomfort. Don't forget to have all your tools ready: sectioning clips to keep other hair out of the way and a mirror to check your work are non-negotiable for a smooth process.
Mapping Your Wefts for a Natural Look
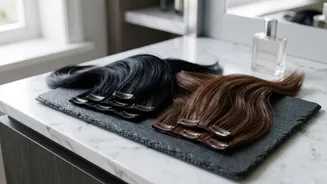
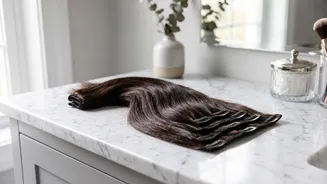
A standard set of clip-ins comes with multiple wefts of varying widths, and knowing where each piece goes is crucial. A common strategy is to work from the bottom up, starting at the nape of your neck. Use the smaller wefts (those with two or three clips) for the lower sections. As you move up toward the widest part of your head, you can use the larger wefts (often four clips) to build the most volume and length. The smallest, single-clip wefts are typically reserved for the sides to frame your face and blend the layers. Think of it as building a foundation; the goal is to distribute the hair evenly so it looks balanced and natural, not bulky or heavy in one spot. It's also important to leave about an inch of space between each weft to allow for natural movement.
Strategic Placement From Back to Front
Start your application by creating a clean horizontal part about an inch or two above the nape of your neck, clipping the rest of your hair up and out of the way. Take your first weft, open the clips, and secure the middle clip first along the part, close to the root but not pulling on the scalp. Once the middle is secure, fasten the side clips. Release another section of your own hair about an inch above the first weft, and repeat the process, working your way up your head. For the sides, create a part about two inches above your ear, ensuring you leave enough of your own hair at the hairline to conceal the weft. This 'safe zone' around your hairline and parting is critical to prevent the clips from peeking through when the wind blows or you style your hair.
Avoiding Common Placement Mistakes
One of the most frequent errors is placing the clips too high on the head, especially near the crown. The hair here is often thinner, making it difficult to cover the wefts, which is an instant giveaway. A good rule of view is to not place any wefts higher than your eyebrows. Another common issue is using too many wefts. While it's tempting to go for maximum volume, overloading your head can look unnatural and feel heavy. Don't feel obligated to use every piece in the set; sometimes less is more for a believable result. Finally, avoid clipping wefts onto hair that is too slippery or without proper preparation, as this will lead to the extensions slipping out during the day.
The Final Blend for a Seamless Finish
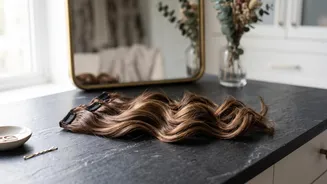
Once all your clips are securely in place, the final step is to blend them with your natural hair. Let down the top section of your hair and gently brush through everything with a wide-tooth comb or a brush designed for extensions, being careful not to tug at the roots. The real magic often happens with styling. Using a curling iron or straightener on both your natural hair and the extensions together helps to marry the textures and hide any noticeable lines where your real hair ends and the extensions begin. Curling or creating soft waves is particularly effective at creating a seamless, integrated look.