

The Foundation: A Soft and Pliable Dough
The secret to any great stuffed paratha begins with the dough. You need a dough that is soft, smooth, and elastic, but not sticky. A stiff dough will be difficult to roll and can cause the paratha to tear when you add the filling. To prepare, mix whole
wheat flour (atta) with a pinch of salt. Add a teaspoon or two of oil or ghee, which helps in creating a softer texture. Gradually add lukewarm water and knead for 5-7 minutes until the dough is smooth. Cover it with a damp cloth and let it rest for at least 20-30 minutes. This resting period allows the gluten to relax, making the dough more pliable and easier to roll without breaking.
Crafting the Perfect Pea Filling
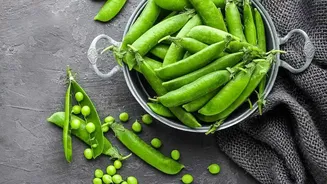
The heart of the paratha is its filling. For the best flavour, fresh sweet peas are ideal, but frozen peas also work well. First, cook the peas until tender. You can steam them, boil them briefly, or microwave them. The most critical step is to ensure there is no excess moisture. Drain the peas thoroughly after cooking. Some recipes even call for lightly roasting besan (gram flour) and adding it to the mashed peas to absorb any extra moisture. Coarsely mash the peas; don't turn them into a fine paste. Sauté aromatics like cumin seeds, grated ginger, green chillies, and asafoetida (hing) in oil or ghee. Add the mashed peas and spices like coriander powder, garam masala, and amchur (dry mango powder) for tanginess. Cook the mixture for a few minutes until it is fragrant and dry. Let the filling cool completely before you start stuffing. Using a warm filling can make the dough sticky and cause it to tear.
The Art of Stuffing and Rolling
This is where many people face challenges like the filling oozing out. The key is balance. Don't overstuff the paratha. Take a ball of dough, flatten it slightly, and roll it into a small disc about 4-5 inches in diameter. Place a portion of the cooled filling in the center. There are two common ways to seal it: you can either bring the edges of the dough together, pleating as you go, and pinch to seal at the top, removing any excess dough; or you can roll a second disc of dough to place on top and seal the edges. Once sealed, gently flatten the stuffed ball with your fingers. Dust it lightly with flour and begin rolling. Use light, even pressure. Avoid pressing down hard in the center, which can force the filling out. Instead, roll from the edges outwards, rotating the paratha frequently to ensure an even thickness.
Cooking to Golden Perfection
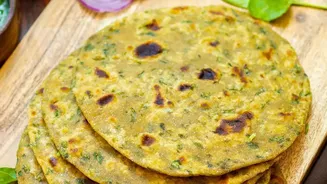
For a paratha that is crispy on the outside and soft on the inside, the tawa (griddle) temperature is crucial. Heat the tawa over medium-high heat. Place the rolled paratha on the hot tawa and cook for about a minute, or until you see small bubbles form. Flip it over. You should see light golden-brown spots. Drizzle ghee or oil on the cooked side, then flip it again. Now apply ghee or oil on the other side. Gently press the paratha with a spatula, especially around the edges, to help it puff up and cook evenly. Cook until both sides are golden-brown and crisp. Don't cook on a low flame for too long, as this can make the paratha hard or chewy.
Serving and Pairing Suggestions
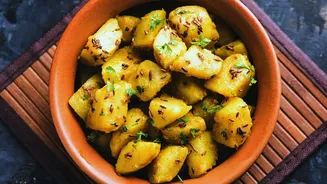
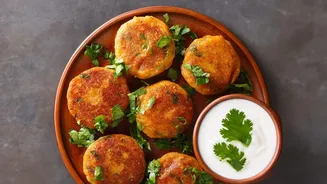
Matar parathas are best served hot, straight from the tawa. They are traditionally enjoyed with a dollop of butter on top. Common and delicious accompaniments include plain yogurt (curd), a variety of pickles (achar), or a cooling raita. A simple cucumber or onion raita complements the spiced pea filling perfectly. For a more complete meal, you can serve them with a side of chana masala or a simple potato curry. And of course, a hot cup of masala chai is the perfect beverage to complete this comforting meal.