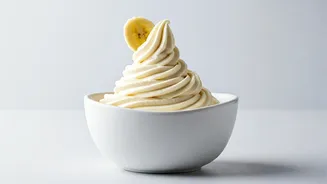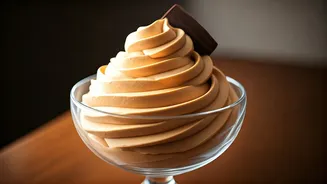


The Magic Behind the 'Nice Cream'
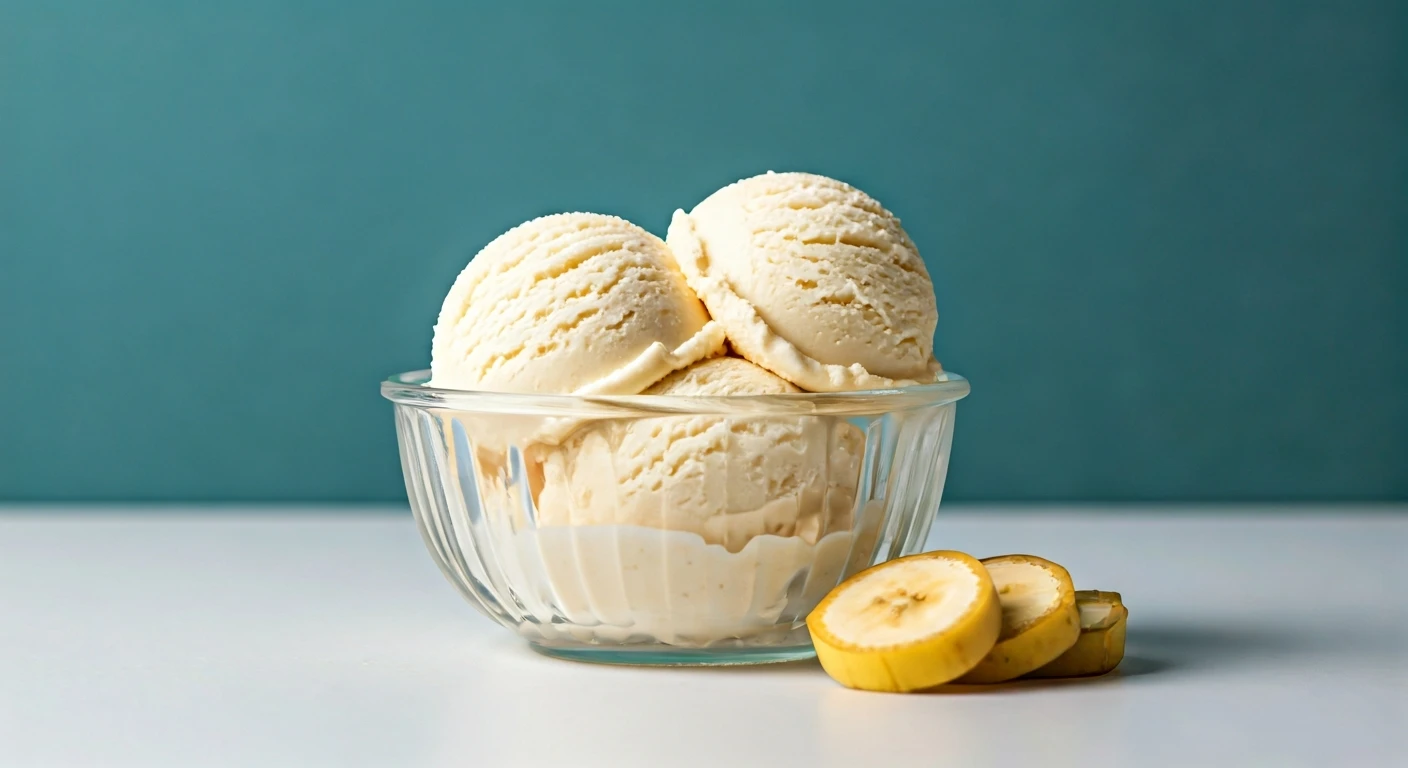
The secret to this incredible hack lies in the natural properties of bananas. When very ripe bananas are frozen and blended, their pectin content creates a thick, smooth texture that miraculously mimics traditional soft-serve ice cream. This phenomenon,
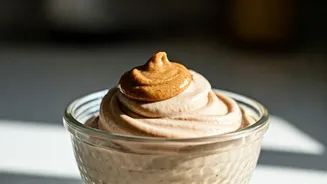
often called 'nice cream', provides a healthy, dairy-free, and naturally sweet base that requires no added sugar, cream, or complicated machinery. By simply adding peanut butter, you introduce a savoury, protein-rich element that balances the sweetness and adds a luxurious depth of flavour. It's a game-changing dessert for anyone seeking a healthier treat without compromising on taste or texture.
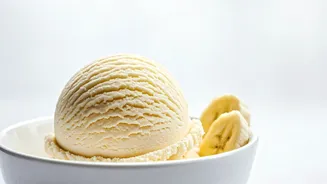
Choosing Your Perfect Ingredients
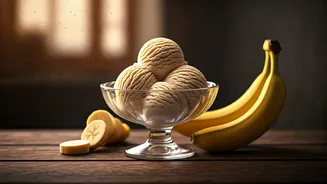
While the recipe only calls for two ingredients, their quality and state are crucial for success. For the bananas, ripeness is key. Look for bananas that are yellow with brown speckles. These are at their peak sweetness, which means you won't need any extra sugar. Avoid green, starchy bananas. Before use, peel the bananas, slice them into thin rounds, and arrange them in a single layer on a plate or baking sheet. Freeze them for at least two hours until they are solid. This makes them easier for your blender to process. For the peanut butter, the choice is yours. Creamy peanut butter will yield the smoothest result, but crunchy will add a nice texture. Natural, unsweetened peanut butter is a great option for keeping the dessert healthy, but any kind you have on hand will work wonderfully.
The Simple Step-by-Step Method
Making the ice cream is astonishingly simple. First, place the frozen banana slices into a powerful blender or food processor. It’s important to use a machine that can handle frozen fruit. Begin to blend the bananas. At first, the mixture will look crumbly or grainy. Be patient and keep blending, scraping down the sides of the bowl as needed. After a few minutes, you’ll witness the magic as the texture transforms into a smooth, creamy soft-serve. Once the bananas are completely smooth, add the peanut butter and blend again just until it’s fully combined. You can serve it immediately for a soft-serve consistency.
Pro-Tips for Ultimate Creaminess
For the absolute best results, a few small tricks can make a big difference. Using a high-speed blender or a food processor is highly recommended for the creamiest texture. If your blender is struggling, you can add a splash of milk (dairy or non-dairy like almond milk) to help it along, but be careful not to add too much or you'll end up with a smoothie. For an even richer flavour, some suggest caramelizing the bananas in a pan before freezing them. Another tip is to be patient during the blending process; it can take a few minutes for the bananas to break down and become creamy, but the wait is worth it.
Delicious Variations and Add-Ins
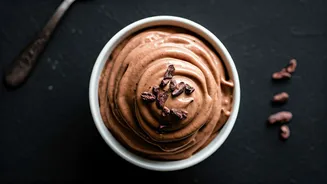
While the two-ingredient version is fantastic on its own, this recipe is a perfect canvas for your creativity. For a chocolatey twist, blend in a tablespoon of unsweetened cocoa powder. A pinch of salt can enhance the salty-sweet dynamic of the peanut butter and banana. For extra texture and flavour, fold in mini chocolate chips, chopped nuts, or shredded coconut after blending. A dash of vanilla extract or a sprinkle of cinnamon can also elevate the flavour profile, adding warmth and complexity to your frozen treat.
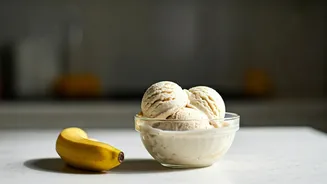
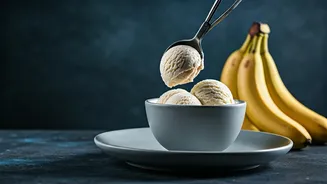
Troubleshooting and Storage
If your ice cream is too runny, it's likely that your bananas weren't frozen solid enough or you added too much liquid. If it's too thick or your blender is struggling, let the frozen bananas thaw at room temperature for a few minutes before blending. For serving, you can enjoy it immediately as soft-serve. If you prefer a firmer, scoopable ice cream, transfer the mixture to a freezer-safe container, like a loaf pan, and freeze for another 1-2 hours. Be aware that homemade 'nice cream' can freeze very hard overnight. If you have leftovers, let them sit at room temperature for 10-15 minutes to soften before scooping.