

Gathering Your Collection
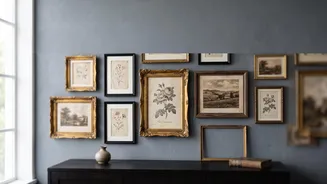
The soul of a vintage gallery wall is its collected, personal feel. Before you think about layouts, focus on curating your pieces. This is a marathon, not a sprint. Scour thrift stores, flea markets, and antique shops for frames with character—aged gilt,
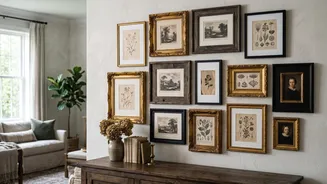
warm woods, or delicate brass. Don't just look for paintings and prints; consider incorporating vintage postcards, small decorative mirrors, botanical illustrations, or even pages from old books. The goal is to gather items that tell a story. You can also mix in contemporary prints or personal black-and-white photos to add contrast and make the collection uniquely yours.
Find a Common Thread
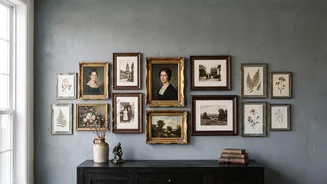
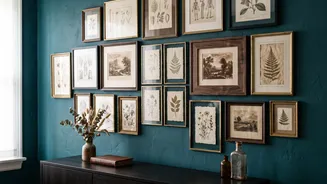
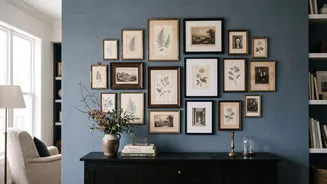
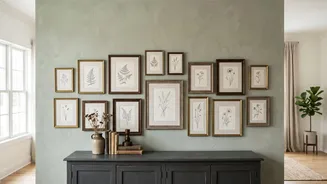
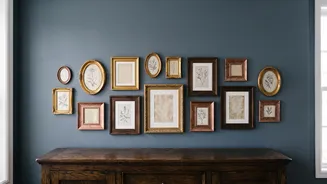
An eclectic collection can quickly look chaotic without a unifying element. This doesn't mean everything has to match—in fact, it's better if it doesn't. Instead, find a loose theme or colour palette to tie your pieces together. This could be a recurring subject matter, like landscapes or portraits, or a consistent colour family, such as warm sepia tones, earthy greens, or classic black and cream. Another strategy is to repeat frame colours or materials. Sticking to two or three finishes, like gold, black, and natural wood, and repeating them throughout the display creates a sense of intentionality.
Choose an Anchor Piece
Every great gallery wall needs a focal point. This is your 'anchor piece', and it's typically your largest or most visually striking item. It gives the arrangement structure and purpose. Don't feel pressured to place it in the dead centre; hanging it slightly off-centre often creates a more dynamic, interesting layout that encourages the eye to travel around the wall. Once your anchor is chosen, the rest of the layout will begin to fall into place around it, like satellites orbiting a planet.
The Floor Plan: Your Most Important Step
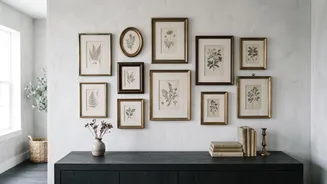
Before a single nail meets the wall, your floor is your best friend. Clear a space and lay all your pieces out. This is the single most critical step to avoid mistakes and unnecessary holes in your wall. You can play with the arrangement for as long as you need to, swapping items and adjusting spacing until it feels balanced. A good rule of thumb for spacing is to maintain a consistent gap of about 2 to 3 inches between frames. This makes the collection look cohesive without feeling crowded. Take a photo of your final floor layout on your phone for easy reference when you start hanging.
Paper Templates for Precision
For even more precision, create paper templates of each frame. Trace the outline of each piece onto kraft paper or newspaper and cut it out. Using painter's tape, affix these paper cutouts to the wall according to your floor plan. This allows you to visualize the scale and balance in the actual space. You can live with it for a day or two, making adjustments as needed. A widely used professional standard is to hang the centre of the entire gallery arrangement at eye level, which is typically around 57 to 60 inches from the floor. If hanging above furniture like a sofa, ensure the bottom of the lowest frame is 6 to 10 inches above it.
Hanging and Final Touches
Once your paper templates are perfectly placed, you're ready to hang. Mark the spot for the nail or hook directly on the paper, then drive the nail right through it before tearing the paper away. Use a level for each frame to avoid a crooked display, which can throw off the entire look. Start by hanging your anchor piece first and work your way outwards. Finally, remember that a vintage gallery wall doesn't have to be static. It can evolve over time. Leave a little space; that gap you see today might be for a treasure you haven't found yet.