


Your Essential Vintage Toolkit
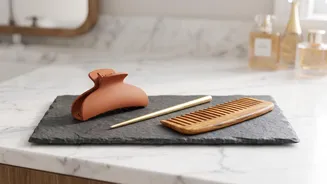
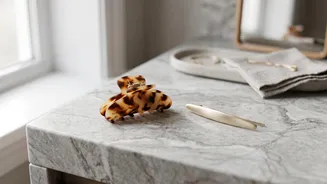
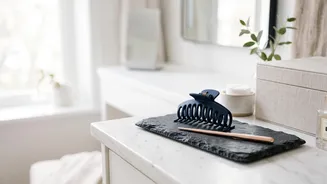
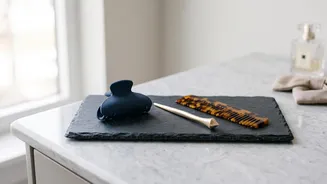
Before you start sculpting, gathering the right tools will make all the difference. While vintage styles were once created without modern conveniences, a few key items simplify the process. You'll need a set of double-prong metal clips or bobby pins,
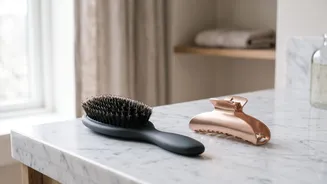
a fine-toothed comb (especially one with a rat-tail end for clean parting), and a good setting lotion or mousse to give your curls hold. A strong-hold hairspray is essential for finishing the look. While heat isn't required for traditional wet sets, a curling iron can be used to speed up the process on dry hair. Finally, a soft bristle brush is crucial for the final 'brush out' that transforms tight curls into soft, glamorous waves.
Mastering the Classic Pin Curl
Pin curls are the foundation of many vintage looks, creating curls that last for days. The technique involves creating small, flat curls and pinning them to your scalp to set. You can do this on damp hair for a traditional, long-lasting set or on dry hair for a quicker version. Start by taking a small section of hair, about one inch wide. Apply a bit of setting lotion. From the tip of the hair, begin wrapping it around your finger to form a loop. Continue rolling the section up towards your scalp until it forms a neat, flat coil against your head. Secure it firmly with two bobby pins in a criss-cross shape or a single metal clip. The direction you roll the curl matters, so try to be consistent across your whole head. Repeat this process until all your hair is pinned, then allow it to dry completely.
The Art of the Brush Out
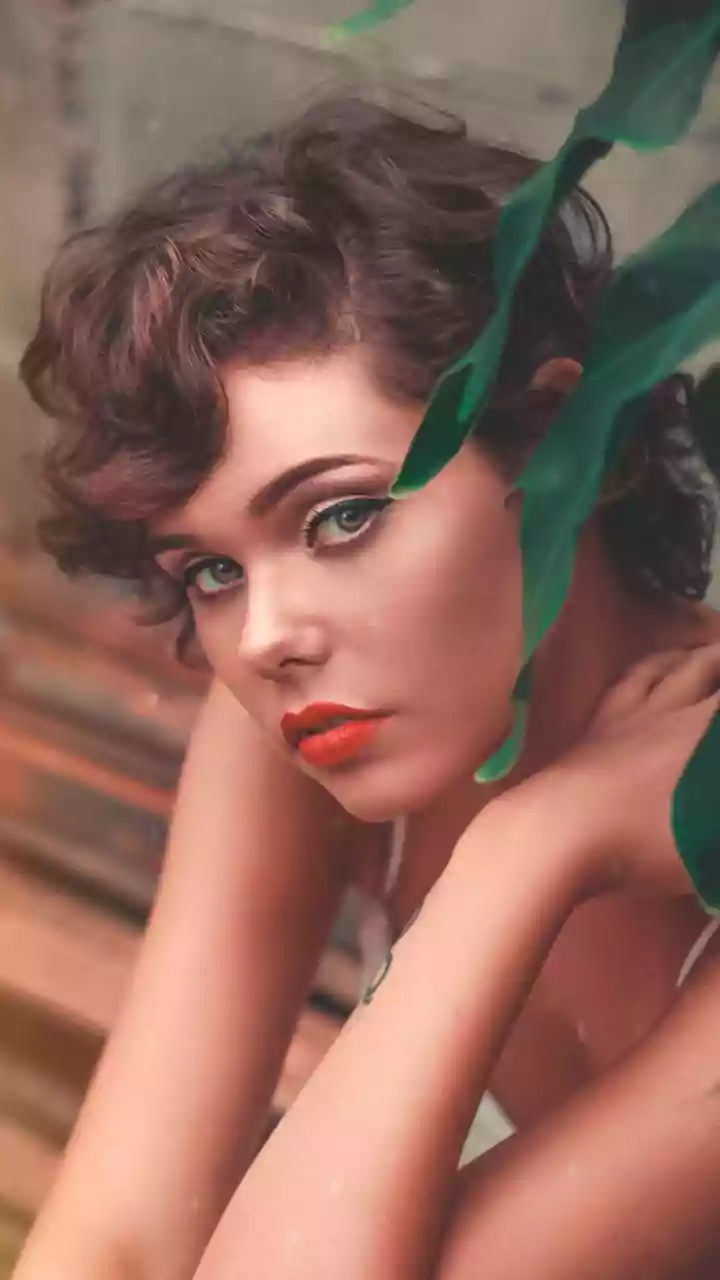
This is where the magic truly happens. Once your pin curls are completely dry and you've removed all the clips, your hair will be in a series of tight, defined ringlets. The next step is to brush them into a soft, cohesive style. Don't be afraid; this is a crucial part of the process. Using a soft bristle brush, gently start brushing through the curls. At first, it will look frizzy and undefined, but keep brushing. The curls will begin to merge, forming the iconic 'S' waves associated with old Hollywood glamour. Use your hands to help shape the waves and encourage them to fall into place. A light mist of hairspray will help tame any flyaways and lock in the final shape.
Beyond Pin Curls: Victory Rolls
Another iconic 'old-school detail' is the Victory Roll, a popular style from the 1940s. This look involves creating large, voluminous rolls on the top or sides of the head. To start, section off a piece of hair at the front where you want the roll to be. For extra volume and stability, gently backcomb the base of the section. Then, take the end of the hair section and begin rolling it inwards toward your scalp, creating a tube shape. Once the roll is formed, secure it discreetly with bobby pins. You can create a single roll or one on each side of your part for a classic look. This style works best on hair that has some texture, so it’s a great option for second-day hair or after a pin curl set.
Effortless Glamour: Finger Waves
For a sleek, 1920s-inspired look, finger waves are a stunning choice. This technique works best on shorter hair and involves sculpting wet hair into S-shaped waves that sit close to the head. To begin, saturate your hair with a strong-hold gel or mousse. Create a deep side part. Using a fine-tooth comb, comb a section of hair forward. Then, place your index finger on the hair and push the comb back in the opposite direction to create a ridge. Hold this ridge with your finger and comb the rest of the section down. You are essentially creating alternating 'C' shapes to form a continuous 'S' wave. You can use clips to hold the waves in place as you work. Let the hair dry completely before removing the clips for a polished, sculpted finish that lasts.