


Why All the Hype?
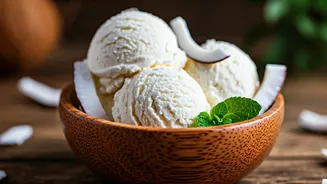
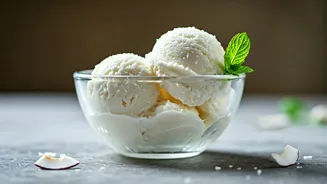
So, what’s behind the sudden craze for homemade coconut ice cream? The answer lies in a perfect blend of simplicity, nostalgia, and the quest for natural flavours. For many, the taste of tender coconut, or 'nariyal malai', is deeply rooted in childhood
memories of summer holidays. Unlike heavily processed desserts, this ice cream often uses fresh, natural ingredients, which appeals to a growing number of health-conscious consumers. Furthermore, the recipes flooding the internet are typically 'no-churn', meaning you don't need a special ice cream maker to achieve a rich, creamy texture. This accessibility makes it an easy and rewarding kitchen project for everyone, from novice cooks to seasoned chefs. It’s a refreshing, light, and tropical treat that offers a clean-tasting alternative to denser, sweeter ice creams, making it the perfect antidote to the sweltering Indian summer.
Gather Your Ingredients
The beauty of this viral recipe is its short and straightforward ingredient list. While slight variations exist, most popular versions rely on a few key components to create that signature creamy, coconut-rich flavour. You will need: Tender Coconut Flesh (Nariyal Malai): This is the star of the show. You’ll need about 1.5 cups of the soft, white flesh from green coconuts. Set aside half a cup to chop into small pieces for texture. Sweetened Condensed Milk: About one 400ml can provides the sweetness and much of the creamy base. You can adjust the quantity to your preferred level of sweetness. Heavy Cream or Whipping Cream: One to two cups of cold heavy cream, when whipped, gives the ice cream its light, airy structure. Some recipes also use fresh cream like Amul. Coconut Milk & Water: A splash of thick coconut milk (about half a cup) and tender coconut water (about three-quarters of a cup) helps intensify the coconut flavour and ensures a smooth blend.
A Simple Step-by-Step Guide
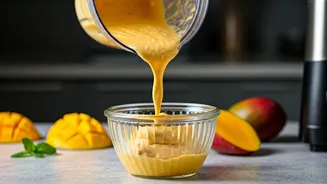
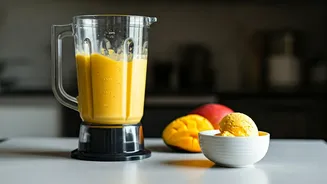
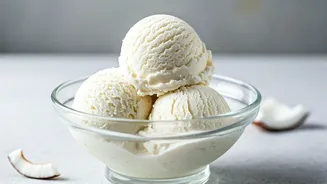
Ready to create your own scoop of heaven? Here’s how you can make this viral dessert in a few simple steps. 1. Create the Coconut Base: In a blender, combine one cup of the tender coconut flesh, the coconut milk, and the tender coconut water. Blend until you have a completely smooth paste. 2. Whip the Cream: In a separate large bowl, use an electric beater or a whisk to whip the cold heavy cream until it forms stiff peaks. This is crucial for a light texture. A pro tip is to chill the bowl and beaters in the freezer for 20 minutes beforehand. 3. Combine the Mixtures: Gently fold the coconut paste into the whipped cream using a spatula. Be careful not to deflate the air you’ve just whipped in. After that, gently fold in the condensed milk until everything is just combined. 4. Add Texture: Stir in the remaining half-cup of finely chopped tender coconut flesh. This step is optional but highly recommended for that authentic, chunky texture found in parlour-style ice cream. 5. Freeze to Perfection: Pour the final mixture into an airtight, freezer-safe container. To prevent ice crystals from forming, some suggest placing plastic wrap directly on the surface of the mixture before sealing the lid. Freeze for at least 6-8 hours, or overnight, until firm.
Tips for the Perfect Scoop
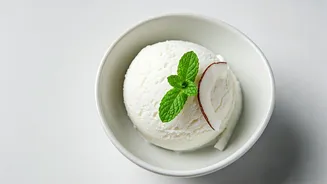
To elevate your homemade coconut ice cream from good to great, keep these simple tips in mind. First, always use fresh, tender coconut for the best and most authentic flavour. If the ice cream is too hard when you take it out of the freezer, let it sit at room temperature for about five minutes to soften slightly for easier scooping. For an extra flavour dimension, you can add a pinch of cardamom powder or a tiny drop of vanilla extract to the mix. Don’t be afraid to get creative with toppings; toasted coconut flakes, chopped almonds, or a drizzle of honey can add a lovely finishing touch.