




The Golden Rule: A Free-Flowing Batter
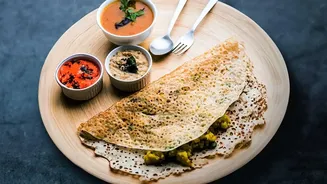
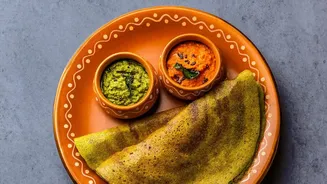
Unlike traditional fermented dosa batters which are thick, the ideal instant oats dosa batter should be thin and watery. Think of the consistency of buttermilk or pouring cream. When you pour it onto the hot tawa, it should spread on its own into a thin,
lacy crepe. If your batter is too thick, it won't spread properly, resulting in a pancake-like texture that steams rather than fries, robbing you of the crispiness. It's crucial to always stir the batter right before making each dosa, as the rice flour and semolina tend to settle at the bottom, which can thicken the mix. If it feels too thick, don't hesitate to add a tablespoon or two of water to thin it out again.
Understanding Your Ingredients
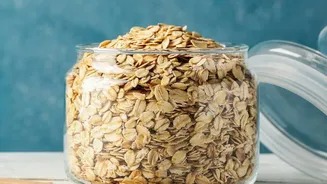
The magic of a crisp oats dosa comes from a trio of key ingredients: oats, rice flour, and sooji (semolina). Oats, whether rolled or instant, are the healthy base. They absorb a lot of water, which is why a resting period after mixing is so important. Rice flour is the primary agent for crispness; it's what gives the dosa its characteristic brittle texture. Sooji adds to the crunch and helps create that desirable net-like, porous structure. Getting the ratio right is key. While recipes vary, many successful versions use a combination where ground oats are balanced with rice flour and a smaller amount of sooji to ensure both structure and a delicate crunch.
The Non-Negotiable Resting Period
For instant oats dosa, 'instant' doesn't mean skipping the resting time for the batter. After mixing your ground oats, flours, and water, you must let the batter sit for at least 15 to 20 minutes. This step is crucial because it allows the oats and sooji to fully hydrate and absorb the water. Skipping this step means the grains won't have softened, leading to a raw taste and a batter that doesn't cook evenly. This resting period ensures every particle is saturated, which is essential for achieving that uniform, crispy texture when it hits the hot pan. The batter will likely thicken during this rest, so you will need to adjust with more water to get back to that thin, flowing consistency.
Tawa Temperature is Everything
Your batter can be perfect, but it won't crisp up on a pan that isn't hot enough. A properly heated tawa is essential. Before your first dosa, heat the tawa on a medium-high flame until a sprinkle of water sizzles and evaporates almost immediately. If the water sits and simmers, the pan is too cold, and your dosa will turn soggy. Conversely, if the pan is smoking hot, the batter will cook and set the moment it touches the surface, preventing you from spreading it thinly. The professional trick is to heat the tawa well, then reduce the heat slightly and wipe it with a damp cloth or half an onion to bring the surface temperature down just a little before pouring.
The Right Pouring Technique
With a thin, watery batter, you don't spread an oats dosa with the back of a ladle like you would a traditional one. Instead, you pour it. Hold the ladle about 4-5 inches above the pan and pour the batter in a circular motion, starting from the outside and moving inward. Don't try to fill in all the gaps; the small holes that form are a sign you're doing it right. These holes, or 'jaali', are what make the dosa lacy, allowing it to cook evenly and become incredibly crisp. Once poured, let it cook undisturbed on a low to medium flame. This slower cooking allows the moisture to evaporate completely, ensuring a golden, crunchy finish. Don't be tempted to flip it too early; wait until the edges start to brown and lift away from the pan on their own.