


Why a Simple Label Is Your Best Kitchen Tool
Before diving into the 'how,' it's worth understanding the 'why.' A well-labeled freezer item is more than just organized; it's a tool for a more efficient kitchen. Proper labeling is one of the most effective ways to reduce food waste, ensuring you use
items before their quality declines. It helps you quickly identify meals, which prevents the frustration of rummaging through icy packages to find what you need. Most importantly, it's a cornerstone of food safety. While freezing food at 0°F or lower keeps it safe indefinitely, its quality—taste, color, and texture—degrades over time. A date on the label allows you to practice the 'First-In, First-Out' (FIFO) method used in professional kitchens, ensuring older items get used first.
The Must-Haves: Dish Name and Date
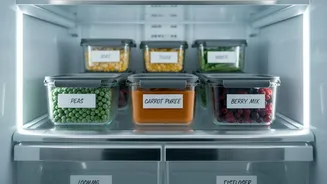
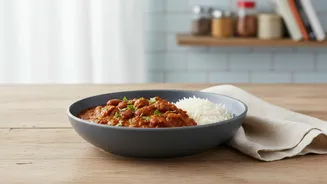
As the headline suggests, the two most critical pieces of information are the name of the dish and the date it was frozen. Be specific with the name. 'Chicken' isn't helpful, but 'Spicy Chicken Curry' is. If you're freezing components, write that down—'Chicken Broth' or 'Diced Onions.' This simple clarity prevents disappointing surprises, like thinking you've found chocolate gelato when it's actually beef gravy. The date is equally vital. Always include the full date (month, day, year) you packaged the item. This allows you to track its age and prioritize what to eat next, preserving the best possible flavour and texture of your food.
Level Up Your Labels with Extra Details
Once you have the basics down, a few extra details can make your labels even more powerful. Consider adding the number of servings or the quantity, which is helpful for meal planning. Including reheating or cooking instructions ('Reheat in oven at 180°C for 20 mins' or 'Thaw in fridge overnight') saves you from having to look up a recipe later. For families with dietary restrictions or allergies, noting key ingredients like 'Contains Nuts' or 'Dairy-Free' is a crucial safety step. Some people even add a 'Use By' date to provide a clear action deadline, which can be especially helpful in a busy household.
Choosing the Right Tools for the Job
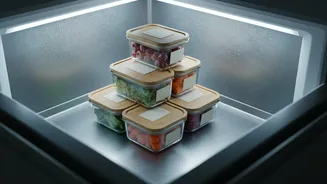
Regular labels and pens often fail in the freezer. The cold and moisture cause standard adhesives to crystallize and peel, and ink to smudge. For best results, use materials designed for low temperatures. Freezer-grade tape or specialty freezer labels are essential. Materials like polypropylene (BOPP), polyester, and vinyl are durable and moisture-resistant. For writing, a permanent marker is a reliable choice. Always label your containers when they are clean, dry, and at room temperature for the best adhesion before placing them in the freezer. Writing on the label before it's on a lumpy, frozen package is also much easier.
Putting It All Together: A Simple System
The best system is one you'll actually use. Keep your labels and a marker in a convenient spot near your kitchen prep area. Label items as you are packing them for the freezer, not later when you might forget. For an even more organized approach, consider color-coding your labels—for instance, using different colored markers for poultry, meat, and vegetarian dishes. To take it a step further, keep a running inventory on a whiteboard on your freezer door or in a note on your phone. This gives you an at-a-glance view of what's available, making meal planning simpler and grocery shopping more efficient.