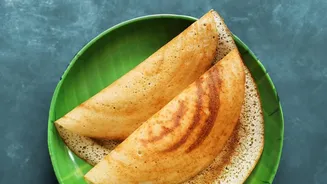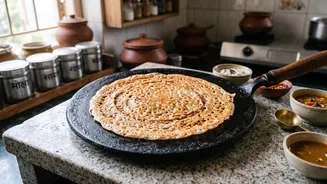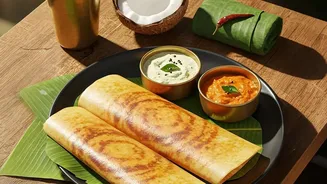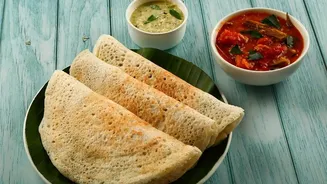




There is nothing like a golden, crisp dosa, but the frustration of it sticking and tearing on a cast-iron tawa is all too real. The secret isn't a complex recipe; it's technique. With a few key steps, you can achieve that perfect dosa every time.
The Foundation: A Well-Seasoned Tawa
The single
most important step for a non-stick dosa is a properly seasoned cast-iron tawa. Seasoning creates a natural, non-stick layer of polymerized oil. If your tawa is new, wash it with soap and water, then dry it completely. Apply a thin, even layer of a high-smoke-point oil, like sesame or vegetable oil, over the entire surface. Heat the tawa on a medium flame for 10-15 minutes until it starts to smoke lightly, then let it cool completely. Repeating this process two or three times builds a robust, glossy patina that is the key to preventing sticking. For regular maintenance, simply wipe the tawa clean after use, dry it on the stove, and apply a very thin layer of oil before storing. Never use harsh soaps or steel scrubbers, which can strip the seasoning you've worked so hard to build.
Perfecting Your Batter Consistency
The consistency of your dosa batter is a close second in importance. If the batter is too thick, it won't spread easily and will cook into a thick, soft pancake that is prone to sticking. If it's too thin and watery, it will tear as you try to lift it. The ideal consistency is that of a thin, pourable cream. It should flow smoothly from the ladle in a steady stream. If your batter is straight from the fridge, let it come to room temperature and give it a good stir. If needed, add water one tablespoon at a time until you reach that perfect, spreadable consistency. A well-fermented batter also contributes, lending a light, airy texture that helps the dosa crisp up nicely.
Mastering Tawa Temperature
Getting the heat right is a delicate balance. A common mistake is starting with a tawa that isn't hot enough, which causes the batter to grab onto the surface and stick instantly. On the other hand, if the tawa is scorching hot, the batter will cook and set the moment it touches the pan, making it impossible to spread. The solution is the water-drop test. Preheat your cast-iron tawa on a medium flame for at least 3-5 minutes. Sprinkle a few drops of water on the surface. If they sizzle and evaporate immediately, the tawa is ready. If they just sit and boil, it's not hot enough. If they vanish instantly with a sharp crackle, it's too hot; turn the flame down and wait a few seconds before proceeding.
The Art of Spreading and Cooking
Before pouring your first dosa, prepare the surface. Once the tawa is hot, lightly grease it with a few drops of oil and spread it evenly using a paper towel or, for a traditional touch, half an onion. This removes excess oil and creates a perfect film for spreading. Now, lower the flame to medium_low. Pour a ladleful of batter into the centre and, using the back of the ladle, immediately begin spreading it in a single, continuous outward spiral. Use a light touch; don't press down hard, as this can cause tears. Once spread, turn the heat up to medium_high. Drizzle a little oil or ghee around the edges and on top, which helps it become crisp and golden.
Patience and the Perfect Lift
The final step is perhaps the hardest: patience. Do not try to lift the dosa prematurely. You'll know it's ready when the top surface appears dry and matte, and the edges begin to turn golden brown and curl up slightly, naturally releasing from the tawa. This is your cue. A dosa that has cooked properly will release itself. To lift it, slide a thin, flat spatula under the edges first, gently working your way towards the centre. If you feel any resistance, wait another 20–30 seconds. The dosa should slide off without any force. For a truly crisp result, don't cover the dosa while it cooks, as any trapped steam will make it soft.