



The New Age of Photo Restoration
For decades, fixing a damaged photograph meant spending hours with complex software like Adobe Photoshop, painstakingly cloning out every speck of dust and manually adjusting colours. The process required skill, patience, and often a hefty price tag.
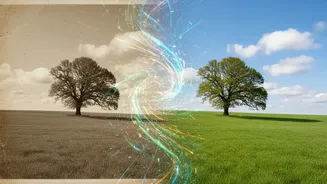
Today, artificial intelligence has completely changed the game. AI-powered editing tools automate these difficult tasks, making professional-grade restoration possible with just a few clicks. These tools use algorithms trained on millions of images to intelligently identify and repair damage, from tiny scratches to major tears and stains. They can analyze a black-and-white image and apply historically accurate and realistic colours, and even sharpen blurry faces with startling clarity.
Finding the Right AI Tool for You
The market for AI photo editors has exploded, offering a range of options for different needs and budgets. They generally fall into three categories: online web tools, dedicated desktop software, and mobile apps. Online tools like Adobe Firefly, ImageColorizer, and Picsart offer incredible convenience; you simply upload your photo to a website and let the AI do its work, often with a generous free trial. For those wanting more control and features, desktop applications like Topaz Photo AI or Luminar Neo provide powerful, AI-driven suites that integrate restoration with a full editing workflow. Mobile apps like Remini are especially good at enhancing faces and are perfect for quick edits on the go. Many of these services operate on a 'freemium' model, allowing you to restore a few photos for free before committing to a subscription or purchase.
Step 1: Digitise and Repair Damage
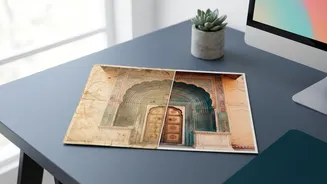
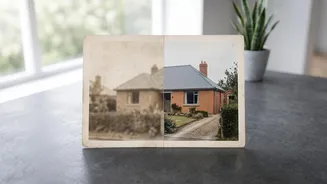
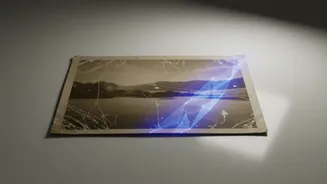
The first step is to get a high-quality digital copy of your physical photo. You can use a flatbed scanner for the best results, aiming for a high resolution (at least 600 DPI). Alternatively, many modern smartphone apps are designed to scan photos with impressive quality. Once you have your digital file, upload it to your chosen AI restoration tool. Most platforms have a simple “Restore” or “Repair” button. When you click it, the AI scans the image for imperfections like cracks, creases, water spots, and tears, and then intelligently reconstructs the damaged areas. The process, which once took hours of manual work, is often completed in under a minute. You can then preview the result and download the cleaned-up image.
Step 2: Restore Colour to Faded Photos
If you're working with a black-and-white or sepia-toned image, AI can bring it to life with vibrant, realistic colour. The colorization feature, offered by tools like ImageColorizer and Kolorize, doesn't just apply a flat tint; it analyzes the context of the image—skin tones, fabrics, skies, and scenery—to infer the original colours. The AI models are trained on vast datasets of historical photographs to ensure the colours are era-appropriate and natural-looking. For photos that were originally in colour but have since faded, these tools can also correct the colour balance, removing the yellowish or reddish cast and restoring the original vibrancy. This one-click process can reveal details you never noticed before and add a powerful emotional layer to the memory.
Step 3: Upscale for Detail and Printing
Many old photos, especially those from early digital cameras or low-quality scans, suffer from low resolution. This makes them appear pixelated and blurry, especially when you try to print them in a larger size. Traditional methods of enlarging an image simply stretched the existing pixels, resulting in a soft, low-quality mess. AI upscalers, however, work differently. Tools like Adobe Firefly's Generative Upscale or standalone services like Upscale.media analyze the image and intelligently generate new pixels to add detail and sharpness as they increase the size. This allows you to increase an image's resolution by two, four, or even eight times without losing quality, transforming a small, blurry file into a crisp, clear photo ready for printing and framing.