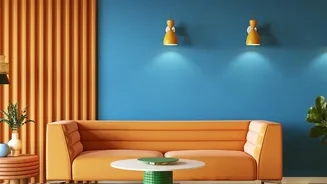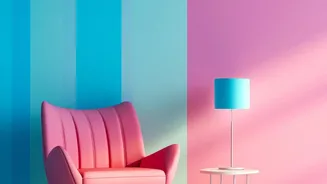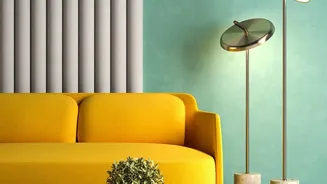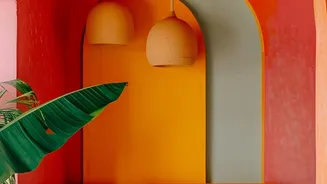


The Power of Colour-Blocking
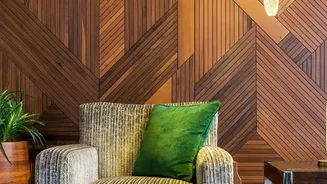
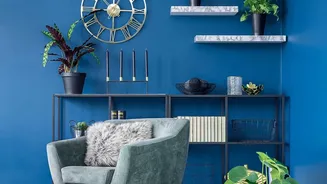
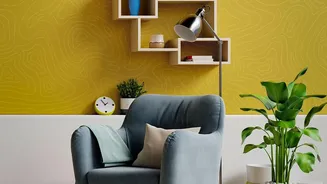
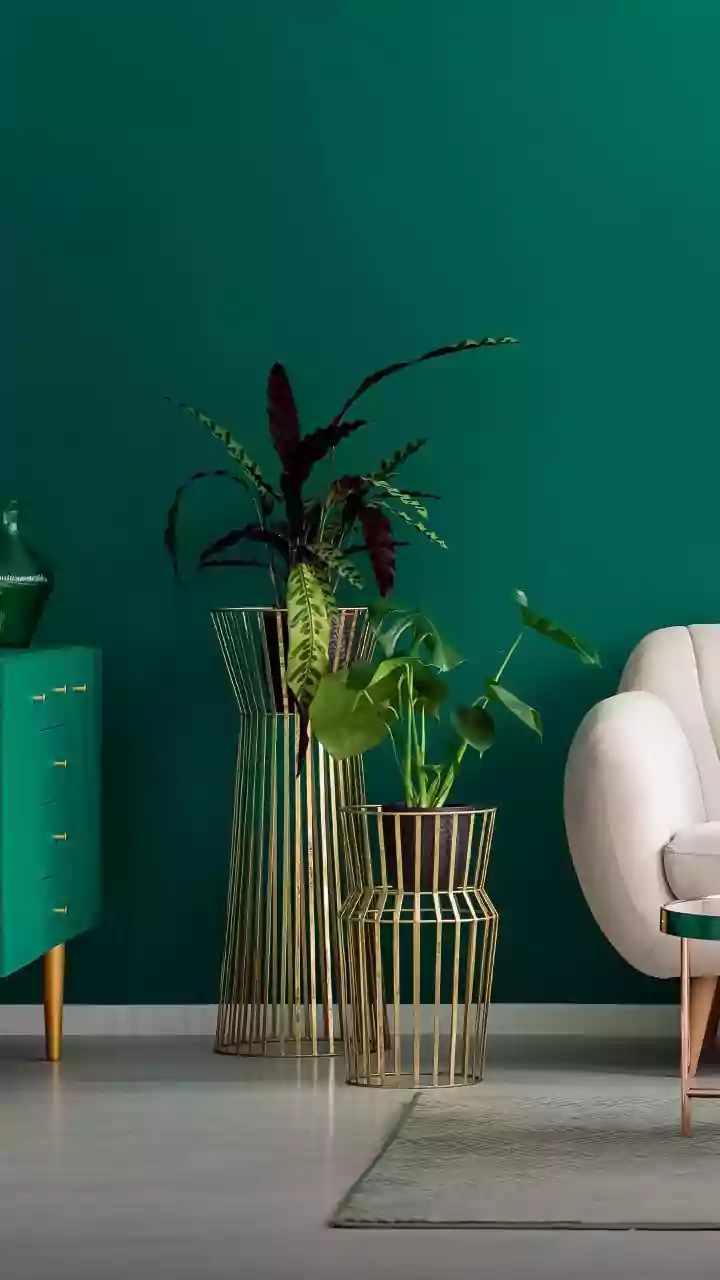
Colour-blocking is an interior design technique that uses contrasting blocks of solid colour to create a bold, graphic statement. It can make a small room feel larger, create a focal point, or simply inject a dose of personality and modern flair into
a tired space. While traditionally achieved with paint, the new generation of wallpapers, especially peel-and-stick varieties, has made achieving this look a quick and accessible project for anyone. It’s a perfect solution for renters or those who like to update their decor frequently, as many modern wallpapers can be removed without damaging the walls.
Choosing Your Wallpaper
The key to an affordable and easy project lies in selecting the right material. Peel-and-stick wallpaper is the top choice for DIY beginners; it has a self-adhesive backing, requires no messy glue, and is often repositionable during installation. Traditional non-woven wallpapers, which require you to apply paste to the wall, are also a manageable DIY option. Look for durable vinyl wallpapers for high-traffic areas or humid spaces like kitchens and bathrooms. In terms of cost, peel-and-stick materials typically range from ₹80 to ₹330 per square foot, making a single accent wall an affordable project often totaling between ₹8,000 and ₹25,000, depending on the size and wallpaper quality.
Gather Your Tools
Having the right equipment on hand before you start is crucial for a smooth process and a professional finish. You won’t need a shed full of gear, but a few key items are non-negotiable. For a peel-and-stick project, your essential toolkit includes a tape measure, a pencil, a spirit level or laser level for drawing a perfectly straight vertical line, a sharp utility or craft knife with extra blades, and a plastic smoother or squeegee to eliminate air bubbles. A clean, damp cloth is also handy for wiping down walls and cleaning up.
The Most Important Step: Wall Prep
Pros and DIY experts agree: proper wall preparation is the single most important factor for a successful wallpaper installation. Any dust, grease, or grime will prevent the adhesive from sticking correctly. Start by washing the walls with a mild soap and water solution, then let them dry completely. Fill any cracks or holes with spackle, then sand the patches until they are perfectly smooth. If you have freshly painted walls, you must wait at least three to four weeks for the paint to fully cure before applying any wallpaper. Applying wallpaper to an unprepared or uncured surface is the most common cause of peeling and bubbling.
Step-by-Step Installation
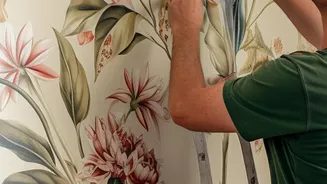
With your wall prepped, it’s time for the fun part. Start by measuring the height of your wall and cutting your first strip, leaving a few extra inches at the top and bottom for trimming. Use your level to draw a straight vertical line to guide your first piece. For peel-and-stick paper, peel back only the top 12 inches of the backing, align the paper with your guideline, and press it to the wall. Working from the center outwards, use your smoothing tool to press the wallpaper onto the wall, gradually peeling away more of the backing as you move downwards. This method helps prevent air bubbles. For subsequent strips, carefully align the pattern at the seam before applying. The edges should butt up against each other without overlapping. Once a panel is up, use your sharp knife and a straight edge to trim the excess at the ceiling and baseboard.
Avoiding Common Pitfalls
A few common mistakes can derail a project. The first is rushing the prep stage, so be patient and thorough. Another is not ordering enough wallpaper; it's wise to add 10-15% extra to your order to account for pattern matching and mistakes. When installing, avoid stretching the paper to make it fit, as this can distort the pattern and may cause the paper to shrink back later, creating gaps. If you get a bubble, you can often lift the paper and re-smooth it. For a bubble that appears after installation, you can prick it with a tiny pin and smooth the air out with your finger.