




The Silent Killer: Waterlogging
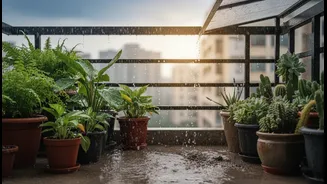
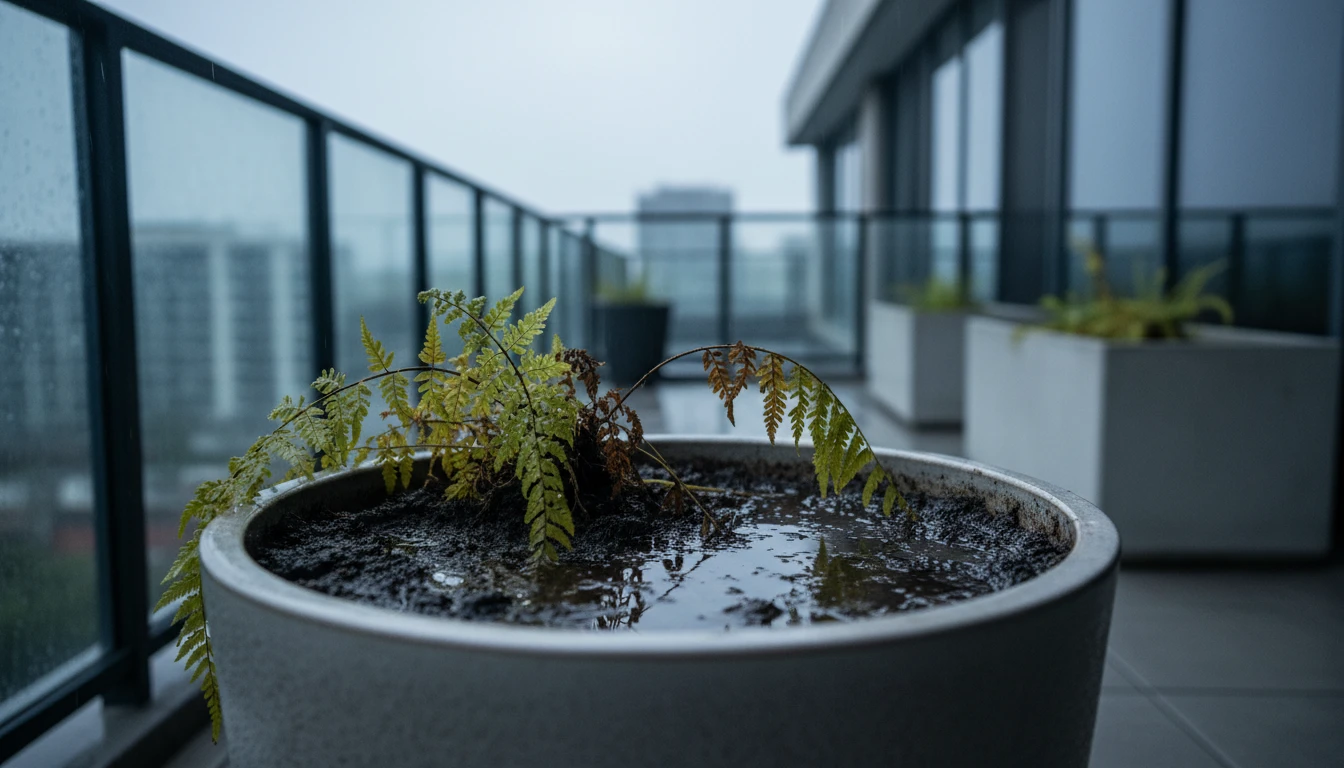
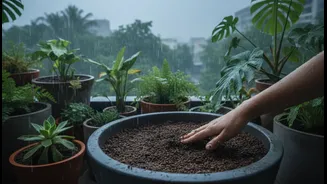
The most significant threat to container plants during the monsoon is not the force of the rain, but the water that stays behind. When a pot's soil becomes saturated, a condition known as waterlogging, the results can be catastrophic for the plant. Healthy
soil contains tiny air pockets that roots need to breathe and absorb nutrients. When these pockets are filled with water, the roots are effectively starved of oxygen and can begin to die off. This leads to root rot, a condition where roots turn brown, mushy, and emit a foul smell. Paradoxically, a waterlogged plant often looks like it's thirsty, with wilting, yellowing leaves, because the damaged roots can no longer supply the plant with the water it needs. This excess moisture also creates a perfect breeding ground for fungal diseases and pests.
Why Standard Pot Holes Aren't Enough
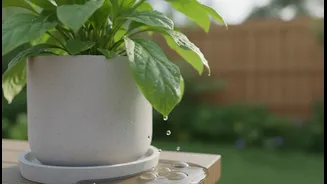
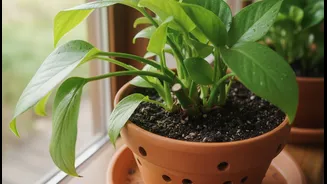
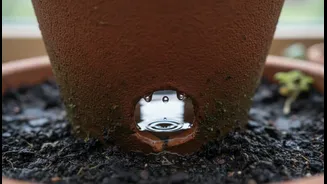
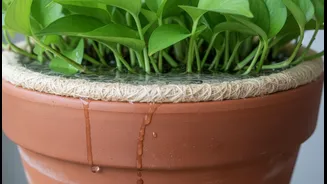
You might think the drainage holes at the bottom of your pots are sufficient protection. While essential, they are often no match for the sustained intensity of a monsoon downpour. Over time, soil can become compacted, slowing down water flow. The small holes can get clogged with soil particles or small roots. Furthermore, if pots sit directly on a flat balcony or terrace floor, the drained water has nowhere to go. It pools underneath, effectively blocking the holes and allowing the water to be reabsorbed into the soil, keeping the root zone perpetually wet. This is why smart gardeners add a secondary, internal drainage system to create an environment where water can escape efficiently, no matter how heavy the rain.
Your Affordable Drainage Toolkit
Creating an effective drainage system doesn't require expensive materials. In fact, many useful items are readily available and cost next to nothing. Broken pieces of terracotta pots (thekri), gravel, small pebbles, and even pieces of charcoal are excellent choices. Some gardeners also use lightweight space-fillers like polystyrene foam packing peanuts or even upside-down plastic bottles (with caps on) in very large containers to reduce the amount of soil needed and improve drainage. Another key material is a piece of mesh, shade cloth, or coconut coir liner to place over the drainage holes. This simple addition prevents the holes from getting clogged with soil while still allowing water to pass through freely.
Building the Perfect Drainage Layer
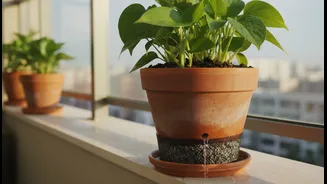
The most effective method is to create layers at the bottom of your pot before adding soil. Start by placing a piece of mesh or a single large shard of a broken pot over the drainage hole to prevent it from clogging. Next, add a layer (one to two inches, depending on pot size) of your chosen coarse material. Gravel or broken pot shards work well. For an added benefit, consider using horticultural charcoal for this layer. Charcoal is porous and not only helps with drainage but also absorbs impurities and can help prevent fungal growth. After this drainage layer is in place, you can add your potting mix. For even better results, amend your soil with materials like coco peat or perlite, which improve its structure and ability to drain internally.
Elevate Your Plants for Success
One of the simplest yet most effective strategies is to lift your pots off the ground. Placing planters on 'pot feet,' bricks, or even simple bottle caps can make a world of difference. This small gap allows air to circulate underneath and ensures that excess water can drain away freely, rather than pooling on the balcony floor and being reabsorbed. Elevating pots also protects your terrace or balcony surface from stains and water damage over time. For multi-level buildings, ensuring water doesn't just flow onto a neighbour's balcony below is also a consideration; proper drainage management helps everyone.