


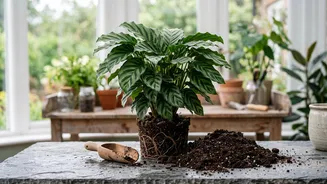
Giving your indoor plant a new home can feel like a big step, but repotting is key to ensuring it thrives for years to come. With a few simple steps, you can refresh its soil and give its roots the space they need to grow strong and healthy.
Signs It’s Time for a New Pot
Plants often
tell you when they’re feeling cramped. The most obvious sign is roots growing out of the drainage holes at the bottom of the pot. Another clear indicator is that the soil dries out very quickly, sometimes within a day or two of watering, because there's more root than soil to hold moisture. You might also notice that new leaves are smaller than older ones or that the plant's growth has stalled, even during its growing season. If you gently lift the plant from its container and see a dense, tangled mass of roots circling the bottom, it's definitely time for an upgrade. As a general rule, most houseplants benefit from being repotted every 12 to 18 months to replenish the soil's nutrients.
Gathering Your Supplies
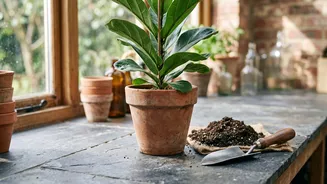
Before you start, get everything you need in one place to make the process smooth and clean. You will need a new pot, fresh potting mix, and water. A new pot should be only one to two inches wider in diameter than the old one. Choosing a pot that’s too large can lead to root rot because the excess soil stays wet for too long. Ensure the new container has drainage holes. For the soil, a general-purpose indoor potting mix works well for most common houseplants. Avoid using soil from your garden, as it's too dense and can contain pests. If you're potting succulents or orchids, look for a specialized mix designed for their specific needs.
Gently Removing the Plant
To minimize stress on the plant, water it a day or two before you plan to repot. This makes the roots more flexible and helps the root ball hold together. To remove the plant, turn the pot on its side and gently tap or squeeze the container to loosen the soil. Support the base of the plant's stem with one hand and carefully slide it out. Never pull the plant out by its stem, as this can cause serious damage to the connection between the leaves and roots. If it’s stuck, you can run a knife or a flat tool around the inside edge of the pot to help release it.
Protecting the Roots
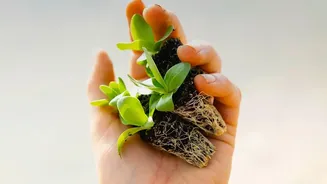
Once the plant is out, inspect the root ball. If the roots are tightly wound in a circle — a condition known as being 'root-bound' — you'll need to gently loosen them. Use your fingers to carefully tease apart the bottom and sides of the root mass. This encourages the roots to grow outward into the new soil instead of continuing to circle. Don't worry if a few small roots break; most plants can tolerate losing a small portion of their root system without issue. If you see any dark, mushy, or bad-smelling roots, this is a sign of root rot. Trim these away with clean scissors or shears before repotting.
The Final Move and Settling In
Add a layer of fresh potting soil to the bottom of the new pot. Place the plant inside, making sure it's centered and the top of the root ball sits about an inch below the rim of the pot. This space at the top makes watering easier and prevents overflow. Begin filling in the area around the root ball with more fresh soil, gently pressing it down to eliminate large air pockets. Avoid packing the soil too tightly, as this can suffocate the roots. Once the plant is secure, give it a thorough watering until you see water emerge from the drainage holes. This helps the soil settle around the roots.
Post-Repotting Aftercare
A newly repotted plant is in a state of recovery, often called 'transplant shock'. During this period, which can last a couple of weeks, avoid placing it in direct sunlight. Bright, indirect light is best as the plant re-establishes its root system. It’s normal to see some mild wilting or even a yellowing leaf in the first week. Hold off on fertilizing for at least a month, as the fresh potting mix contains plenty of nutrients and you don't want to burn the sensitive, recovering roots. Water as you normally would, but always check the soil moisture first, as the new pot and soil will have a different drying pattern.