

What Exactly Are Microgreens?
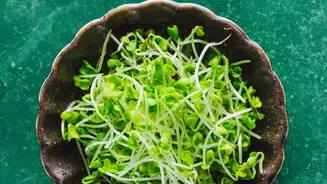
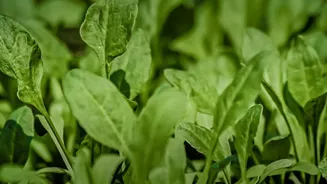
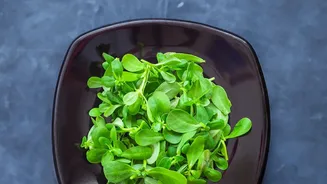
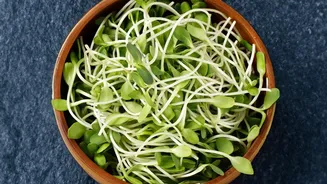
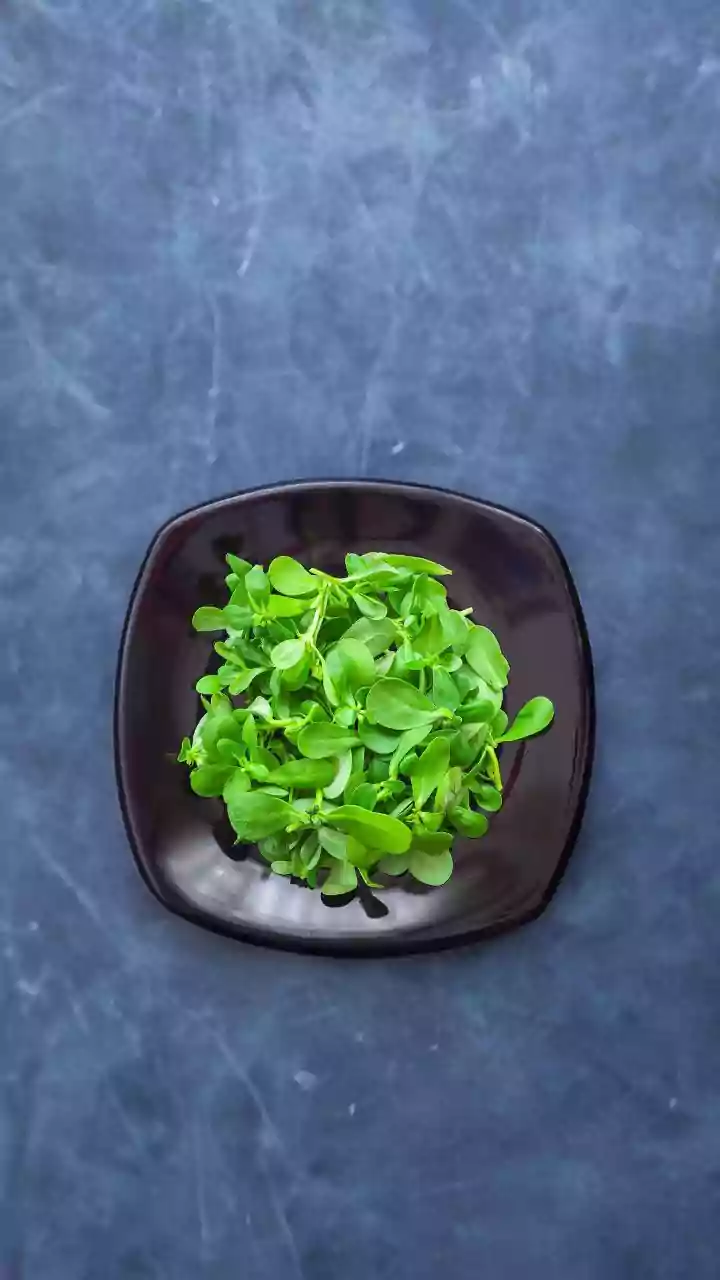
Microgreens are young vegetable greens harvested just after their first true leaves have developed. Don't confuse them with sprouts, which are germinated in water and eaten whole. Microgreens are grown in soil or a growing mat, and you harvest them by
snipping the stems above the surface. They are celebrated for their intense flavour and concentrated nutrient content, often containing 4 to 40 times more vitamins and antioxidants than their mature counterparts. This makes them a true superfood you can produce in a small space.
Your Simple Windowsill Starter Kit
Getting started is easier and cheaper than you think. You don't need a lot of fancy equipment. All you really need are a few basic items: a shallow tray (a plastic takeaway container with holes poked in the bottom works perfectly), a good quality potting mix or coco peat, a spray bottle for water, and, of course, your seeds. The key is a tray that is about two inches deep and allows for drainage to prevent waterlogging.
Choosing the Easiest Seeds for Beginners
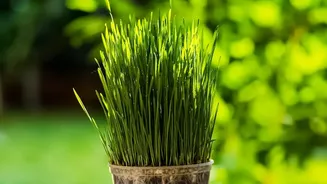
For your first crop, pick seeds that are fast-growing and forgiving. In the Indian context, many kitchen staples are perfect candidates. Radish (mooli), mustard (sarson), and fenugreek (methi) are fantastic choices for beginners. They germinate quickly, often in just a day or two, and are typically ready to harvest in under 10 days. Other easy options include pea shoots, sunflower, and broccoli, all of which offer unique flavours and textures. It's best to buy seeds specifically labelled for growing microgreens to ensure they are untreated and safe for consumption.
A Step-by-Step Guide to a Lush Harvest
Growing a high-density crop is all about technique. First, fill your tray with about an inch of moist potting mix, ensuring it's damp like a wrung-out sponge, not soaking wet. Next, scatter your seeds evenly and densely across the surface—they should be close but not piled on top of each other. Gently press them into the soil and cover the tray for the first 2-3 days to simulate being underground. This 'blackout' period encourages strong roots and upright growth. Once you see germination, uncover the tray and place it on a bright windowsill. A south-facing window is ideal. Mist the soil daily to keep it moist but not waterlogged.
Harvesting and Using Your Micro-Greens
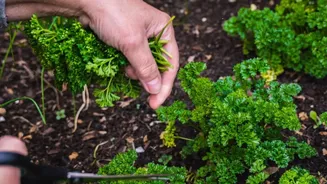
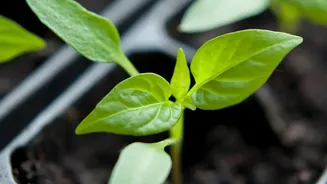
Your microgreens are generally ready to harvest in 7 to 14 days, once they are about 2-3 inches tall and have developed their first set of 'true leaves'. To harvest, use a clean pair of scissors to snip the greens just above the soil level. It's best to harvest them right before you plan to eat them for maximum freshness and nutritional value. Unlike some herbs, most microgreens will not grow back after cutting, so you'll need to sow a new batch. Use your harvest to add a peppery kick to salads, a fresh garnish on dal and curries, a nutritious layer in sandwiches, or a boost to your morning smoothies.