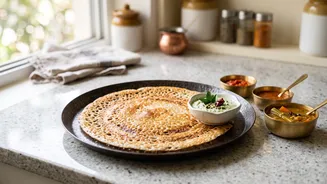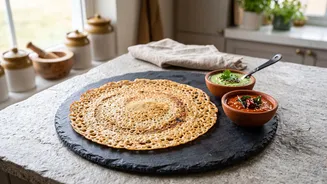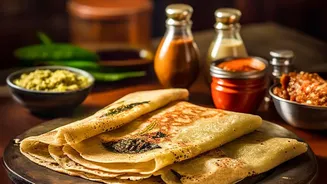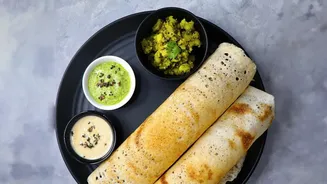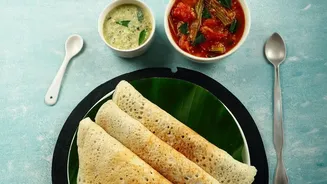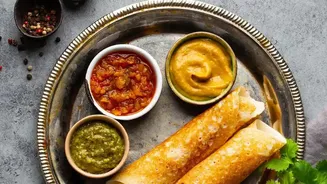


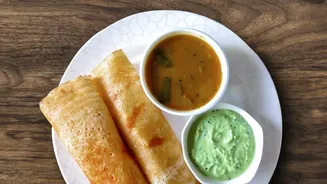
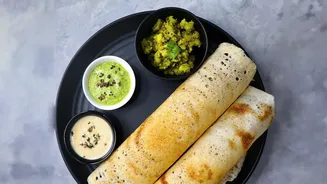
The quest for the perfect oats dosa is a familiar one: a wholesome, flavourful breakfast that promises a lacy, golden-brown crust. But the reality is often a struggle between a soggy centre and scorched, bitter edges. Here’s how to win.
It All Starts with the Batter
The foundation
of a crispy dosa is a batter with the right consistency. For an instant oats dosa, the magic trio is powdered oats, rice flour, and a small amount of fine rava (semolina or sooji). The oats provide body and a nutty flavour, the rice flour ensures crispness, and the rava creates that desirable lacy texture. The batter's consistency should be thin and free-flowing, similar to buttermilk or rava dosa batter, not thick like traditional idli batter. A common mistake is making the batter too thick, which results in a soft, pancake-like uttapam. Conversely, if the batter is too watery, the dosa might break or become too papery and limp. If you make a test dosa and it’s too thick, add a few tablespoons of water. If it’s too thin and breaks apart, add a teaspoon or two of rice flour to give it more structure.
To Rest or Not to Rest
While traditional dosas require lengthy fermentation, instant oats dosa batter only needs a short rest. After mixing your ground oats, flours, spices, and water, let the batter sit for about 15 to 20 minutes. This crucial step allows the oats and rava to absorb the water and soften, which prevents the dosa from breaking on the pan. Skipping this rest is a common error that leads to a fragile dosa. During this time, the flours will settle at the bottom, so it's essential to stir the batter well from the bottom up every single time before pouring it onto the pan. If the batter has thickened during the rest, simply add a bit more water to return it to its original thin consistency.
Mastering the Tawa and Temperature
The single biggest factor in achieving crispy edges without burning is heat management. Your tawa, whether cast iron or non-stick, must be properly hot before the batter touches it. A lukewarm pan will cause the batter to stick and steam, resulting in a pale, soft dosa. To check if the pan is ready, sprinkle a few drops of water on it; they should sizzle and evaporate almost instantly. However, a pan that is smoking hot will burn the dosa on contact before it has a chance to cook through. The ideal is a medium-high heat. Once you pour the batter, maintain a medium flame for even cooking. This allows the dosa to cook through and become crisp without the edges turning black too quickly. If using a cast-iron pan, seasoning it well by rubbing it with a cut onion dipped in oil creates a natural nonstick surface.
The Art of the Pour
Unlike traditional dosa batter that is spread in a circle, instant oats dosa batter is poured. Because it is so thin, you should pour it from a height, starting from the outer edge of the pan and moving inward to fill the space. This technique is what creates the signature net_like, lacy pattern. Don't try to spread it with the back of a ladle, as this will disrupt the delicate structure. Once poured, fill in any large gaps with a little more batter. Then, drizzle a teaspoon of oil or ghee around the edges and in any holes. This is crucial for browning and helps the edges crisp up and release from the pan. You'll know the dosa is ready to be handled when the edges start to brown and lift away from the tawa on their own. This process takes longer than a regular dosa, so be patient and resist the urge to flip it too early.