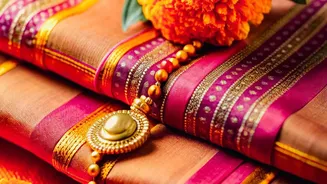

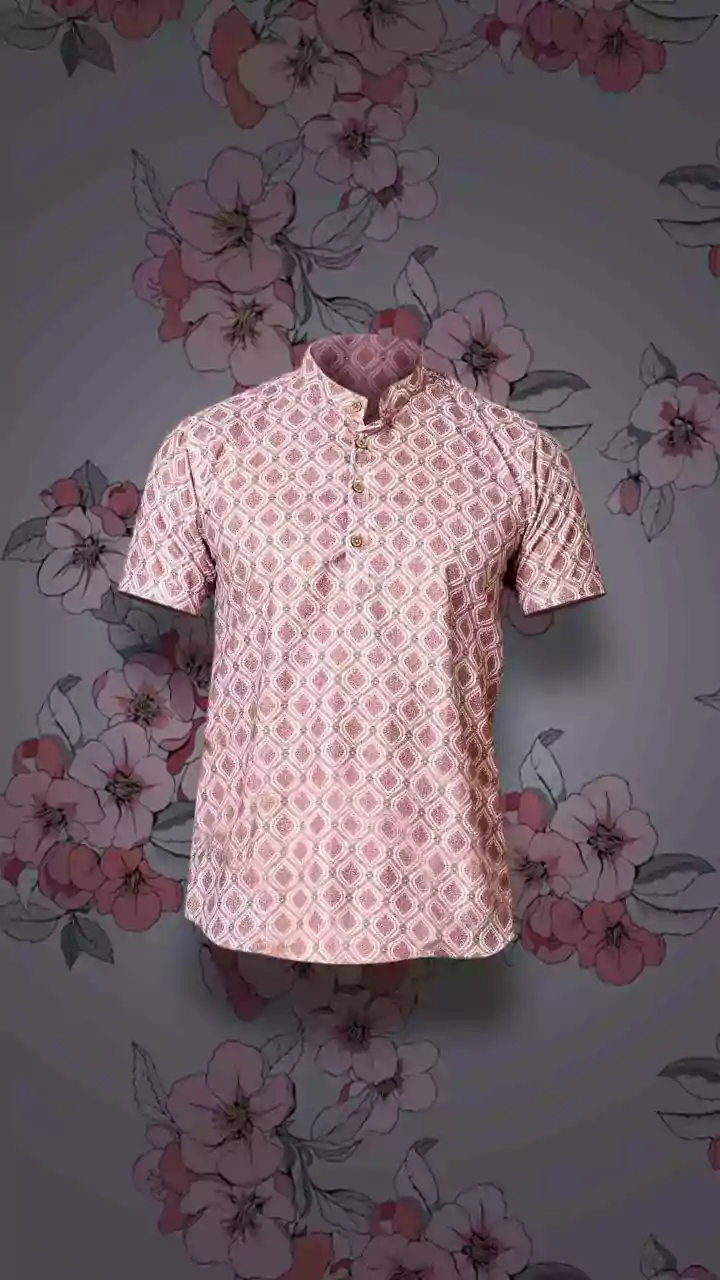
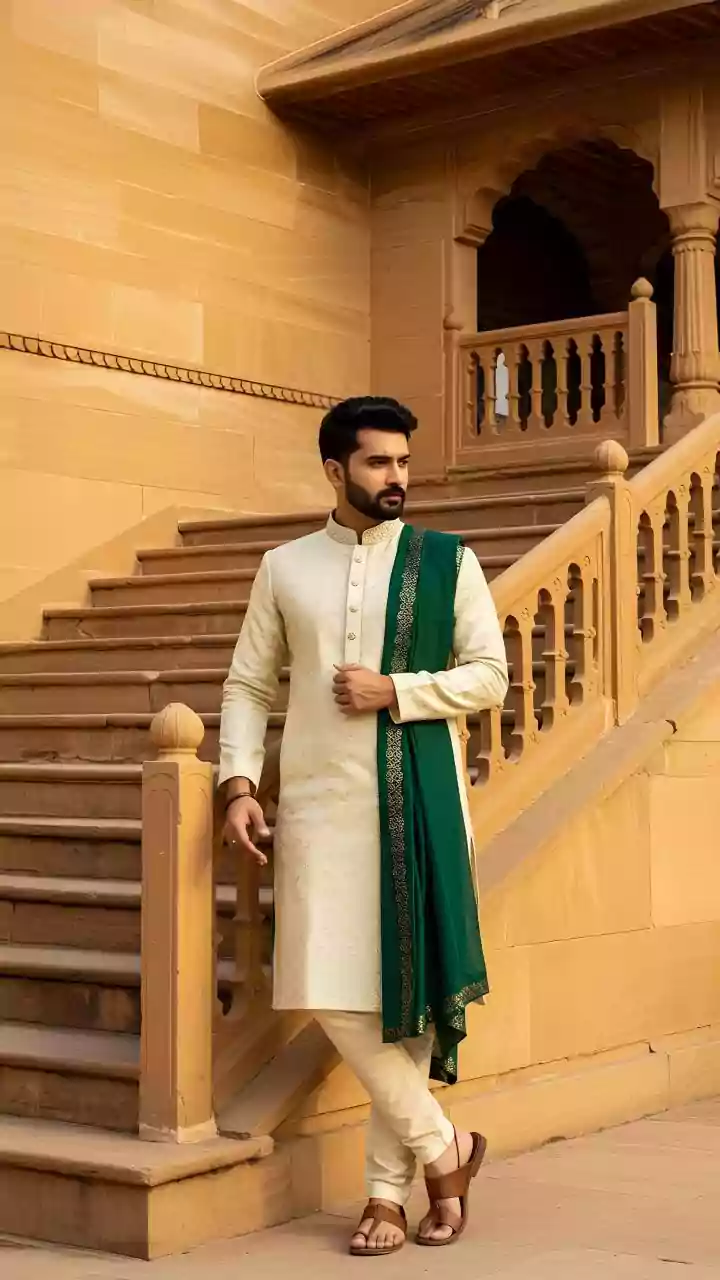

Every wardrobe has them: beautiful silk dupattas from festive seasons past, too gorgeous to discard but rarely worn. Instead of letting them gather dust, breathe new life into these treasures by transforming them into chic, versatile statement vests.
Why Upcycle Your Dupatta?
Before you start, let's talk about the 'why'. Upcycling is a fantastic way to practice sustainable fashion, reducing waste and giving a longer life to garments you already own. A silk dupatta, with its rich texture, intricate embroidery, or vibrant print, provides the perfect raw material for a one-of-a-kind garment. Creating a vest is not just cost-effective; it allows you to design a custom piece that perfectly matches your personal style. It’s a creative project that ends with a wearable, conversation-starting addition to your wardrobe that no one else will have.
Choosing the Right Dupatta
While the impulse might be to grab any old dupatta, a little selection goes a long way. The best candidates are dupattas made from fabrics that have some structure, like Banarasi silk, brocade, or even heavy cotton silk. These materials will hold the shape of a vest better than lighter fabrics like chiffon or georgette, though those can be used for a more flowy, kimono-style vest. Pay attention to the pattern. A dupatta with a prominent border can be cleverly used to create a finished-looking hem or neckline. All-over prints or intricate embroidery can become the centrepiece of your new vest.
Method 1: The Quick No-Sew Vest
If you're not comfortable with sewing or want a temporary style, the no-sew method is your best friend. This technique is all about clever folding and pinning. Start by folding the dupatta in half lengthwise to find the centre. Drape this centre point at the back of your neck. Bring the two long ends forward over your shoulders. Wrap each side loosely around your arms to create armholes and use a few well-placed safety pins to secure the fabric at the shoulder and under the arm. You can create a more defined shape by gathering the fabric at the back with another pin or using a belt to cinch the waist. This creates an open, flowing vest in minutes.
Method 2 : The Basic Sewing Approach
For a more permanent and polished garment, basic sewing is the way to go. You don't need to be a master tailor for this. Lay your dupatta flat. Fold it in half widthwise. Now, fold it again lengthwise. You will have four layers of fabric. Using a vest or a well fitting sleeveless top as a guide, trace out the shape for the armholes and neckline with tailor's chalk. Cut carefully through all layers. After cutting, you will have a front and back piece. The front piece can then be cut straight down the middle to create the vest opening. Sew the shoulder seams and the side seams together. Finish the raw edges of the armholes, neckline, and front opening by folding them over twice and stitching, or by attaching bias tape for a clean, professional finish.
Styling Your New Statement Vest
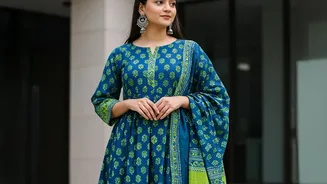
Now for the fun part : wearing your creation . A silk vest is incredibly versatile . For an ethnic - chic look , layer it over a plain kurta with palazzo pants . The vest adds a pop of colour and texture , instantly elevating a simple outfit . For a contemporary , fusion look , wear it over a simple t - shirt or a crisp white button - down shirt with jeans . You can even style it on its own as a top , buttoned or pinned closed , and paired with high - waisted trousers or a skirt for a bold , modern statement . The key is to let the vest be the hero piece and keep the rest of your outfit relatively simple .