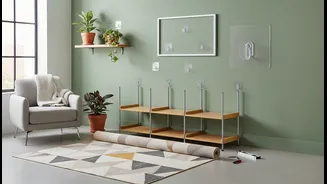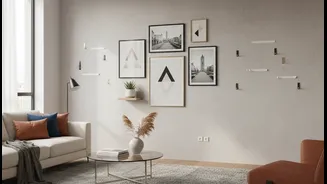





The Promise of Damage-Free Decorating
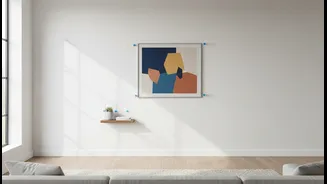
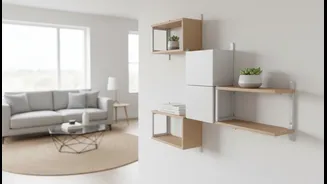
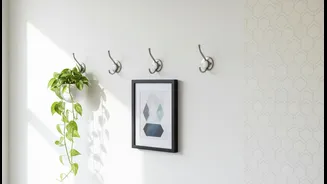
Deposit-safe or damage-free fixings are a renter's best friend. These clever items, most commonly adhesive hooks and strips, are designed to stick strongly to a variety of surfaces like painted drywall, tile, and glass, allowing you to hang pictures,
art, and organisers without drilling a single hole. The core appeal is in their promise of clean removal, leaving no sticky residue, cracked plaster, or tell-tale holes behind. This makes them an ideal choice for personalising your space temporarily. However, the 'damage-free' claim comes with a major condition: user error voids the warranty. Success hinges entirely on correct application and, even more critically, proper removal.
Preparation: The Step You Cannot Skip
The most common reason for failure is improper surface preparation. Simply sticking a hook on the wall is a recipe for a weak bond or a damaged surface upon removal. Before you do anything, clean the intended spot on the wall with isopropyl rubbing alcohol. Do not use general household cleaners, sprays, or wipes, as they can leave a slippery residue that prevents the adhesive from gripping properly. After wiping, let the area dry completely. Another key element of preparation is patience. If you’re applying fixings to a freshly painted wall, you must wait at least seven days for the paint to fully cure before proceeding.
Installation: Press, Wait, and Hang
Once your surface is clean and dry, follow the package instructions precisely. For most adhesive strips, this involves pressing the strip firmly against the wall for about 30 seconds. The harder you press, the stronger the bond will be. After attaching the hook or mounting base to the strip, the next step is crucial: wait. Most manufacturers recommend waiting for at least one hour before hanging anything on the hook. This waiting period allows the adhesive to build to its maximum strength. Skipping this step can lead to your carefully hung frame crashing to the floor.
The Art of Gentle Removal
This is where most people go wrong and where deposits are lost. The cardinal rule of removing adhesive strips is to never, ever pull them out and away from the wall. Doing so will almost certainly take a chunk of paint and drywall with it. Instead, the trick is to stretch the adhesive. Hold the hook or fixture gently to keep it from snapping onto your fingers, and grab the exposed pull tab at the bottom. Slowly pull the tab straight down, keeping your hand against the wall as you go. The strip is designed to stretch—sometimes up to 15 inches or more—and this stretching action is what releases the bond cleanly. Be patient and keep pulling straight down until the hook pops off the wall.
Common Mistakes to Avoid
Beyond improper installation and removal, several other mistakes can lead to damage. First, always respect the weight limit stated on the packaging. Overloading a hook is a guaranteed way to cause failure. Second, be mindful of the surface. Most standard strips are not designed for wallpaper, vinyl, brick, or heavily textured surfaces. Using them here can lead to the wallpaper tearing or the strip failing to adhere. Finally, consider the environment. Standard strips may fail in very humid or hot locations like bathrooms, so look for products specifically designed for those conditions.