

Why Grow Mint Indoors?
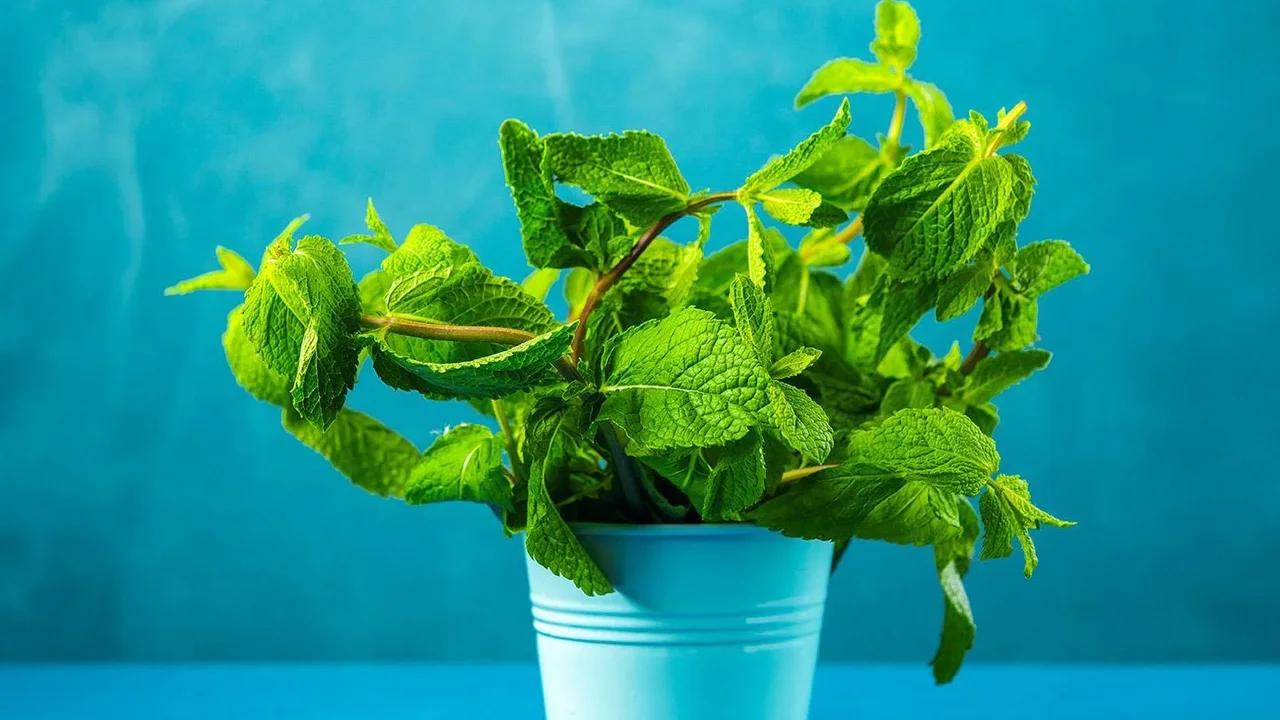
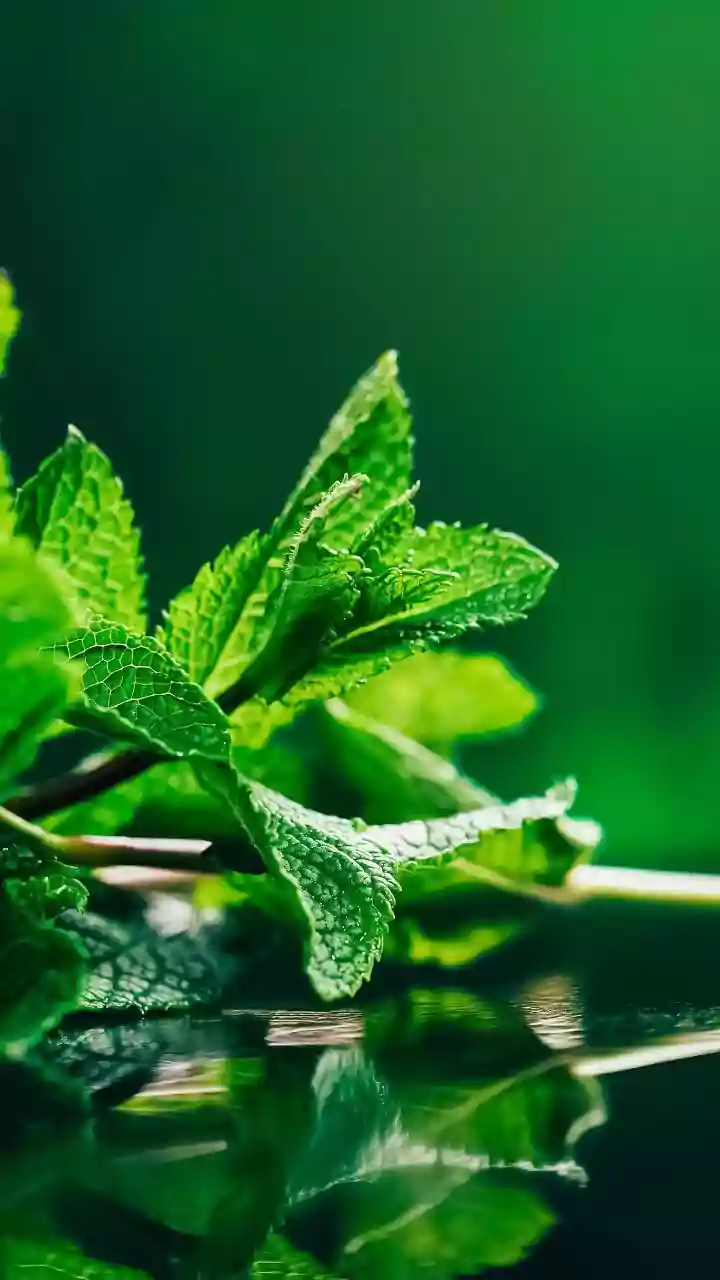
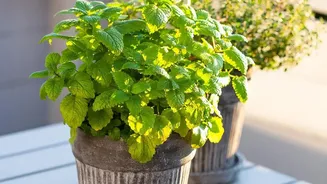
Mint is one of the most rewarding herbs for a home gardener. Its vigorous nature, often a challenge in outdoor gardens where it can spread aggressively, becomes a major advantage when contained in a pot. Growing it indoors provides a year-round supply
of fresh leaves, free from pesticides and much cheaper than buying packets from the store. The process is straightforward, making it an ideal project for beginners. Plus, the fresh scent of mint can liven up your kitchen. With over 600 varieties, from spearmint and peppermint to more exotic types like chocolate or apple mint, you can choose the perfect flavour for your culinary needs.
Finding the Perfect Recycled Planter
You don’t need to buy expensive pots. Your recycling bin is a treasure trove of potential planters. Large yoghurt tubs, plastic takeaway containers, milk jugs, and even old coffee cans can all be repurposed. Mint spreads via runners, so a container that is wider than it is deep is ideal to give the roots room to expand. Plastic containers are a great choice as they retain moisture well, meaning you'll water less often than with porous terracotta pots. Just make sure to clean your chosen container thoroughly with soap and warm water before planting.
The Crucial Step: Ensuring Drainage
Proper drainage is the single most important factor for a healthy container plant. Without it, water will pool at the bottom, leading to root rot, which is almost always fatal. Your repurposed container must have holes to let excess water escape. You can easily create them yourself. For plastic containers, carefully poking holes in the bottom with a heated metal skewer works well (ensure good ventilation if you use this method). Alternatively, a standard drill with an appropriate bit can be used for plastic, resin, or even metal containers. Aim for several small holes rather than one large one. To prevent soil from washing out, you can place a coffee filter or a piece of landscape fabric over the holes before adding soil, though this isn't strictly necessary.
The Easiest Way to Start Your Plant
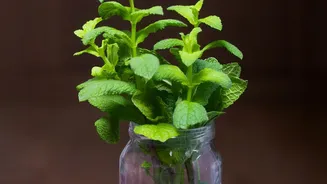
While you can grow mint from seeds, it’s much simpler and faster to propagate it from cuttings. You can even do this with a bunch of fresh mint bought from the supermarket. Select a few healthy-looking stems. Trim the bottom of each stem just below a leaf node (the point where leaves emerge) and remove the lower leaves, leaving a few sets at the top. Place these cuttings in a glass of water on a windowsill that gets bright, indirect light. Change the water every couple of days. Within a week or two, you should see small white roots begin to sprout from the submerged nodes. Once the roots are a few centimetres long, your mint is ready to be planted in soil.
Potting and General Care
Fill your prepared container with a quality, well-draining potting mix. Avoid using dense garden soil, which compacts easily in pots and can hinder drainage. Moisten the soil slightly, then use your finger or a pencil to make a hole for your rooted cutting. Gently place the cutting in the hole and press the soil around it. Water it well and place it on your brightest windowsill. Mint thrives with about four to six hours of sun a day. Keep the soil consistently moist but not waterlogged. A good rule of thumb is to water whenever the top inch of soil feels dry. Rotate the pot every few days so the plant grows evenly instead of leaning towards the light.
Harvesting for a Bushy, Healthy Plant
Don’t be shy about harvesting your mint. Regular trimming is key to encouraging a full, bushy plant and preventing it from becoming tall and 'leggy'. Simply pinch or snip off the top sprigs as you need them. This encourages the plant to branch out from below. If you see any flower buds forming, pinch them off immediately. Allowing the plant to flower can change the flavour of the leaves. An established indoor mint plant can be quite productive, giving you more than enough for regular use. If you end up with a surplus, you can easily dry the leaves or freeze them for later.