


What Exactly Is Soft-Focus Makeup?
Think of the gentle, flattering haze of a portrait taken during the golden hour. That’s the essence of soft-focus makeup. It’s a technique that prioritises blurring imperfections, diffusing light, and creating a seamless, almost airbrushed finish without
heavy layers of product. Unlike the hyper-dewy ‘glass skin’ trend or the chiselled angles of heavy contouring, the soft-focus look is about creating a velvety, satin-matte complexion. It’s not flat or dry; instead, it has a lit-from-within dimension that looks polished both on camera and in person. The goal is to minimise the appearance of pores and fine lines, creating a smooth canvas where colour melts into the skin rather than sitting on top of it.
The 'Why' Behind the Blur
So, why the sudden shift away from high-shine and sharp lines? The appeal of the soft-focus trend is multi-fold. Firstly, it’s incredibly flattering. The blurring effect is forgiving on all skin types and textures, smoothing over areas you might feel self-conscious about. Secondly, it’s an evolution of the ‘no-makeup makeup’ look, offering a more perfected, sophisticated finish that still feels modern and effortless. In an age of high-definition cameras, this trend provides a real-life smoothing filter. It photographs beautifully, eliminating unwanted shine and creating a poreless effect that was once the domain of editing apps. It signals a move towards celebrating skin, but with a refined, polished touch.
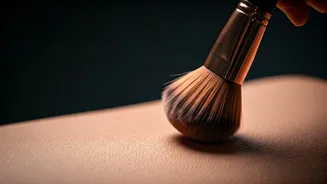
Step 1: Prep and Prime Your Canvas
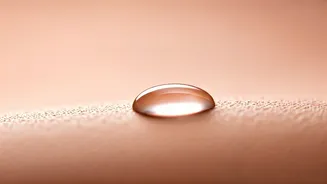
Achieving the soft-focus effect begins long before you pick up your foundation. The secret lies in a well-prepped base. Start with a hydrating moisturiser to plump the skin, ensuring your makeup won’t cling to any dry patches. The non-negotiable next step is a blurring primer. Look for silicone-based or pore-minimising primers that create a smooth, velvety canvas. Apply it strategically to your T-zone or any areas where you have larger pores or fine lines. This single step does a lot of the heavy lifting by creating that initial layer of diffusion and helping your makeup last longer while maintaining its satin finish.
Step 2: Choose Your Foundation Wisely
For the soft-focus look, steer clear of both extremely dewy and ultra-matte foundations. Your ideal formula is a satin-matte or a natural-finish liquid foundation. The key is application. Instead of painting on a thick layer, apply a small amount to the centre of your face and blend outwards with a damp sponge or a dense brush. This technique ensures the coverage is concentrated where you need it most, fading into a more natural finish at the perimeter of your face. For blemishes or under-eye circles, use a creamy, blendable concealer and pat it in with your finger—the warmth helps it melt seamlessly into the skin.
Step 3: Diffuse Your Colour
Harsh lines are the enemy of the soft-focus aesthetic. When it comes to blush, bronzer, and even eyeshadow, think in terms of watercolour washes rather than sharp stripes. Cream-to-powder formulas are your best friend here. Apply cream blush to the apples of your cheeks and blend upwards and outwards for a gentle flush of colour. Use a cream bronzer to add warmth just below your cheekbones and around your temples, blending thoroughly until there are no visible edges. For eyes, a simple wash of a neutral matte eyeshadow across the lid and smudged along the lower lash line is all you need to create soft definition.
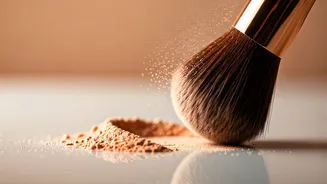
Step 4: The Finishing Powder Touch
This is perhaps the most crucial step. A finely milled, translucent setting powder is what truly locks in the soft-focus effect. Forget 'baking'. Instead, use a powder puff or a fluffy brush to gently press the powder into the skin, especially on the T-zone, under the eyes, and around the nose. This technique sets the makeup, mattifies excess shine, and provides the final layer of optical blurring without adding texture or weight. It’s this finishing touch that gives the skin that coveted velvety, almost out-of-focus appearance.