
Why Drainage Is Non-Negotiable
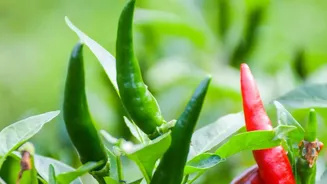
Like most peppers, Thai chilli plants despise 'wet feet'. When water has no way to escape, it saturates the soil at the bottom of the pot, creating a waterlogged environment. This is a recipe for disaster. The excess water displaces air, suffocating the plant's
roots which need oxygen to function properly. This leads to root rot, a fungal disease that can quickly kill an otherwise healthy plant. Proper drainage ensures that after you water, any excess moisture flows out, allowing the soil to remain moist but not soggy and letting air circulate around the roots.
Finding the Perfect Pot Size
Thai chillies are relatively compact plants, but they still need adequate room for their roots to develop. For a single Thai chilli plant, a pot that is at least 3 to 5 gallons (around 11 to 19 litres) is recommended. This typically corresponds to a pot with a diameter of about 10 to 12 inches. While you can start seedlings in smaller 3-inch pots, they will need to be moved to their final, larger container to thrive. A pot that is too small will restrict root growth, which in turn limits the size of the plant and its potential to produce a bountiful harvest. A 5-gallon container gives the plant strong roots and makes for a stronger plant overall.
Material Matters: Terracotta vs. Plastic
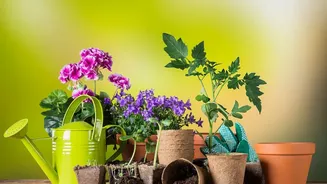
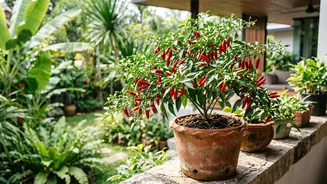
The material of your pot significantly affects how it manages moisture. Unglazed terracotta or clay pots are porous, meaning they allow air and moisture to pass through their walls. This helps the soil dry out more quickly and evenly, which is a major advantage for chilli plants that are prone to overwatering. Plastic pots, on the other hand, are non-porous. They retain moisture for much longer, which can be beneficial in very hot, dry climates but also increases the risk of waterlogging if you're not careful. For beginners, terracotta is often a safer bet because its breathability provides a natural buffer against overwatering. However, plastic is lightweight, durable, and affordable, making it a practical choice as long as the drainage is excellent.
What to Look For: The Drainage Hole Test
When selecting a pot, flip it over and inspect the bottom. A single drainage hole is the absolute minimum, but multiple holes are even better for ensuring even drainage. For small to medium pots, holes should be around half an inch in diameter. A pot with one large central hole or several smaller ones will work well. The key is to provide a clear exit path for water. Avoid pots with permanently attached saucers, as it can be impossible to empty the excess water, which defeats the purpose of the drainage hole in the first place.
Drilling Your Own Drainage Holes
What if you find the perfect decorative pot, but it has no drainage holes? Don't despair. It is relatively easy to add them yourself. For ceramic, glazed, or terracotta pots, a masonry or tile-and-glass drill bit is required. Place a piece of painter's tape on the spot you want to drill to prevent the bit from slipping. Start drilling slowly and gently, without applying too much pressure, letting the drill bit do the work. For plastic pots, a standard drill bit will work just fine. Having the ability to add your own holes opens up a world of container possibilities, from thrift-store bowls to unique ceramic pieces.
Beyond the Pot: Soil and Final Touches
A pot with great drainage is only half the battle; you also need the right soil. Use a high-quality, well-draining potting mix. Most commercial mixes can be improved for chillies by adding about 10-20% perlite, a lightweight volcanic rock that improves aeration and drainage. This combination ensures that water not only has a place to go but can also move freely through the soil. When you place your pot on a saucer, remember to empty any water that collects in it after about 15-20 minutes. Letting the pot sit in a saucer full of water will lead to the same soggy conditions you tried to avoid.